
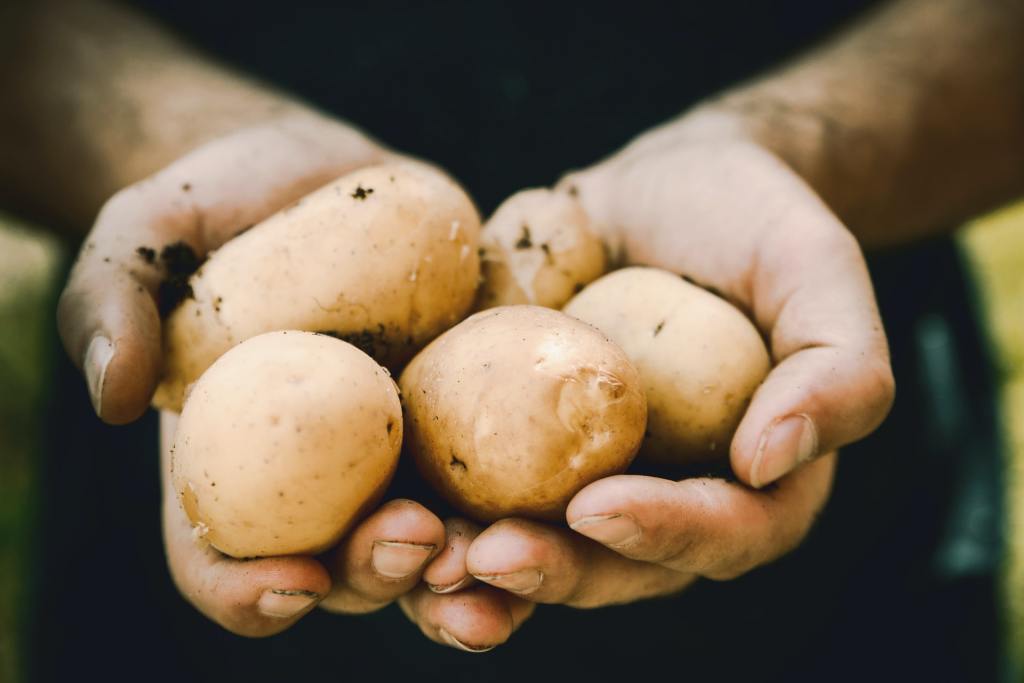
For those of you wondering how to grow potatoes in the winter, you’re in the right place! Potatoes are one of the most versatile vegetables you can add to your garden. They’re full of nutrients and you eat them in many ways. Potatoes are also easy enough for gardeners of any experience level to grow. This low-maintenance vegetable can grow in traditional gardens, container gardens, and even hydroponically.
If you’re a big fan of potatoes, then you might be looking for a way to extend your growing season and have fresh potatoes at any time of year. Why not move your potato plants indoors for a winter harvest? In this handy guide, we’ll tell you everything you need to know about growing potatoes during winter.
When should you start potatoes for winter?
Your start date will depend on how harsh your winters are and how you intend to grow your potatoes. In regions with mild winters, potatoes can be grown outdoors and planted at the end of summer or the beginning of fall. However, hard freezes or heavy snow can damage or kill potatoes.
In regions with harsher winters, you should avoid growing potatoes outdoors during winter. You can still grow potatoes in containers indoors or in greenhouses, though. You can start your indoor potatoes at any time, since you won’t need to worry about damage from the cold. Potatoes typically take two to four months to be ready for harvest, so consider that when choosing a start time.
Getting your potatoes started
Starting your potatoes off right can save you a lot of trouble in the future. Here's what you need to do:
Step 1: Choose a variety that grows quickly and can be harvested early.
In general, you’ll see better results with faster-growing, earlier harvesting potatoes, such as Yukon gold or Belmondo. Some potatoes can also be harvested before they’re fully mature. These immature potatoes are called new potatoes. Belmondo and Yukon gold are good choices for this as well.
Step 2: Make sure your soil is rich in nitrogen and has decent drainage.
If you’re growing your potatoes indoors, you can use a mixture of potting soil and compost as your base. For outdoor potatoes, mix some compost into your garden before planting for the same effect.
Step 3: Grow potatoes indoors in a 5-gallon bucket or unused trash can.
This is due to the way potatoes grow. They can get quite tall, forming more potatoes along any part of the stem that is under dirt. While you can grow them in most containers, you'll see the biggest harvest with a tall container.
There are some potato grow bags available to purchase, which are more flexible. The benefit of these is you can fold the sides of the container down, making it easier to reach the potato plants when they are still small.
Step 4: Drill drainage holes in the bottom of the container if there are not some already there.
Step 5: Lay something on the ground underneath the bin to keep your floors clean.
If your potatoes are outdoors, you can skip this step. For indoors potatoes, set the container on a tarp, trash bag, drop cloth, or tray to keep any spilled dirt or excess water off of your floors.
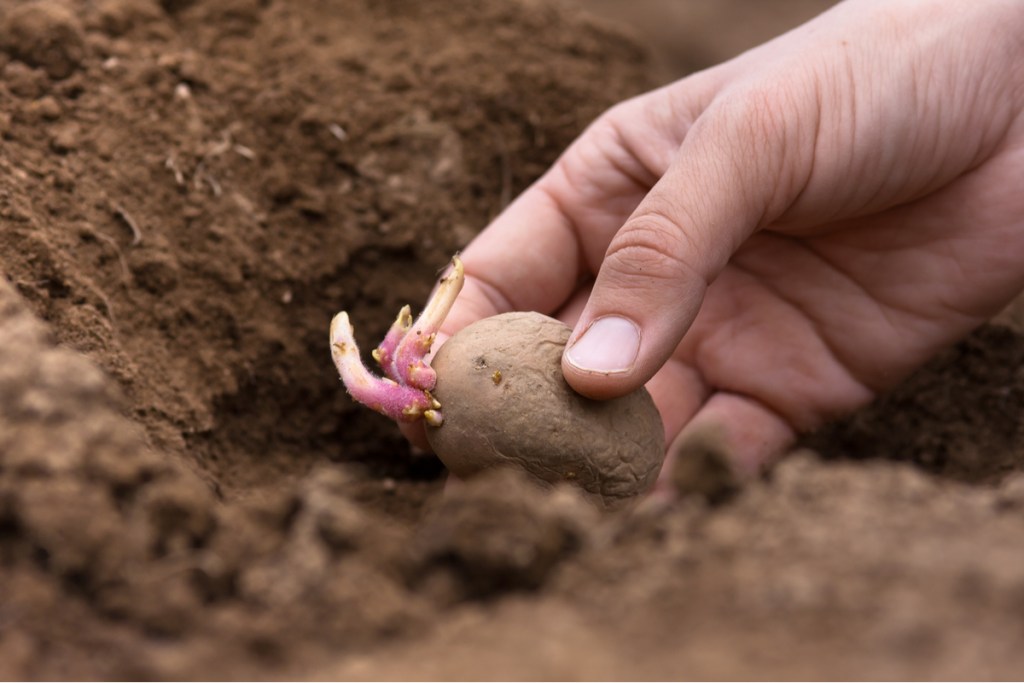
Step 6: Add a layer of soil to the bottom of the container, add your seed potato, and cover it with another 2 inches of soil.
As the potato plant grows, you'll be adding more soil to the container. Your bottom layer of soil should only be a few inches. Make sure there is plenty of room left at the top of the container for the plant to grow.
Caring for your potatoes
Once your potatoes are planted, caring for them is easy. Follow these steps:
Step 1: Plant your potatoes in full sun.
For indoor potatoes, you may need to supplement with a grow light.
Step 2: Water them thoroughly whenever the soil is dry below the top inch.
Remember that the water will need to reach deeper into the soil, since potato plants are grown in mounds or towers. Make sure you give them enough!
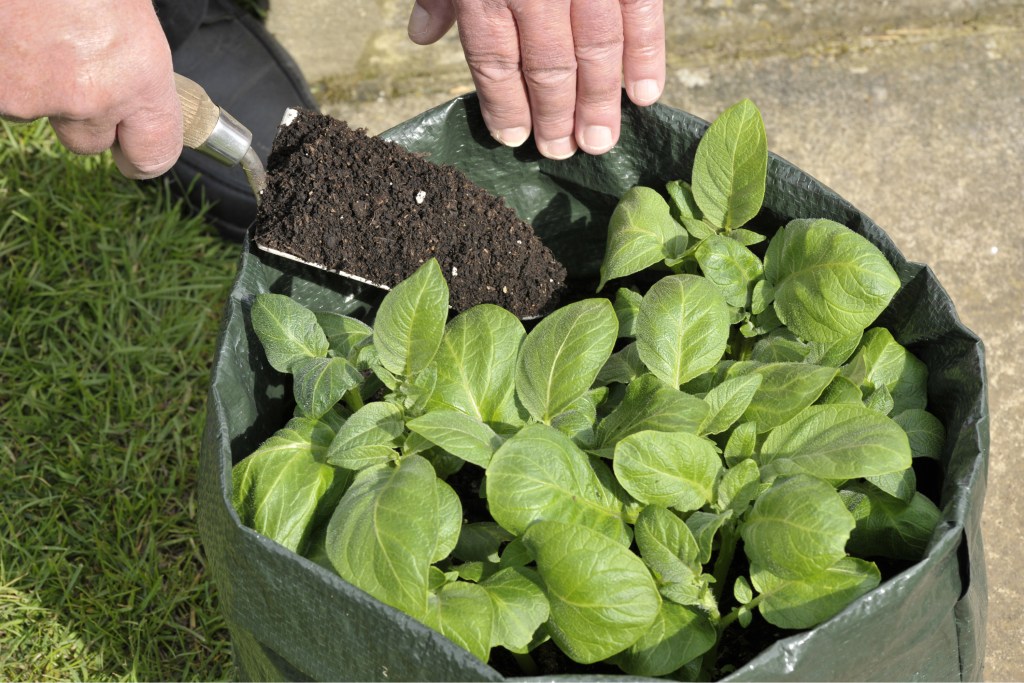
Step 3: Let the plant grow roughly half a foot, then add more soil on top until only the top few inches are above the soil.
This keeps it growing upwards, with the stem that’s underground producing roots and potatoes.
Step 4: Repeat this process twice more, or until your bucker/bin is full.
In general, most gardeners only add soil twice, but you can repeat the process a third or even fourth time, as long as your potato plant keeps growing.

How and when should you harvest your potatoes
Here's what to do when it's harvest time:
Step 1: Check when your potato variety can be harvested.
Harvest times vary depending on the type of potato you're growing. In general, new potatoes can be harvested starting two months after planting. For a fully mature potato, the times range from two and a half months to four months. The potato varieties mentioned earlier, Yukon gold and Belmondo, take between 75 and 90 days, or two and a half to three months on average.
Step 2: Dig the potatoes out by following the stem of the potato plant down, brushing dirt away as you go.
Be careful to avoid damaging the potatoes!
Step 3: Harvest potatoes grown in a bin or buck by carefully tipping it over, emptying the bucket onto a tarp or garbage bag for easier sorting.
However, if you do this and the potatoes aren’t ready to be harvested, getting the plant back into the container is tough. You may want to dig up a few potatoes first to be sure they're ready.
Step 4: Store your potatoes in a cool, dry place for up to a few months.
Now you’re ready to get started planting potatoes for winter. Enjoy your hot, fresh-baked potatoes or hearty winter potato soup throughout winter with this simple and effective planting method. Pick your favorite potato and get started. Soon enough you’ll have plenty of potatoes to last you until spring!
Editors' Recommendations
- Growing your own vanilla plant doesn’t need to be difficult: Here’s what you need to know
- What you need to know about growing hedges for privacy
- The best little flowers to grow when you’re low on space – plant these this spring
- Create a cardinal bird sanctuary in your garden: Grow these plants
- Have a gross mealybug infestation on your plants? Try one of these remedies


