
Vanilla is a delicious part of many treats, but did you know you can grow it at home? Not only are they beautiful climbing plants, but they’re also perfect for greenhouses and indoor gardens. It isn’t always easy, but with patience and this simple guide, you can grow and harvest your own vanilla beans.
What is a vanilla plant?
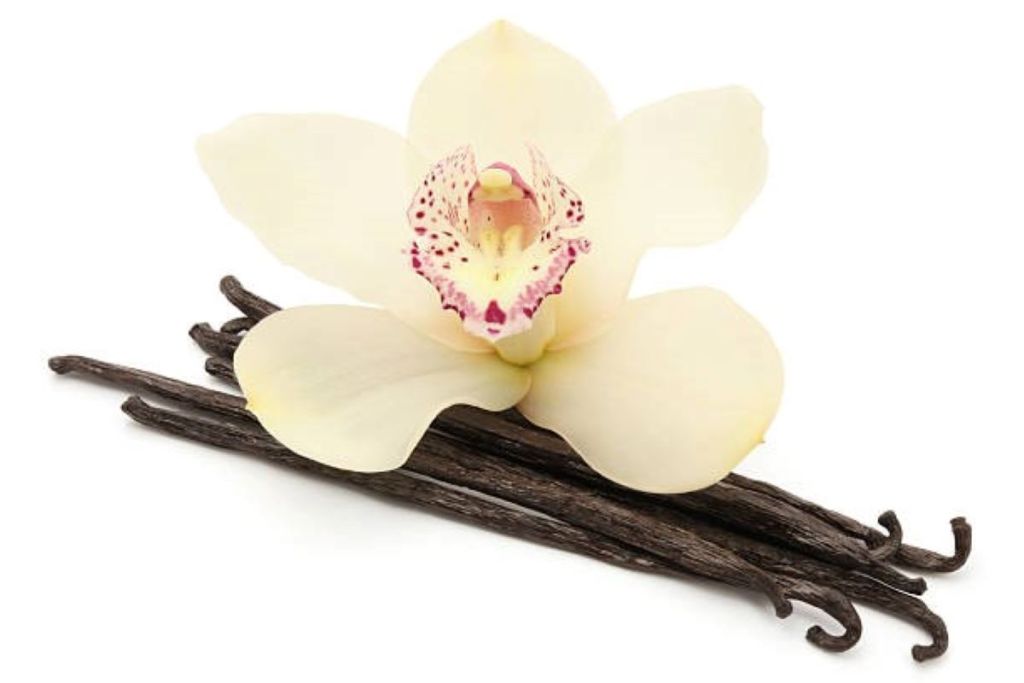
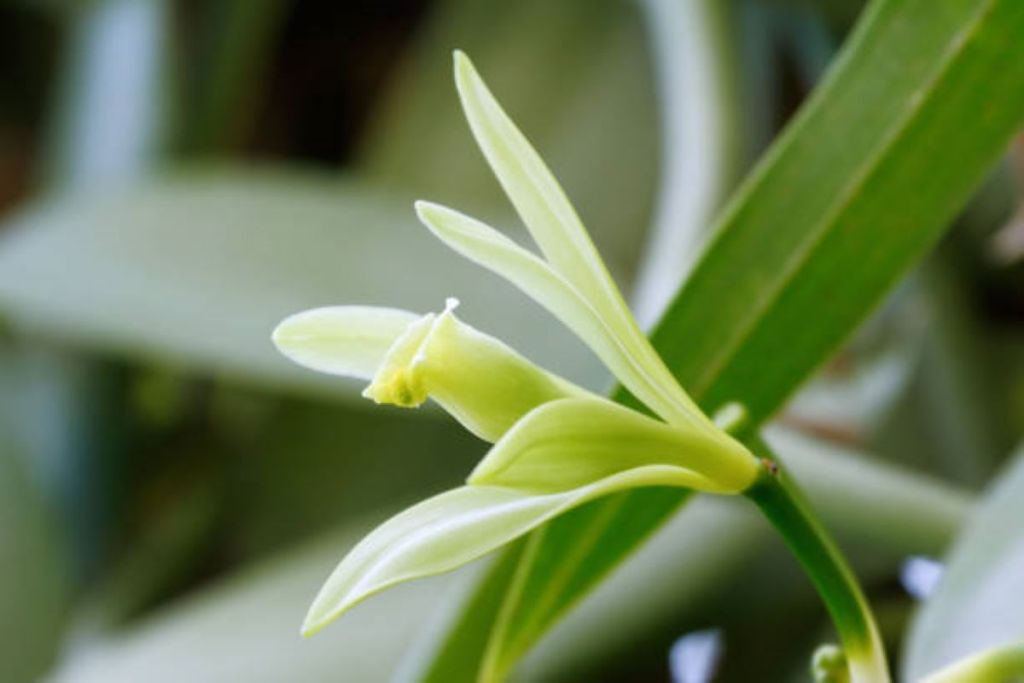
Vanilla comes from vanilla orchids. Vanilla orchids are actually a genus of orchids, meaning there are more than one species. Most of the vanilla beans we use come from the flat-leaved vanilla orchid, or Vanilla planifolia, which is native to the tropics of Central and South America.
Aside from needing a warm, humid place to grow, you’ll also need space if you want to grow vanilla. These vining plants can reach up to 100 feet outdoors and 10 feet in a greenhouse!
Planting a vanilla orchid
Here's how to get started:
Step 1: Choose a location with bright, indirect light, filtered light, or partial sun.
Vanilla won’t flower as well in full shade, but it can burn in direct light.
Step 2: Make sure the environment is warm, humid, and has good airflow.
The temperatures should be in the upper 70s to mid-80s during the day and in the mid-60s to low 70s at night.
Step 3: Plant your orchid in well-draining soil.
An orchid-specific potting mix is recommended.
Step 4: Provide a climbing structure.
This can be a simple wooden pole, a fence, or a full trellis. Vanilla will grow vertically and horizontally, so if your ceilings are too low, opt for length instead.
Caring for your vanilla plant
A vanilla plant won't flower until it's 3 to 4 years old. While you wait, here's how to care for it:
Step 1: Mist your vanilla plant regularly.
Step 2: Fertilize your orchid every two weeks during the growing season.
Step 3: Trim the top of your plant if it grows too large.
Step 4: Hand pollinate the flowers once they bloom by removing the stamen of one flower and placing it on the stigma of a different flower.
Successfully pollinated flowers will fall off in a day or two.

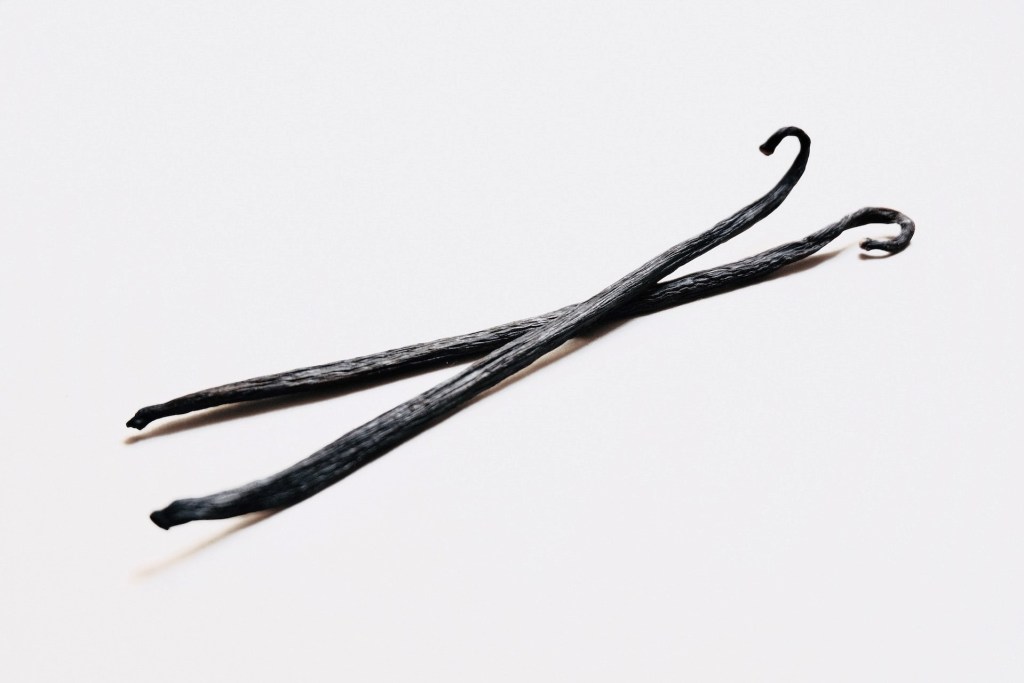
Harvesting vanilla beans
After pollination, it takes vanilla beans nine months to mature, so the first step of harvesting is actually to wait! Once they’re mature, here’s what to do:
Step 1: Look for pods that are turning yellow.
Step 2: Use scissors to clip the pods off the vine.
Step 3: Wrap the beans in a towel or blanket.
Step 4: Set the wrapped beans in a warm, dry place for three to four days.
This process is called sweating. Afterward, the beans should be light brown.
Step 5: Dry the beans in direct sunlight for a month until they are dark brown and leathery.
Step 6: Store the beans that you don't plan to use immediately in a dry, airtight container.
It takes a long time and a lot of patience, but it’s worth it to have your own supply of delicious vanilla! Even before your vanilla orchid begins growing beans, the plant itself is beautiful. Once they start growing, you’ll have plenty of vanilla beans to use, since each plant can produce several beans each month.
Editors' Recommendations
- What you need to know about growing hedges for privacy
- The best little flowers to grow when you’re low on space – plant these this spring
- Create a cardinal bird sanctuary in your garden: Grow these plants
- Wondering how to grow bean sprouts? Follow this guide for this tasty staple ingredient
- The truth about holly leaves – interesting facts you might not know


