
Fiddle-leaf fig care in winter: What to do about those brown spots?

Fiddle-leaf figs can be high-maintenance: How to fix brown spots

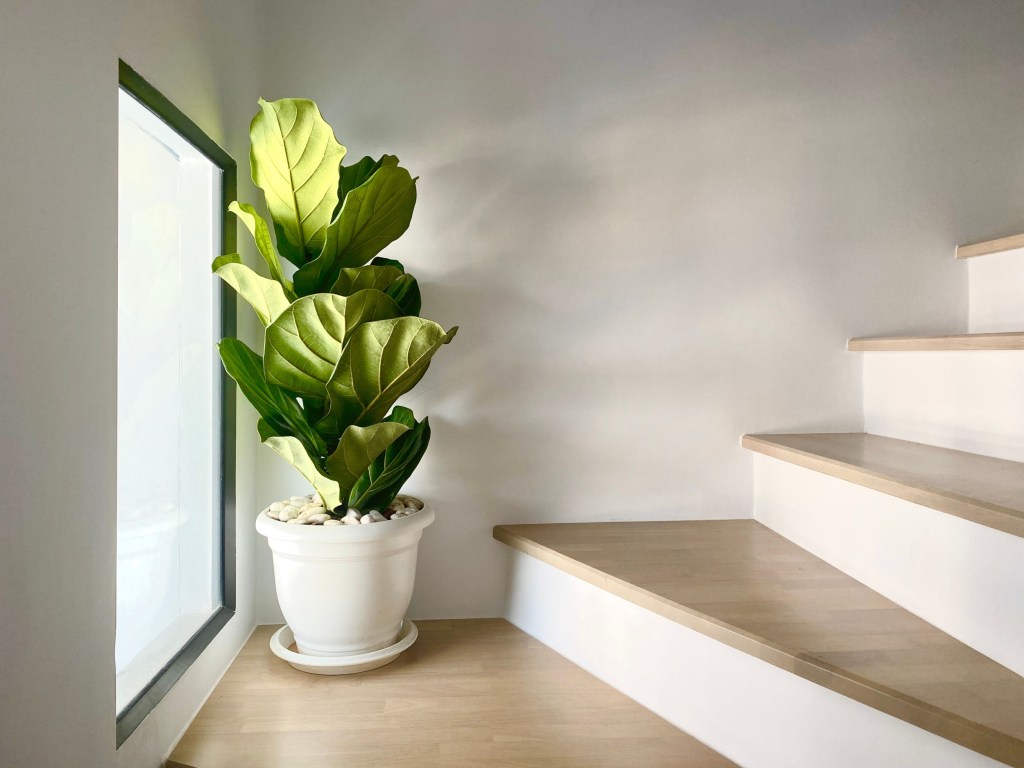
Fiddle-leaf fig trees are not for the novice indoor gardener. Reaching heights of up to 10 feet and with a delicate disposition to boot, proper care and maintenance can take some doing. But in return, fiddle-leaf fig owners get an elegant companion with a knack for making any spot more vibrant.

Difficulty

Moderate

Duration

30 minutes

What You Need

  • Pebble tray or plant mister

  • Well-draining pot

  • Potting mix

  • Microfiber cloth

  • Moisture meter (optional)

Known for their huge deep green leaves, fiddle-leaf fig trees, which typically don't produce fruit indoors, are temperamental and highly sensitive to a number of stimuli. When something goes wrong, it can manifest as brown spots on its leaves. Not a pretty sight.

Is the fiddle-leaf fig in your life getting a little spotty? Never fear. We have the information you need to effectively treat those fiddle-leaf fig brown spots.

Fiddle-leaf fig on the stairs

Fiddle-leaf fig trees: General maintenance

Named for the exact reason you'd expect — their leaves look like fiddles — fiddle-leaf fig trees are native to Western Africa. In its heart, this is a rainforest plant.

As such, it favors warm, moist conditions, and these can be challenging to recreate. And that's just one of the issues fiddle-leaf fig owners have to face. Good fiddle-leaf fig care can help prevent problems, including brown spots. Key maintenance tips include:

Step 1: When watering, keep the soil evenly moist, watering when the soil is nearly dry. (A moisture meter can help you get a precise read on when to water.)

Step 2: Keep the soil drained and do not overwater.

Step 3: Place in bright indirect sunlight, but keep your tree away from drafty areas.

Fiddle-leaf fig mist

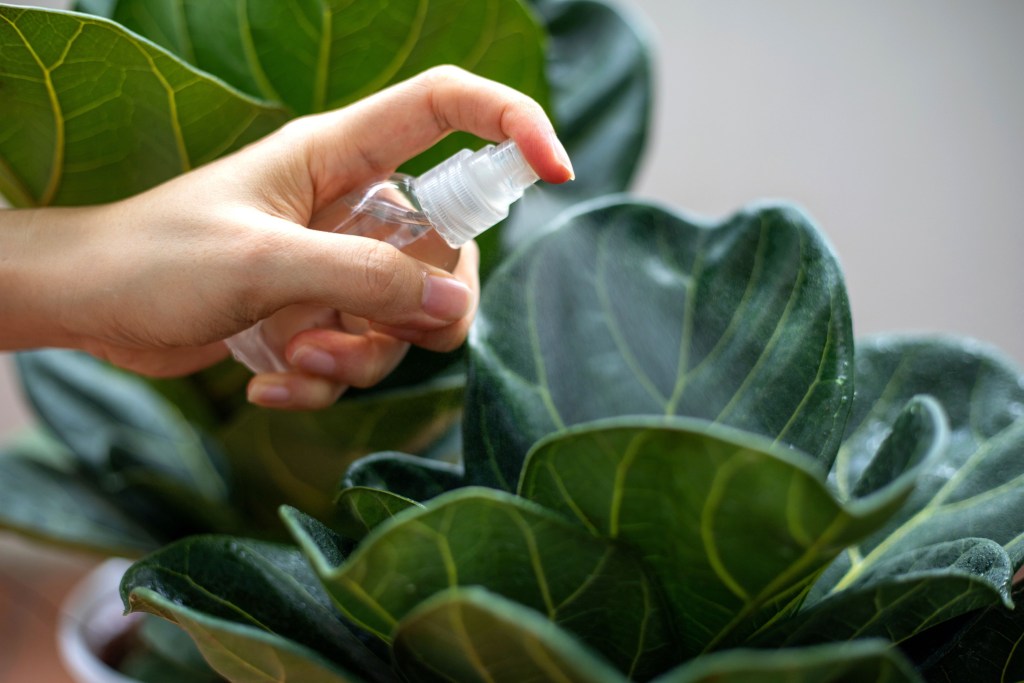
Step 4: Increase humidity around the leaves by misting regularly, using a pebble tray or investing in a humidifier or vaporizer.

Step 5: Don't move it around, as it can put the tree into shock. Find a good spot and stick with it.

Step 6: Keep the space between 60 and 75 degrees Fahrenheit, making sure the temperature stays as constant as possible.

Step 7: Gently wipe the leaves regularly with a microfiber cloth to remove dust and debris.

Fiddle-leaf fig pot

How to treat brown spots

Lapses in the fiddle-leaf fig maintenance plan — admittedly rather involved in this case — can lead to brown spots on the leaves. As a general rule for all plants, think of brown spots as the symptom of a larger disease. The real key is diagnosing the "root" of the problem.

Here's how to diagnose those brown spots and stop them in their tracks.
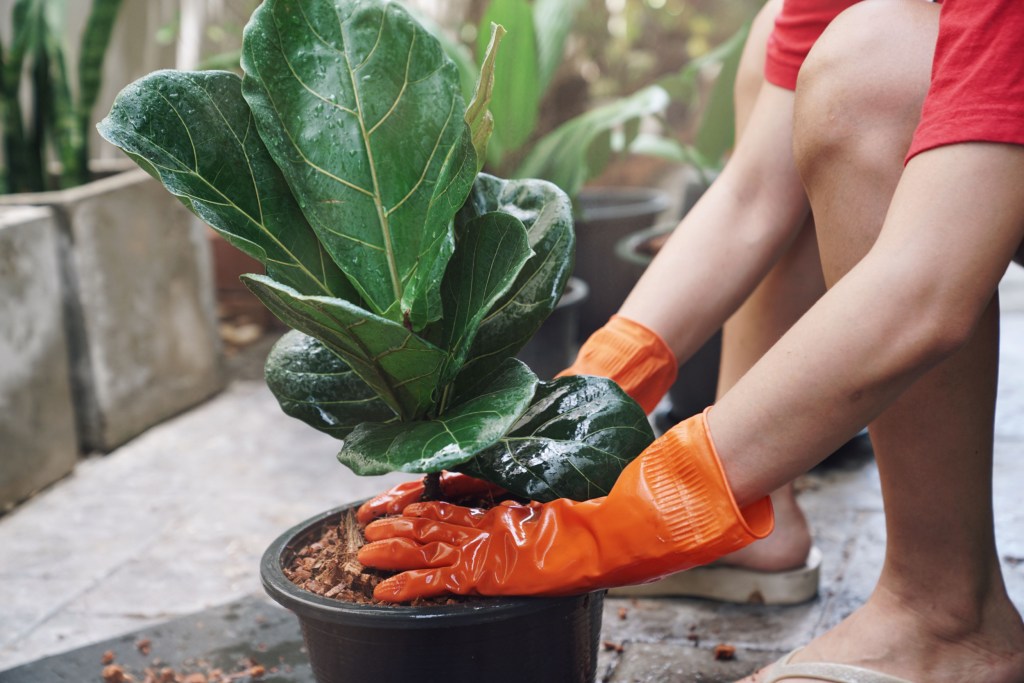
Step 1: Root rot

If you're overwatering or the pot isn't draining adequately, root rot can set in and eventually create spots on the leaves. Check the roots, and if they're dark and mushy, this is your problem.

Step 2: Edema

Spots caused by this condition also can occur from overwatering. In this case, the spots appear on younger leaves.

Step 3: Underwatering

Leaves can form spots and wilt if the plant isn't getting enough water. If you have this problem, simply increase watering — just be careful not to overcompensate by overwatering.

Step 4: Sunburn

In yet another sign of its endless finickiness, sunlight that's too direct can scorch the fiddle-leaf fig's delicate leaves. Gently adjust the tree's position and trim away burned leaves.

They are divas to be sure, but this charismatic species is popular for a reason. Keeping moisture levels consistent and within the desired range is essential. Fiddle-leaf figs are beautiful trees that just need a little extra TLC to come into their fullest expression. Brown spots are a plant's cry for help, so with this information at hand, you're in a position to get to the root of the problem more quickly.

Editors' Recommendations

How to save your cactus if it’s turning yellow or brown
Small cactus, recently repotted in a white pot with soil on the table around it

Cacti have a reputation for being nearly indestructible, but "nearly" is the operative word here. A mushy rotting cactus is very much a reality with a generous watering hand, while one kept in direct sunlight for too long will turn brown. If you've found yourself with a less than green cactus, we've rounded up tips below for troubleshooting your cactus issues and nursing your plant back to good health.

Cactus discoloration issues
Why is my cactus turning yellow?
The biggest culprit behind a cactus turning yellow is root rot. So, what are the signs of a dying cactus? When your soil holds too much water, it'll become a habitable environment for fungal and bacterial infections that slowly rot the plant from the root up. The stem will become soft and mushy at the same time, and will turn yellow.  A yellow cactus can also be due to the opposite problem: too little water. But an overly dry cactus will also be associated with shriveling and wrinkling stem parts.
Why is my cactus turning brown?
A cactus will likely turn brown due to two reasons: sunburn and pests. A sunburned cactus starts out a yellowish color and progresses into brown or black with time, leaving the plant's surface bumpy and rough. Pests such as scale and spider mites can also feed on your plant and leave brownish spots—usually, scale will feel sticky while spider mites leave behind webs. A cactus can also turn brown from age—this phenomenon is called corking, which starts from the base and works its way up to the top of the cactus.

Read more
Do houseplants go dormant during the winter? What you need to know
A small collection of houseplants

Every year we watch plants outside go dormant. The trees change color, drop their leaves, and we’re left with what appear to be dying forests blanketed in snow. But come spring, without fail, green buds start to pop up all over the place—almost as if the plants have come back to life. Winter dormancy is part of the natural order, and houseplants are no exception.

Houseplants may not go fully dormant, but they’ll most often show signs of winter dormancy as the temperatures start to cool and the days have less light. You’ll be able to tell this is happening when growth starts to slow and your plants begin dropping some leaves. But don’t worry! They’re still alive, storing their energy and needing a bit of love and care.

Read more
If you have pets, be careful adding these plants to your collection
A small pothos in a white pot

More often than not, people who love pets also love plants. The opportunity to care for something small, cute, and fulfilling? Sign us up! Unfortunately, some pets and plants don’t mix. There are toxic plants that, if you aren’t careful, can be harmful to have in your collection. And when you have furry little animals running around, it’s important to be mindful of their health and safety.
What makes a plant toxic to pets?
Toxic plants are ones that have been reported to cause adverse or intense effects on the systems in an animal’s body, like the gastrointestinal tract. Many plants that are encountered frequently are ones that are grown outside, so those are obviously the most widely known. This makes it even more important to research your houseplants before buying, especially when the plants are native to climates you don’t reside in.

Some plants are only mildly toxic and won’t result in any life-threatening conditions, but they’re still important to be aware of. One common side effect of a toxic plant is vomiting. The ASPCA has a good list of both toxic and non-toxic plants that covers plants found indoors and outdoors. If you think your pet may have ingested a toxic plant, contact your local vet, emergency animal hospital, or the APCC emergency poison hotline at 1-888-426-4435.

Read more