The fiddle-leaf fig is a wildly popular houseplant, beloved for its glossy leaves. However, these plants have a reputation for being divas with highly specific needs. Tack on their high price tag and these plants can feel very intimidating to bring into your home. Don't let that stop you from pursuing your fiddle-leaf fig dreams, though! Here is everything you need to know about fiddle-leaf fig care.
What is the fiddle-leaf fig?
Native to Western Africa, the fiddle-leaf fig starts its life in the branches of a host tree, then eventually sends its roots down to the soil and strangles the host tree to death. What a lovely plant!
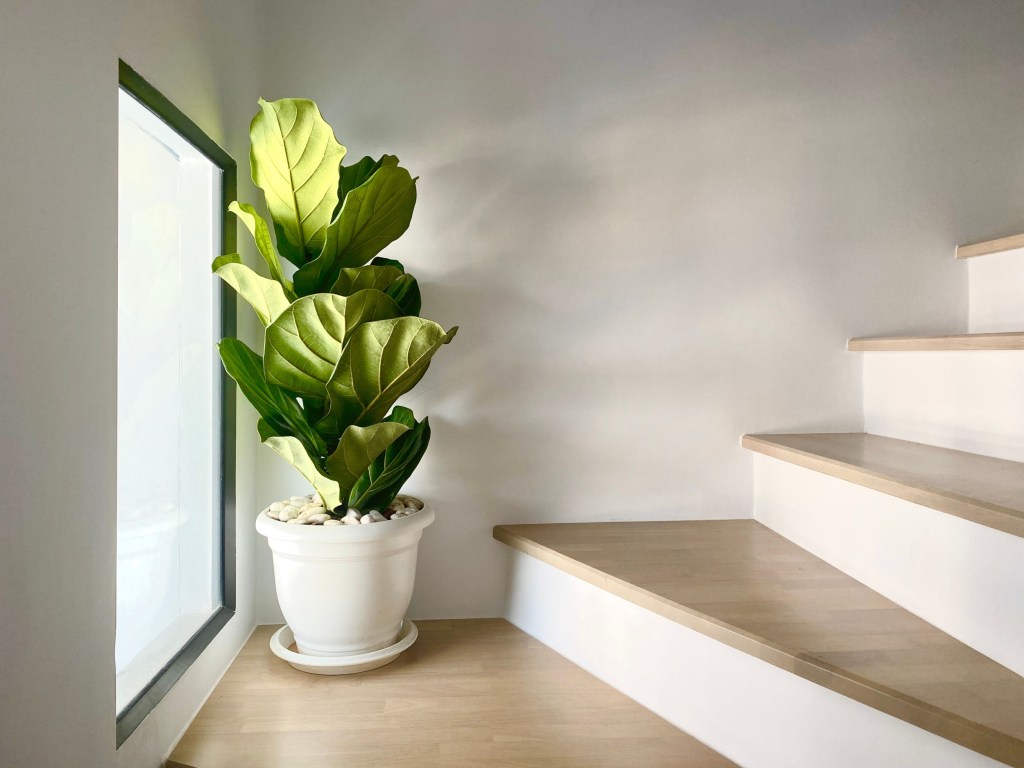
Putting aside their morbid beginnings, these plants are a show-stopping beauty that you’ll love to have in your home. The leaves are often described as violin-shaped, and their dark green color stands out against the light-colored veins. These trees can grow up to six feet tall or more if cared for properly indoors.

Basic care
Here are the basic steps to ensure your plant is healthy:
Step 1: Plant your fiddle-leaf fig in a pot with good drainage and use a drip tray.
As with any plant, overwatering is the number one way we plant lovers kill our plants. Although native to rainforest conditions, this plant doesn’t like its soil to stay moist for long periods, so proper drainage is important.
Step 2: Water the plant thoroughly, but only when the soil is dry.
Step 3: Invest in a moisture meter.
This affordable device allows you to check the condition of the soil down to the roots, and you can get a much more accurate reading on when to water your plants. While sticking your fingers in the soil works, the meter is much more accurate.
Step 4: Place your fiddle-leaf fig in bright, indirect light.
Step 5: Avoid placing your plant near drafty windows.
This can make lighting a challenge, especially during cool weather. Supplementing with a grow light might be necessary.
Step 6: Feed your fiddle-leaf fig once a month with a 3:1:2 NPK fertilizer.
That sounds intimidating, but you can purchase a fiddle-leaf fig specific feeder here.
Step 7: Make sure your home is humid enough, supplementing with a humidifier if necessary.
Fiddle-leaf figs will tolerate the average home humidity level of 40%. However, if your home is drier than average or you start to see cracks in their leaves, you'll need to increase the humidity.
Step 8: Avoid placing your fiddle-leaf fig where pets can reach it.
This plant is mildly toxic to cats and dogs if they ingest it. It can cause vomiting, excessive drooling, and oral irritation. While most of these cases aren’t fatal, you might want to avoid putting this plant in a spot where your furry friends can reach it.
Step 9: Begin pruning in early spring, so the plant has time to recover.
Step 10: Use disinfected sheers when pruning.
Step 11: Cut away leaves that are brown or yellow or growing where you don't want them to, but avoid cutting more than 5 to 10 leaves at a time.
Pruning too much off the plant can send it into shock and might kill your plant.
Additional care
Once you've got the basics down, here's how to ensure your fiddle-leaf fig thrives:
Step 1: Rotate your plant weekly, to ensure it grows straight.
These plants tend to lean to find the light rather quickly, and within two weeks, they might lean far enough to topple out of their pot.
Step 2: Clean the leaves with a damp cloth.
This helps keep the leaves from cracking due to dry air and can get rid of any pests or pest eggs.
Step 3: Give your plant time to adjust to its new surroundings.
The moving process from the store to your home might send your new fiddle leaf into shock, even if it was a short drive. However, you might not see the results of this shock for another month or two. If you see signs of stress during this time, make sure their needs are being met and wait it out.
Step 4: Avoid moving your fiddle-leaf fig as much as possible.
Once they’re acclimated to a spot, moving them can cause irreversible damage. When we say this plant is a diva, we mean it!
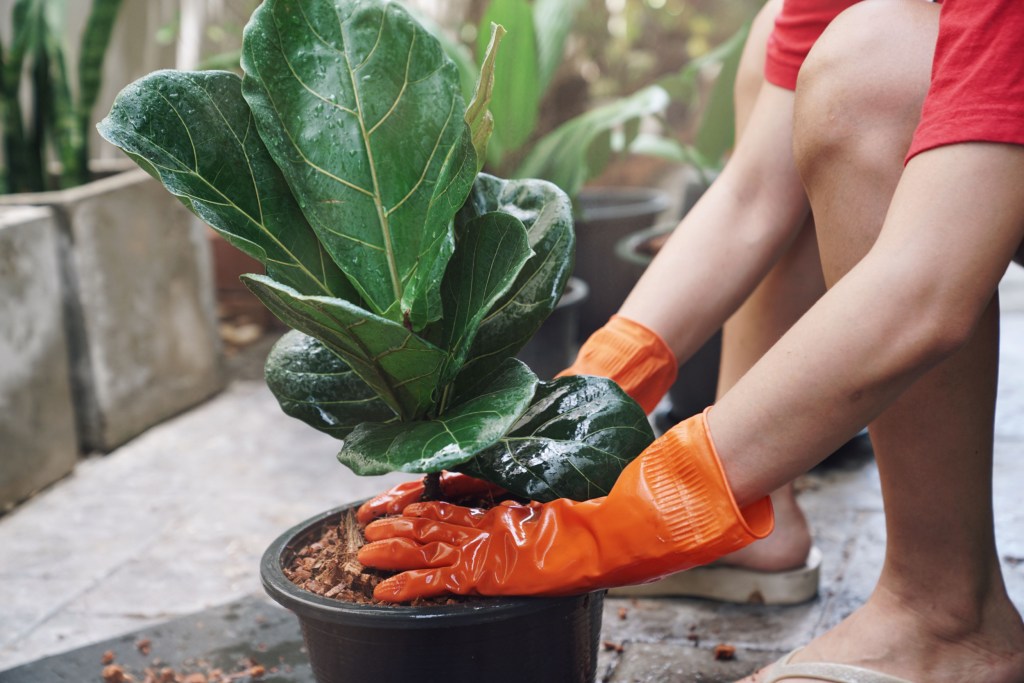
Step 5: Avoid repotting your fiddle-leaf fig when you bring it home.
Repotting causes stress, which plants typically recover from quickly. However, these plants are sensitive to stress, and when added to the stress of being moved to a new home, the stress could cause lasting damage.
In general, these plants don’t mind being a bit root-bound and will likely be perfectly happy in the pot you bought it in for a year or two.
Step 6: Slip the nursery pot into a decorative one so you can still have an aesthetically pleasing plant experience.
There’s a lot to take in when learning to care for this stunning but finicky plant. Take our guide with you as you care for this plant, and we promise it will make life easier for you and your new expensive and whiny plant baby.
Editors' Recommendations
- Everything you need to know about trailing succulents care for lush, thick growth
- How to pick the perfect orchid pots for healthy blooms
- Beyond basil and cilantro, add these unique plants to your indoor herb garden
- Beautiful, low-maintenance pothos varieties to add to your plant collection
- 5 easy-care spider plant varieties perfect for any home garden


