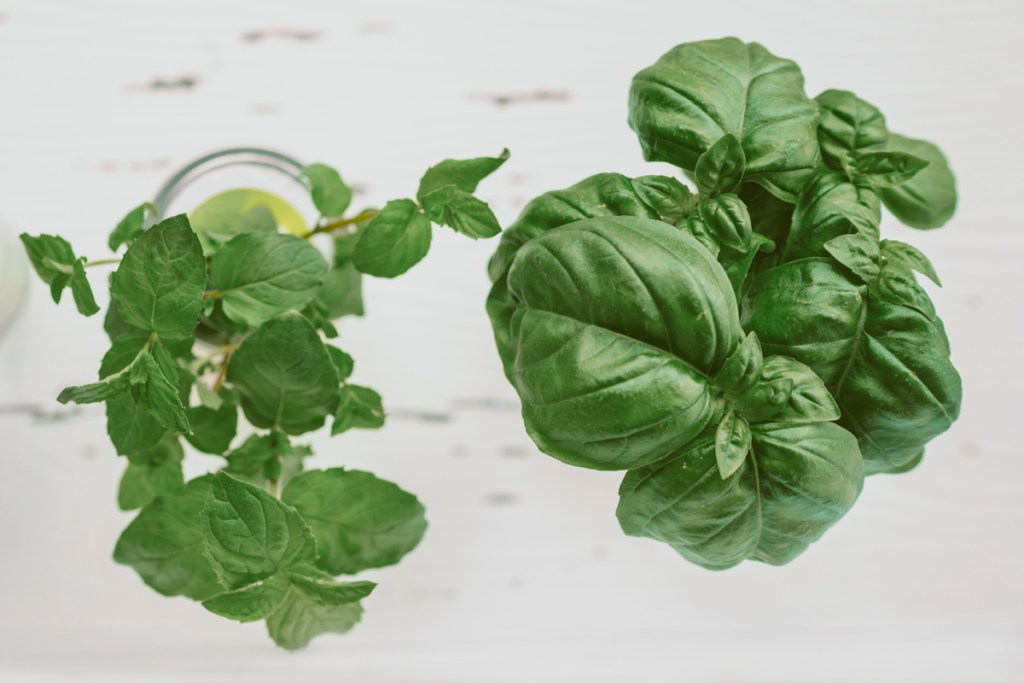
Herb gardens are a must for indoor gardeners, not just because of their functionality but because they can bring natural, wonderful scents to your everyday life! After all, who doesn’t love the fresh smell of basil in the morning? Unfortunately, it can be hard to fit a full indoor garden set-up into every space—and that’s where mason jars come in. Herbs are a great plant for small-scale gardening, and there’s a good chance you have some spare jars hiding in the back of the cupboard. Why not fill them with dirt and put them to use?
Why grow herbs in mason jars?
Mason jars, even if you don’t have ones on hand already, are an inexpensive, decorative way to set up an indoor herb garden. You can buy packs of them at the store for cheap, find some at a flea market/thrift shop, or even ask your friends if they have any to lend you! Because mason jars are used for other culinary purposes like storing dry herbs (hint hint), making jams, and pickling veggies, you won’t run out of options for the jars that don’t get used in the garden.
Best of all, they don’t take up a lot of space. Growing herbs in a mason jar gives you the freedom to set them up where needed, as opposed to only where they’ll fit. You can put a couple on a sunny windowsill and one on a small kitchen shelf, or set them up in a group on the counter. Mason jar herb gardens are aesthetic and accessible, giving you the ease of snipping some fresh herbs to garnish that night’s dinner.
Starting your own mason jar herb garden
Setting up your own mason jar herb garden is quite simple. Just follow our step-by-step guide below, and you’ll be growing your own herbs in no time!
Materials you’ll need:
- Quart mason jars
- Jar labels
- Herb plants
- Small rocks
- Potting mix
Step one: Fill your jars with rocks
As any indoor gardener knows, good drainage is key to happy plants. Mason jars, unfortunately, don’t have that. To start, you’ll need to take your mason jars and fill the bottom with up to one inch of rocks. The rocks will give excess water a place to go so that the roots don’t sit in soggy soil and start to rot. Without good drainage, you’ll be setting up your mason jar herb garden for less-than-optimal results.
Step two: Add potting mix and plant your herbs
After filling the bottom inch with rocks, add a bit of your chosen potting mix. Starting herbs from seed in mason jars isn’t the best idea, so you should be working with young plants. Take the herb out of its nursery pot and remove any old dirt so that the roots are as clean as possible. Trim the roots with sterilized shears, if needed.
Once the roots are cleaned off, place the herb into the jar and fill the remaining space with the potting mix. Make sure not to pack the dirt too tightly, as you want the roots to have room to breathe and allow the water space to move so that it doesn’t soak the soil.
Step three: Label your jars
There’s nothing worse than confusing your rosemary with your thyme. Take the jar labels (which can simply be popsicle sticks or label stickers), write the name of the herbs on them, and place them on or in the respective jars. That way, you can read the name of the herb before snipping to make sure you’re putting the right one in your soup.
Step four: Fertilize (if desired)
After planting and labelling your herbs, you can add fertilizer to the soil. A water soluble fertilizer is best for indoor plants, since it doesn’t take long to break down and gives the roots immediate access to the nutrients. If you choose to fertilize your mason jar plants, make sure you use an indoor liquid fertilizer that has the proper nutrients your herbs need.
What herbs grow best in mason jars?
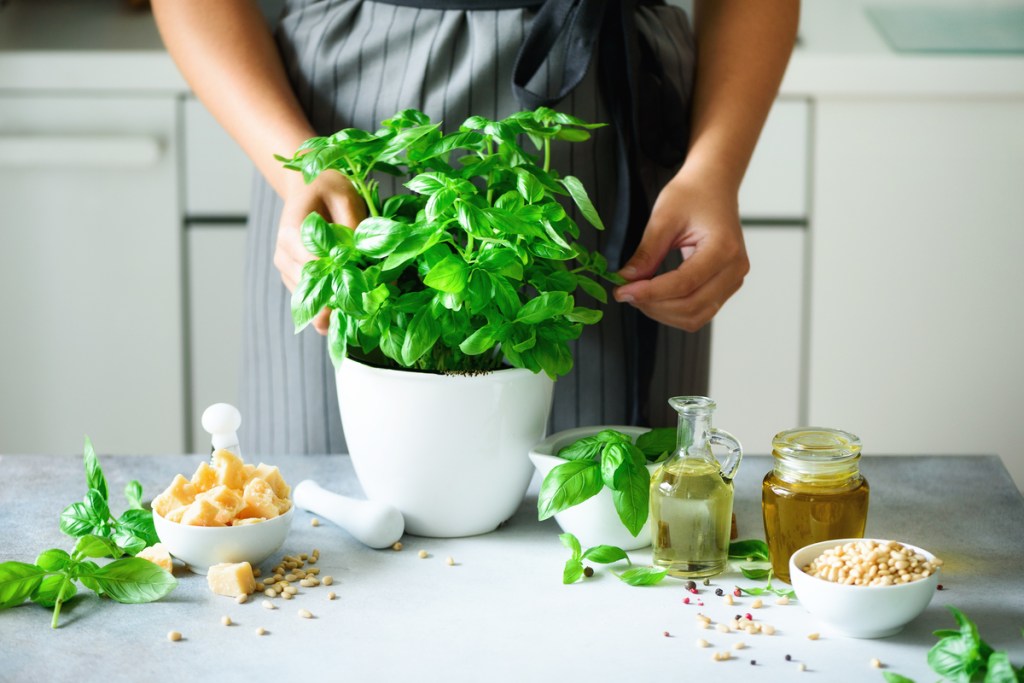
Growing herbs in mason jars will work well as long as the roots don’t need a lot of space. When choosing which herbs to grow in your indoor garden, you should pick ones that don’t have root systems that need a lot of space to stay strong. This includes, but isn’t limited to: basil, chives, cilantro, parsley, rosemary, and thyme.
Keep in mind that the herbs you’re growing are the ones you’ll be using. It’s always best to grow what you love most, even if that means your mason jar herb garden is entirely basil. As long as you’re happy with it, that’s what matters!
Caring for your mason jar herbs
Mason jar herb care isn’t much different than regular care for potted herbs. You should keep them in a space that gets at least six hours of sun a day. Because the jars are small, you’ll have more possibilities than you would if you were trying to move around an indoor garden box. Herbs should be watered regularly when the top of the soil is dry; however, be wary of overwatering as soggy soil can harm your plants.
What to do when it’s time to harvest
The method you’ll use to harvest your mason jar herbs will depend on the kind you’re growing. Herbs like basil and marjoram should be harvested by pinching the leaves from the tips of the stem above a growth node, which allow two new branches to sprout and continue growing. On the other hand, herbs like thyme and sage should be harvested by the stem, cutting about three to four inches from the bottom of the plant.
In either case, be mindful not to harvest too much at once. Taking too much off the plant at one time can cause stress, harming or potentially killing your plant. If you’re used to regularly pruning your houseplants, this won’t be an issue; however, if this is your first time snipping parts of a potted plant, it may take some trial and error.
Problems you can face with this growing method
A mason jar herb garden, although convenient and aesthetic, lends itself to certain issues. Overwatering is a common problem when there isn’t enough drainage or if the soil is too packed, and without proper research, you may end up growing an herb that doesn’t thrive well in a mason jar. But for the most part, as long as you’re mindful of your care and thorough with your set up, you’ll have no trouble growing and maintaining your favorite herbs in a cute DIY mason jar herb garden.
Editors' Recommendations
- Beyond basil and cilantro, add these unique plants to your indoor herb garden
- Here’s how often you should be fertilizing your indoor plants
- 4 of the most aromatic indoor plants
- Grow these herbs for Halloween to make your celebration even spookier
- Is Epsom salt good for houseplants? What you need to know


