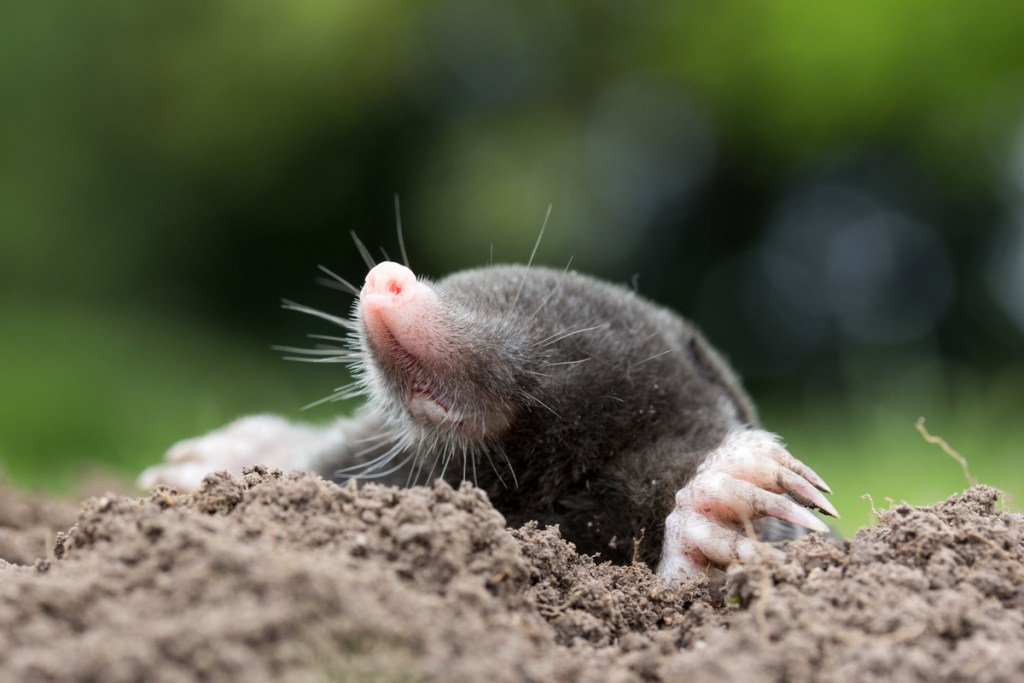
Moles are tiny burrowing mammals that make their homes and spend most of their lives underground. They can’t see all that well but have developed a heightened sense of touch through their sensitive snouts and claws. Although most species of moles don’t grow more than 10 inches in size, the male moles are typically always bigger than their female counterparts. But if they live mostly underground, what’s the big deal? And how do you know you have a mole problem? Believe it or not, moles are one of the most common problems for average gardeners.
How to tell if you have moles in the garden
Moles in the garden (or the yard at large) can be easily identified, even though they spend most of their time underground. Common indications of a mole problem in the yard are:
- Clumps of dirt. Moles dig up the earth in chunks instead of turning it into smooth soil, so if you start seeing clumps around your yard, you may have moles.
- Dead patches of grass. As moles tunnel around your yard and garden, they damage root systems. This leads to dead patches of grass, which is an especially useful indicator of moles when the environment isn’t dry.
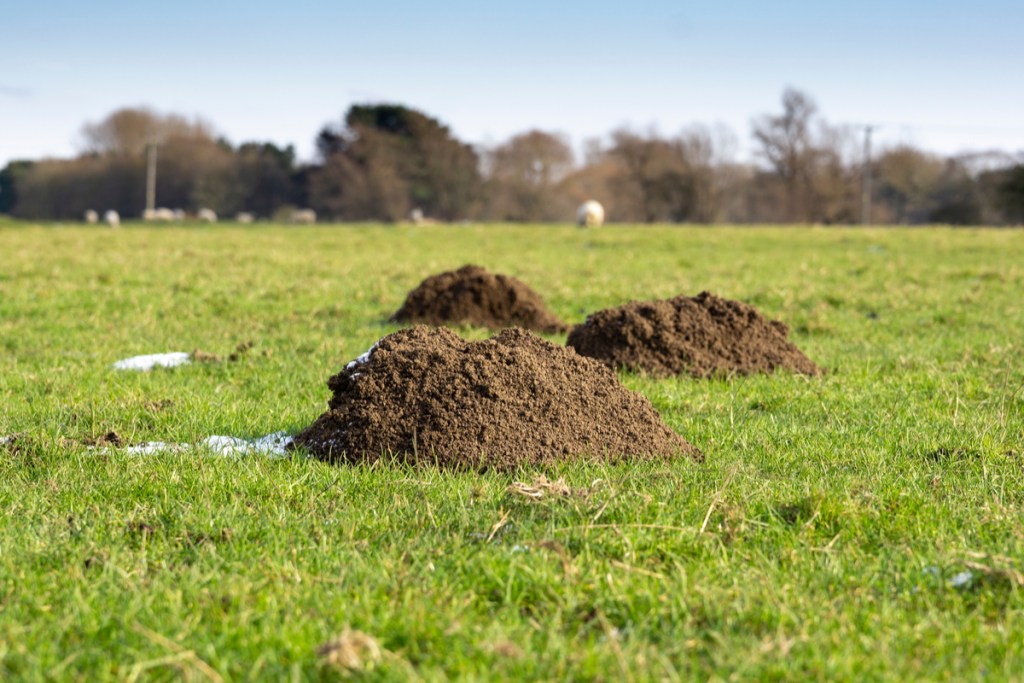
- Molehills. Perhaps the most obvious of the signs are the molehills moles create at the entrance to the tunnels when they dig up the dirt.
- Multiple mounds at least six feet apart. For every entrance, there’s an exit. If you notice not just one but two or more molehills roughly six feet apart around your yard, you’ve got a mole population.
Why you don’t want moles in the garden
Smaller mole populations can be beneficial for your garden because they help to aerate the soil and make it easier for water and oxygen to reach the roots of your plants; however, a small batch of moles can very easily become a large one and may not be a risk you want to take.
Why? Well, the interesting thing about moles is that they don’t eat plants, veggies, or other crops. Moles are insectivores, so they’re underground getting rid of harmful pests; unfortunately, their tunnels break through root systems and can cut plants off from oxygen and nutrients. If a mole population gets too big and their tunnels expand under your garden beds, they can easily kill your crops without even trying.
What attracts moles to the garden?
Moles are attracted to gardens and yards by a few things — none of which are the plants themselves. If you’ve got a mole problem in the garden, chances are they were brought in by one or more of the following:
- Cool temperatures. Moist, cool soil allows moles to help regulate their temperature as they work throughout the day. You usually won’t have trouble with moles in the height of the summer.
- Insects. Moles eat bugs! They’re drawn to places with higher insect populations, specifically ones like grubs and earthworms so that they have plenty to eat as they grow.
- Your landscaping. Perhaps the most unfortunate cause of moles is the landscaping we do to make our properties a place we love. Moles like to build their tunnels along things like fences and paths and underneath trees.
Out of each of these factors, the only one you can control is your landscaping — but it’s not practical to tear down all your fencing and remove all your hedges just because some moles have made a home. There are humane ways to remove moles from the garden without undoing all of your hard work.
How to get rid of moles in the garden humanely and safely
For better or worse, the moles are just doing what they’ve evolved to do to survive. No intentional harm is being done to your garden, so you should prioritize humane removal of them from your property so that they can continue to live and thrive — just not with you. So what do humane mole removal solutions look like, and how easy are they?
Create a barrier with plants
Moles don’t like the strong smells of some plants, like daffodils and marigolds. By adding these beautiful flowers to the outside of your garden, you can create a natural barrier that keeps moles from disrupting the roots underneath. This method is safe and humane but is more time-consuming since you’ll need to tend to the flowers and replant them as necessary.
Use raised garden beds
By raising your garden beds, you’ll not only help prevent the roots from getting damaged by the mole tunnels but also make the insect populations around those roots less accessible. Moles may still find their way into your yard, but you at least won’t have to worry about your tomatoes, squash, and peppers succumbing to their underground network.
Make a trench around your garden
When in doubt, a trench is a great way to separate the garden soil from the rest of your lawn. By digging a trench about two feet down and six inches across, you’ll be interrupting the height where moles like to tunnel, preventing them from getting under your garden beds and hurting the roots. You can fill the trench with rocks to make it a more decorative feature (and to keep yourself from falling in every time you go to your garden).
This method is a little more intensive and does disrupt the natural soil; however, it’s a highly effective method for keeping moles away from your crops and once it’s filled in with rocks, you hardly know it’s there.
How to prevent moles from returning
To keep moles from returning in the future, the best thing you can do is keep your yard healthy. Although moles build and live in tunnels underground, they feel safest when they can build their entrances and exits in an area with a lot of coverage (think tall grasses or unkempt lawns). So, by regulating mowing and caring for the plants on your property, you can create an environment that moles won’t gravitate toward, and as such minimize any future problems.
Editors' Recommendations
- Plant these stunning flowering shrubs for a showstopping garden display this spring
- 3 incredible reasons why you should be using coffee grounds in your garden
- Have a gross mealybug infestation on your plants? Try one of these remedies
- Why mulching might be the best option for your old Christmas tree
- Do you live in climate zone 10? Here’s our guide to choosing the perfect climate zone 10 plants