
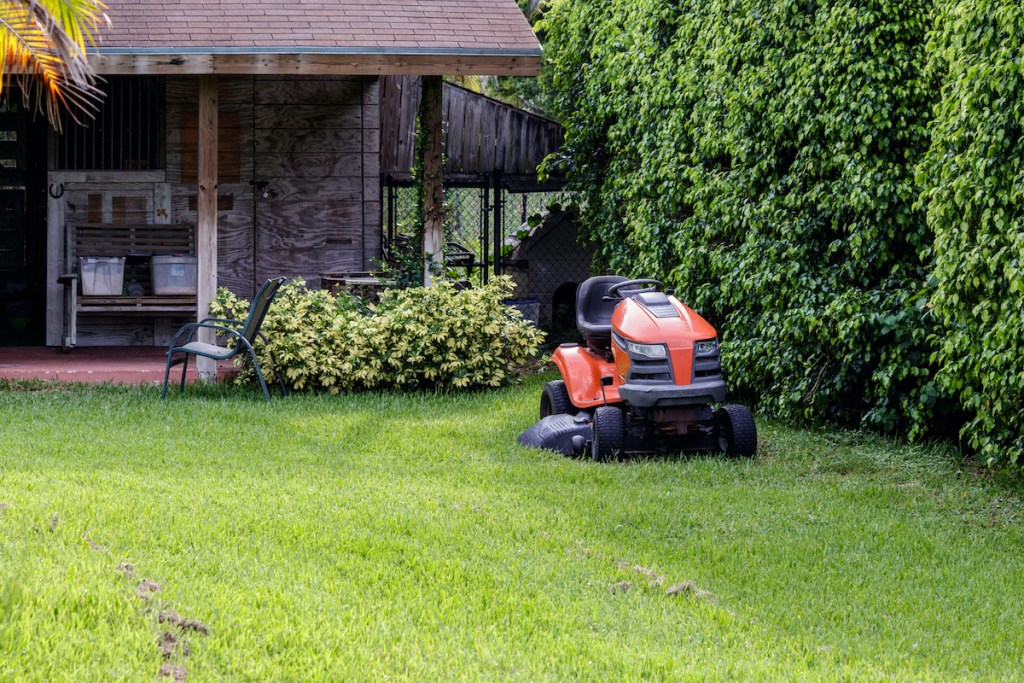
Cynodon dactylon, better known as Bermuda grass, is a perennial warm-season grass that is widely used as both lawn grass and pasture grass. Its toughness, adaptability, and creeping growth habit attract either appreciation or disdain from the homeowners, gardeners, landscapers, and others who plant it or are invaded by it.
Is Bermuda grass a grass lover’s dream?
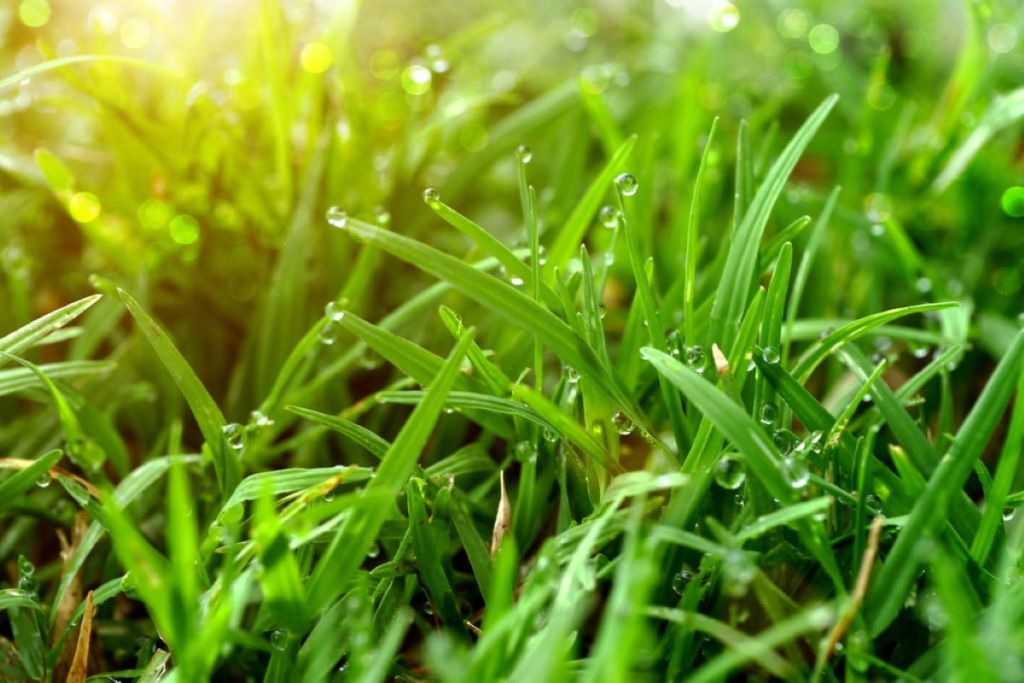
Bermuda grass can help you achieve a lush green lawn. Here are the benefits of Bermuda grass:
- It quickly grows from seed or sod into a dense lawn that is capable of out-competing weeds and is highly tolerant of insect and disease pests.
- It grows roots deep underground to access hard-to-reach moisture and simply goes dormant in the driest of weather.
- It thrives in heat and is drought tolerant.
- Bermuda grass is extremely resilient. If a large patch is damaged, it has an incredible ability to regenerate from the deep, creeping roots, and via mower clippings that land on bare soil and then root in. This kind of tough resiliency makes it a grass lover’s dream, but the adjacent landscape and adjacent landowners may disagree.

The collateral damage it causes
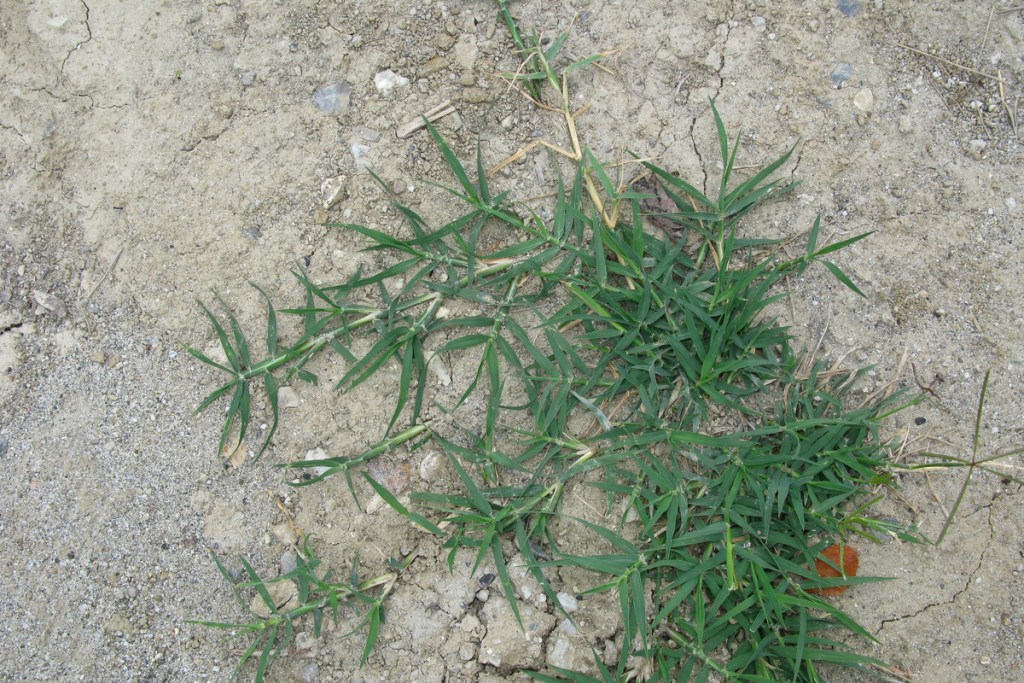
Ornamental beds, vegetable gardens, paved patios, driveway, and other lawns adjacent to Bermuda lawns are at risk of invasion. Bermuda grass can spread quickly, but here's how to keep it in check:
Step 1: To maintain it, do regular mechanical and chemical edging during the growing season when it creeps out of bounds above and below ground.
Step 2: Use lawn edgers to sculpt crisp edges along driveways and lawn borders
Step 3: Follow behind with glyphosate weed killer to prevent Bermuda shoots from sprouting in mulched areas, pavement cracks, and other non-lawn areas.
If you're a neighbor of a Bermuda grass owner, and you don’t wish to grow it, you must contend with it. A real challenge ensues, since the chemical controls, both conventional and organic, that kill Bermuda grass, also kill other types of lawn grass. Getting rid of Bermuda grass isn't an easy task, and it's a task you never finish.
Are salt and vinegar an eco-friendly way to kill Bermuda grass?
Salt and vinegar are more eco-friendly than pesticides, although they aren’t as eco-friendly as other solutions. This is how to use salt and vinegar to get rid of Bermuda grass:
Step 1: Use a mixture of 1 cup salt and 1 gallon of vinegar to kill any plant. This is so effective that if it soaks into your soil, nothing will grow there for a long time.
Step 2: It's safe to spray a light mist over the plants. Only a few drops will make their way into the soil, but such small quantities will neutralize and disperse quickly.
Step 3: Don't dispose of any leftover mixture by pouring it into the soil.
Step 4: Wear safety gear when mixing and applying vinegar as an herbicide, as vinegar is acidic, which kills plants, but it can also cause chemical burns on the skin in high concentrations.
You should use the salt and vinegar solution to kill broad areas. The acidity of salt and vinegar kills any plant when applied, but not just Bermuda grass. So keep in mind that you need to target the Bermuda grass specifically, but this can be tedious.

Can you dig up Bermuda grass?
You can dig up Bermuda grass, but it can be difficult. Digging it up is only the best solution if the grass is in a small area and no other options are available. Bermuda grass doesn’t just have its roots underground, but it also has rhizomes. Rhizomes are thick, underground stems that grow sideways. New grass shoots can grow from them, so if the rhizomes are left behind, your work will have been for naught.
Here's what to do when digging up Bermuda grass:
Step 1: Dig at least 6 inches down to make sure you’re getting the entire plant.
Step 2: Be on the lookout for anything that looks like ginger or an oddly shaped potato.
Think control not eradication
Owners of zoysia, centipede, and fescue lawns often battle Bermuda grass. Unfortunately, it is impossible to kill Bermuda grass organically when it invades another type of lawn without killing both types of grass. Organic herbicides only “burn out” the foliage, leaving the energy stored in the roots to regenerate new foliage.
Instead of eradicating Bermuda grass, here's how to control it:
Step 1: Use a systemic lawn herbicide.
A systemic herbicide will absorb through the foliage and then translocates throughout the tissue of the weed to kill the plant. Also, fluazifop is an active ingredient that kills Bermuda grass and is safe for use on fescue and zoysia lawns.
Step 2: Use a product with the ingredient sethoxydim to control Bermuda grass in centipede lawns.
Step 3: Follow the label instructions precisely, including concentration rates, to avoid damaging the good grass.
Step 4: Scalp your Bermuda grass annually. While this treatment is aggressive and shouldn’t be used on most other grasses, scalping your Bermuda grass is as helpful to the lawn as irrigation and fertilizer.
How to kill Bermuda grass organically: Solarization
It takes patience and persistence to kill Bermuda grass organically, and the following methods are non-selective, which is to say they kill off all vegetation in the area. The most effective ways to organically kill Bermuda in large areas, such as a lawn renovation or preparing a garden bed, are soil solarization and smothering. Here's how to put solarization to use:
Step 1: Practice soil solarization during the hottest part of the summer. It requires at least four weeks with daytime high temperatures above 85 degrees Farhenheit. Hotter and longer is even better.
Step 2: Mow the grass as short as possible.
Step 3: Rototill the area to a depth of 12 inches.
Step 4: Slowly irrigate with 1 to 2 inches of water.
Step 5: Cover the area, plus a 2-foot margin all around, with a single sheet of clear plastic.
Step 6: Anchor the plastic in place with landscape staples or by shoveling soil onto the entire perimeter (a good seal is required for the best effect).
Step 7: Leave the plastic in place for four to six weeks.
How to kill Bermuda grass organically: Smothering
Follow these steps to smother your Bermuda grass:
Step 1: Scalp the upper layer with a garden spade or sod cutter. You can rent a sod cutter from your local power equipment rental place.
Step 2: Pile the sod in an out-of-the-way location and cover it with a heavy plastic tarp to decompose.
Step 3: Cover the scalped ground with three or four layers of heavy-duty cardboard.
Step 4: Cover the cardboard with 4 to 6 inches of mulch.
Step 5: Leave everything undisturbed for six months before planting.
After removing Bermuda grass, stay vigilant. This tough grass is capable of reestablishing as quickly as before by roots, stems, mower clippings, and seeds. Learn to recognize it and dig it out whenever you spot it. It's impossible to eradicate troublesome Bermuda grass, but with constant suppression, you can keep it under control.
Editors' Recommendations
- Growing your own vanilla plant doesn’t need to be difficult: Here’s what you need to know
- Growing cocoa plants in the U.S. is difficult (but not impossible): What we know
- 3 incredible reasons why you should be using coffee grounds in your garden
- Focus on color: Bring some sunshine to your garden with these orange plants
- Have a gross mealybug infestation on your plants? Try one of these remedies


