
If you’re looking for a green to add to your garden, then cabbage is a great option. It’s tolerant of many different climate zones and doesn’t require much work to produce if you have the right conditions. It’s also quite versatile, pairing well with a wide range of vegetables and different cooking methods. Although some people like to think of cabbage as just heartier lettuce, you might be surprised at how much this green can add to meals! If you’re interested in giving cabbage a try, then you’re in luck! We’ll tell you everything you need to know to successfully add this green to your garden.
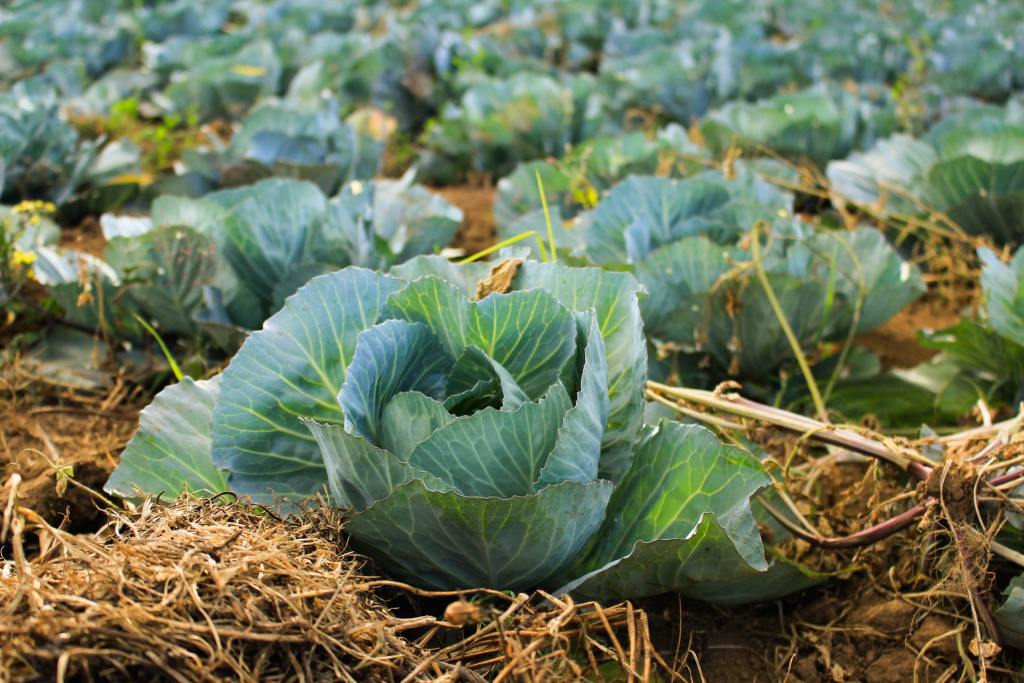
Planting cabbage
Cabbage prefers cool weather; high temperatures can make it bolt faster, causing the leaves to become bitter. This means that cabbage is best planted in early spring or late summer through fall. Since bolting happens after cabbage is ready for harvest, it’s important to know when you can expect warm weather and how long your cabbage will take to grow. On average, cabbage takes between 60 and 100 days to grow, so keep that in mind when planning your garden. If you live in a hotter climate or want to start your cabbage early, you can start the seeds indoors a month or two before the last frost of the year.
Plant your cabbage in full sun, in an area with well-draining soil. In addition to cool weather and full sun, cabbage needs nutritionally rich soil. Adding some compost or a balanced, slow-release fertilizer to your soil before planting can help sustain your cabbage. Plant the seeds an inch or two deep, and space them 12 to 24 inches apart or be prepared to thin the seedling once they sprout. Spacing is important for cabbages, since cabbages that grow too closely together may not achieve their full size.
Caring for cabbage
Cabbage needs roughly 2 inches of water each week, but you can help the soil retain water by adding a layer of mulch. Mulch has the added benefit of suppressing weeds and insulating the soil, which helps keep the soil’s temperature stable. Although cabbage doesn’t handle hot weather well, it can also bolt or become stunted if the temperature gets too low. If the temperatures get close to freezing, or if you expect snow or ice, then it’s best to cover your cabbages to protect their leaves from freezing.
Cabbages use a lot of nitrogen, especially during the beginning of the growing season. This means that your cabbages may need an extra boost of nitrogen from fertilizers or compost. Don’t start fertilizing them until they’re a few inches high and have a couple sets of leaves, though, since it’s easier to over-fertilize or burn smaller plants.
If you start your plants indoors, don’t fertilize them until they’ve been transplanted. Use a balanced fertilizer, and space out fertilizer applications by at least three weeks. Typically, cabbages only need two applications of fertilizer, but keep an eye on your plant for any discolorations of stunted growth that could signal a nitrogen deficiency.
Harvesting cabbage
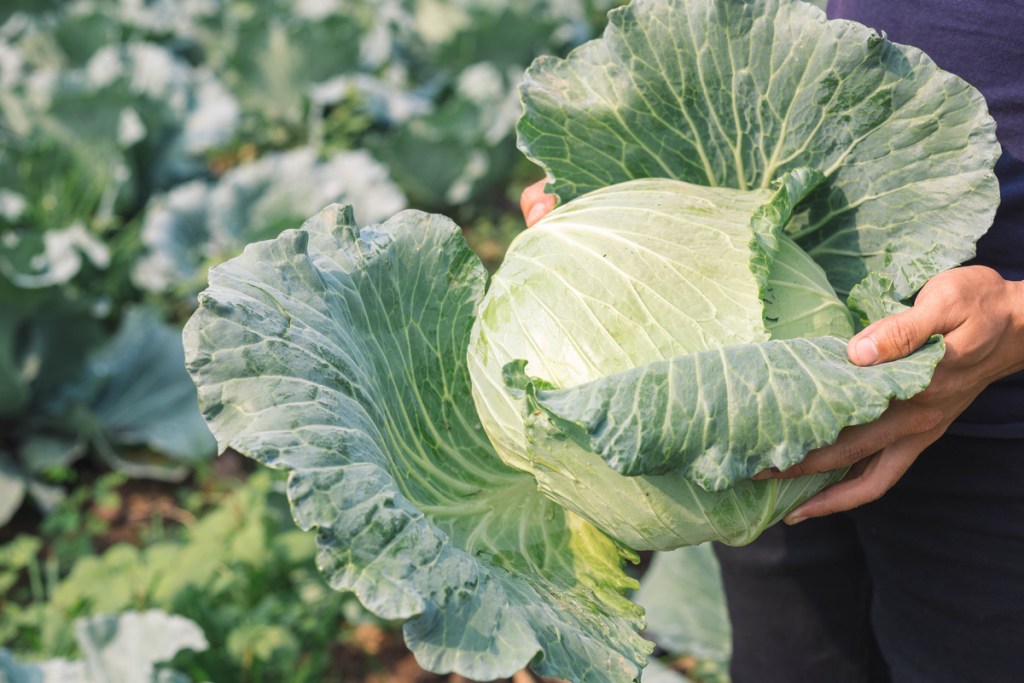
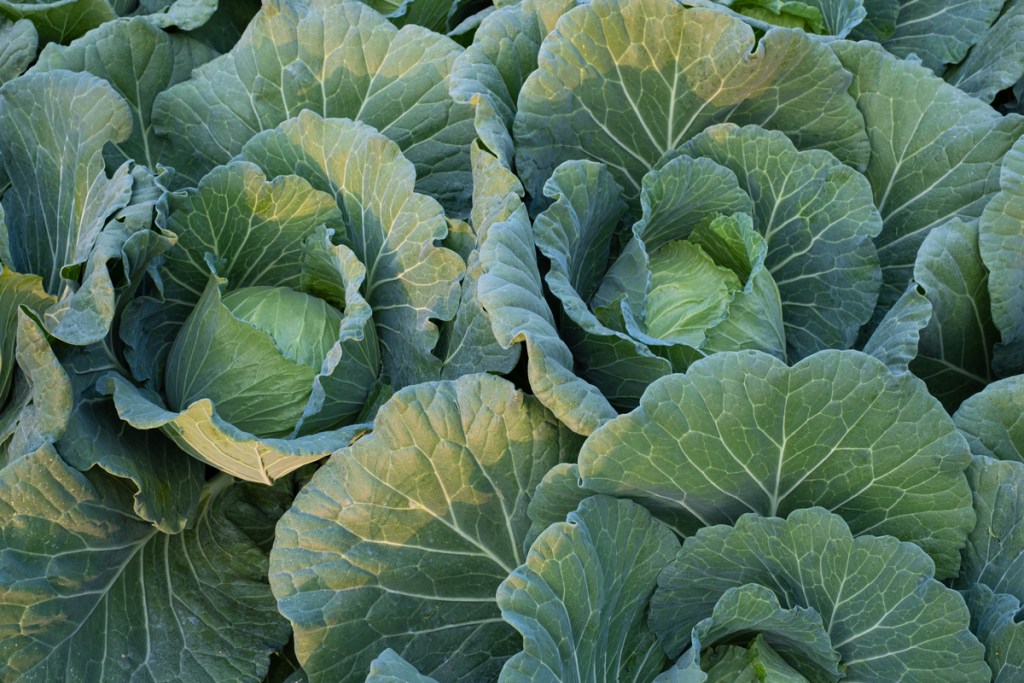
Your exact harvest time can vary based on what variety of cabbage you grow, but also what size cabbage head you want. A fully mature head of cabbage is typically between one and three pounds, but baby cabbage leaves can also be harvested and eaten. Cabbage heads that have been left in the garden too long will sometimes split or crack, so if you’re trying to grow a large cabbage, it’s important to inspect them daily for any signs of damage.
You can harvest cabbage in a couple of different ways. Using a sharp knife or garden scissors, you can cut the whole head of cabbage off at the base. You can also pull the whole plant up at once if you prefer.
If you leave the roots and the outer leaves in the ground, and only harvest the interior of the cabbage (typically by cutting it out), then the plant will sometimes grow new cabbage heads to replace it. These new heads won’t grow quite as large, and you’ll likely only get four or five orange-sized cabbage heads. If it sends up more than four or five, you’ll need to thin the extra ones to give the heads room to grow.
Pest control
Cabbage leaves are a delicious snack for many pests as well, including aphids, slugs, and a variety of beetles. You can control them with pesticides, but remember that anything left on the leaves can potentially end up in your meals if the leaves aren’t washed thoroughly enough. For that reason, it might be better to choose a non-toxic pesticide like capsaicin spray. Other methods include using pest netting to keep pests away or planting strong-smelling herbs like fennel or rosemary, which are said to repel some pest insects and attract beneficial ones.
Whether you prefer it in sauerkraut, sautées, or stir-fries, cabbage is a tasty and versatile garden green. It can be a little tricky to grow at first since it’s a bit picky about growing conditions. Once you have the basics mastered, though, this delicious and nutritious plant can quickly become a yearly staple in your garden. Using this guide, you’re ready to get out there and start growing all the cabbages you want.
Editors' Recommendations
- 3 incredible reasons why you should be using coffee grounds in your garden
- Why mulching might be the best option for your old Christmas tree
- Have you ever wondered if potatoes are fruits or vegetables? We have answers
- Keep your yard happy all year with these 5 grasses that grow in the winter
- Use these tips to start a successful indoor vegetable garden this winter


