
Planning your first garden in a new home can be equal parts exciting and intimidating. Of course, you want every garden to succeed, but there’s a lot of pressure on the first garden to set the tone. There are so many factors that can affect plant growth, though, so how can you be sure that the plants you have chosen will thrive in your new yard? Here are four easy soil tests you can do at home to make planning your garden easier.

Soil type
Soil type is the easiest factor to identify. There are three main soil types, and most gardens having a mix but tending toward one of the three:
- Sandy soils are thin, well-draining, and have difficulty retaining nutrients.
- Loamy soils have lots of organic matter, making them both moderately nutritionally-dense and well-draining.
- Clay soil is thick and holds onto both water and nutrients extremely well.
If your soil is overwhelmingly one type, you may be able to identify it based on sight alone. However, the easiest way to tell is by texture. Start with loose soil and lightly moisten it. You don’t want it to be wet or muddy, just barely damp. Take a handful of soil and give it a light squeeze. Sandy soil will crumble apart, while loamy soil will stick together a bit more but will come apart with a little more pressure. Clay will hold its shape and be almost moldable.
Water retention
Water retention, or how well your soil drains, is important for any plant. However, if you plan on growing plants that need a lot of water or are sensitive to root rot, this soil element is even more important. To test your soil’s water retention:
- Dig a hole that is roughly a foot wide, long, and deep. It doesn’t have to be massive, but you want to get to the depth that your plant’s roots will be.
- Fill the hole with water and allow it to drain. This first round of water saturates the soil, eliminating some variables that could interfere with your test.
- Wait 12 to 24 hours, then refill the hole and measure how much water drains each hour. Average drainage is roughly two inches an hour. If your soil drains much slower than that, your soil has poor drainage, while a much faster time means your soil will have trouble staying wet.
What’s the pH?
The majority of plants enjoy a neutral soil pH, but some like more acidic or alkaline soils. To find out what the pH of your soil is, you have a couple options. Most soil test kits come with pH tests that are easy, and generally more reliable.
You can also run a quick at-home test which, while not quite as precise as a test kit, does give you an idea as to whether your soil is more acidic or more alkaline. To run the test, grab two bowls of cups with two tablespoons of soil in them and follow these steps:
- Add half a cup of vinegar to one of the bowls. If the soil is alkaline, there will be a small chemical reaction that results in bubbles or fizzing.
- In the other bowl, moisten the soil just slightly with plain tap water, then add half a cup of baking soda. If the soil is acidic, you will see a similar chemical reaction.
- If neither bowl shows signs of bubbles or fizzing, then your soil has a neutral pH.
Bioindicators
Bioindicators are living things that are used to assess the quality of an environment. There are a few bioindicators to look for when assessing general garden health, but two main ones will signal soil health specifically
First — and this might seem obvious — consider the area you plan on gardening in. Was anything growing there before you began working on it? If not, this could be a sign of poor soil health. Of course, it’s also possible that the previous owners had cleared the space intentionally, so this may not be the best test.
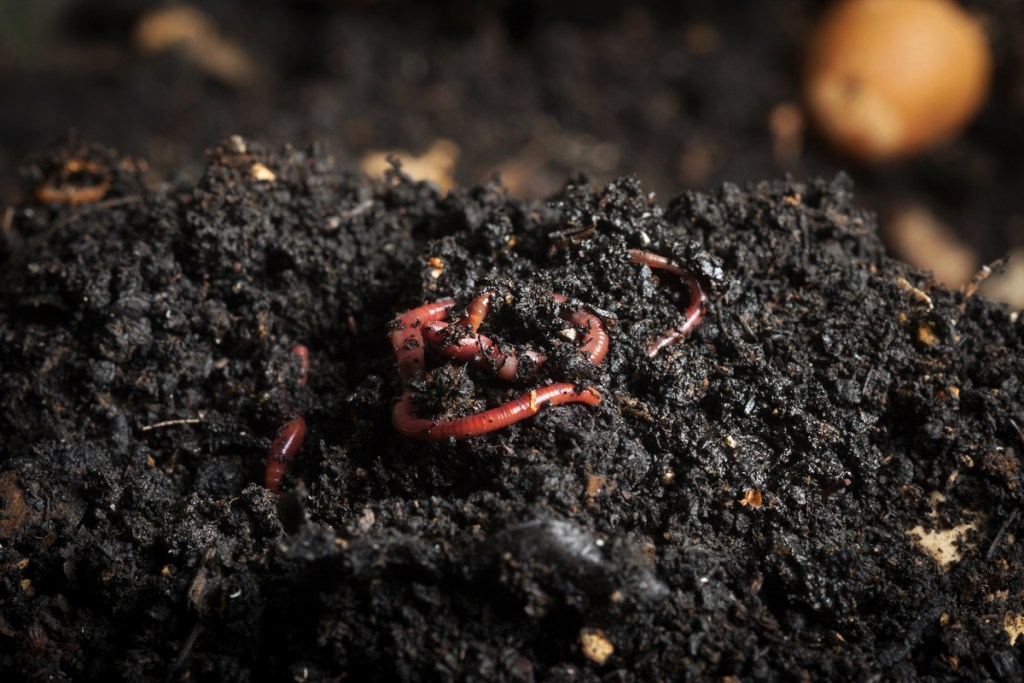
The other test is to search for earthworms. No, we’re not kidding. If your soil is healthy and nutrient-rich, these little critters should abound. To carry out an accurate test, follow these steps:
- Dig a hole but keep track of the size. It may be helpful to mark out a specific area before you dig.
- Dig slowly and sift through the soil for worms. Count as you go, and place them to the side so you aren’t counting the same worms.
- A good rule of thumb is to be within three worms of one worm for every inch. So, for a hole six inches deep, you should find at least three worms.
With these four easy tests, you can be assured that your soil is just right for the plants you want to grow. You’ll never have to wonder or worry about your soil quality and instead can focus on the fun parts of gardening. Remember, when in doubt check your soil’s texture, how quickly it drains, the pH value, and look for worms. No plant is impossible to grow as long as you know you have the right conditions for it to thrive.
Editors' Recommendations
- 3 incredible reasons why you should be using coffee grounds in your garden
- Have a gross mealybug infestation on your plants? Try one of these remedies
- Keep your yard happy all year with these 5 grasses that grow in the winter
- 4 November garden plants you should consider growing
- 4 outdoor gardening projects to focus on this November


