Carrots are some of the easiest outdoor vegetables to grow, but because they grow underground, it can be more difficult to know when to harvest carrots (and when to harvest carrot seeds) compared to cucumbers, peppers, green beans, and other vegetables that grow from flowers on stems. If you’re used to growing underground vegetables, you’ll have no trouble! But if you’re new to vegetable gardening (and carrots in particular), here’s how to know when carrots are ready for harvest.
Growing a successful carrot crop
The key to growing a great carrot crop is to make sure the carrots are planted in loose, sandy soil. If the soil is right, the rest of the care will be a lot easier to manage. Carrots take roughly two to four months to mature depending on the variety, and you can plant them throughout the spring and summer for a continuous harvest through the fall. Thankfully, caring for your carrots is rather simple. Here's what to do.
Step 1: Plant the carrots in loose soil with good drainage, and keep the soil moist with shallow watering. This will prevent the soil from getting too soggy and drowning the carrots.
Step 2: Cover the carrots with a light layer of fine compost to help protect the seeds while they germinate. Carrots can take two to three weeks to germinate (if you’re growing from seeds), so it’s normal to not see growth right away.
Step 3: Thin out the crop so that the plants are 3 to 4 inches apart once the seedlings are about an inch tall. This will give your carrots room to grow and mature.
Step 4: Thin the seedlings using a small pair of scissors instead of pulling them up. This will prevent you from damaging the roots.
Step 5: Give the carrots 1 inch of water a week, then gradually transition to about 2 inches of water as the roots grow.
How to tell when carrots are ready to harvest
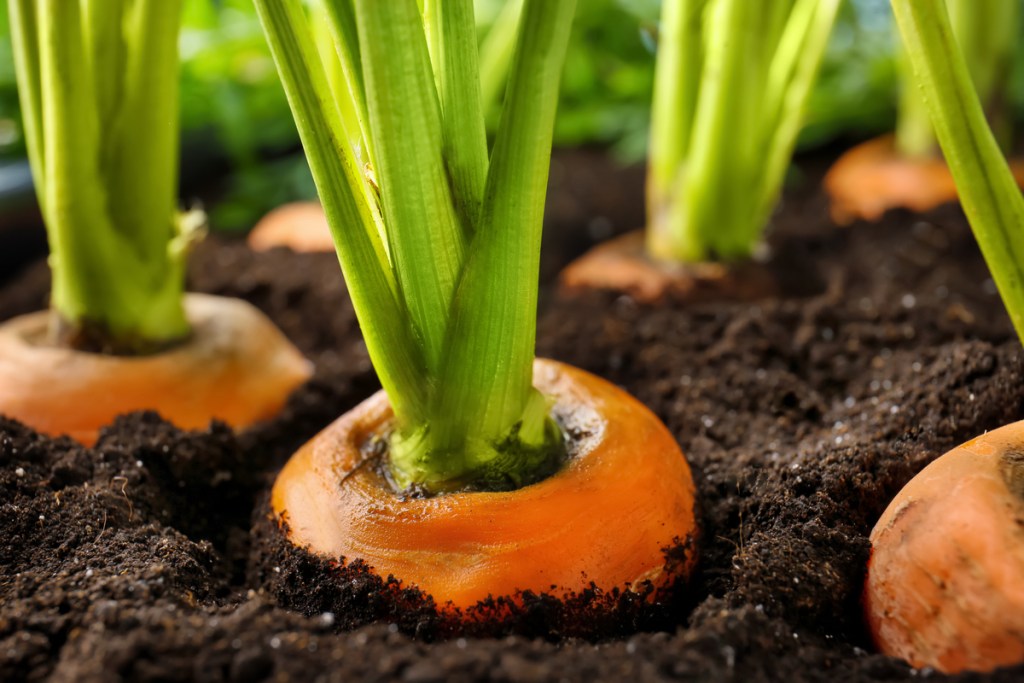
When you decide to harvest your carrots will depend on the desired size of maturity. Luckily, once carrots mature, the tops will start to poke out of the ground. If you can see your carrots, it’s time to consider harvesting! The smallest you want the carrots to be is about the width of your thumb. However, if you want larger carrots, you can care for them and let them grow longer.
When to harvest carrots also depends on the time in the growing season. Carrots grown in the summer and toward the beginning of fall will actually taste better after the first frost because the frost encourages the carrots to start storing sugars. Here's how to time your harvest.
Step 1: Harvest spring and early summer carrots before average temperatures get too high.
Step 2: Protect late summer and fall carrots from frost by covering the carrot tops with a layer of shredded leaves or mulch.
Step 3: Loosen the soil before harvesting the carrots by inserting a garden fork next to each carrot and moving it back and forth. This will help limit damage done to the roots by pulling on the tops.
What to do with your fresh carrots
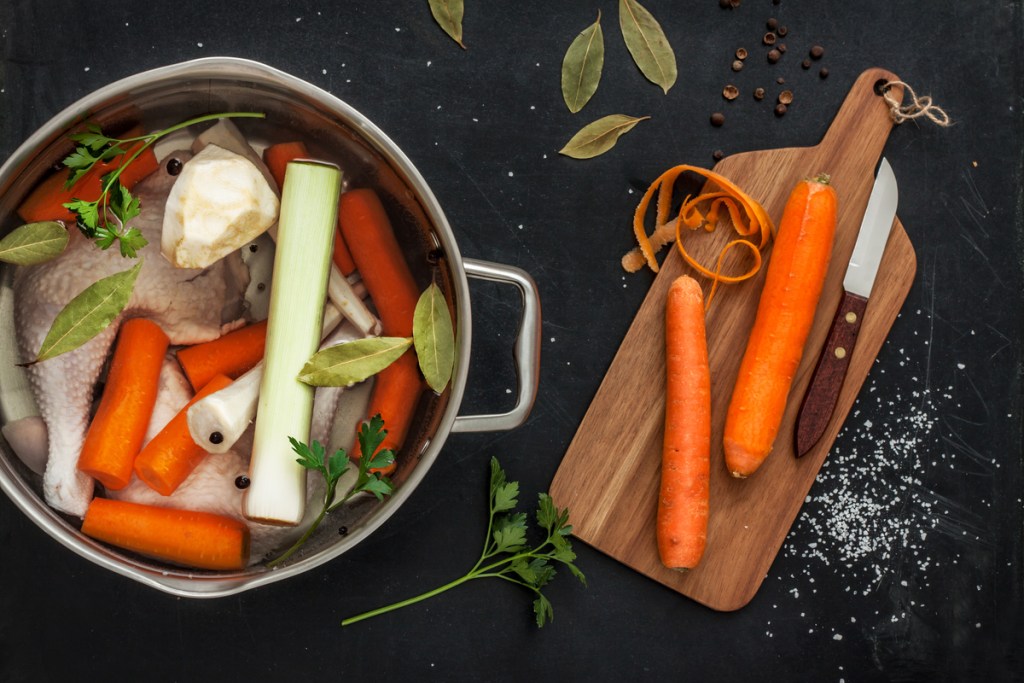
The possibilities are endless! You can make salads, snacks with peanut butter, soups, stews, carrot cake, and other baked goods. Basically, you can add your homegrown crops to any recipe that has carrots in it. Depending on the size of your harvest, this could mean anything from one meal to a kitchen full of baked goods.
If you have too many carrots, you can always give some to your friends and family, too! They’ll love sharing in the results of your hard work (and hardly anyone will turn down free food). Here's how to store and prepare your leftover carrots.
Step 1: Store carrots that will be eaten quickly in the vegetable crisper drawer of your refrigerator.
Step 2: Place the carrots in a perforated plastic bag to help prevent them from drying out. Carrots placed directly in the drawer or fridge with no protection will dry out easily and won’t last as long.
Step 3: Remove the tops with a knife before storing or eating.
Step 4: Wash the carrots in cold water, scrubbing them with a veggie brush or scour side of a new sponge to clean off the dirt. Avoid using any soaps. Once the carrots are washed, they’re ready to be eaten.
Step 5: Peel the carrots if you like (or if it’s required for the recipe you’re using), but it isn’t necessary if you’re simply chopping them up for a soup, stew, or salad.
Step 6: Save extra peels for compost or to use in a stock.
Storing your excess harvest
Now that you know how to tell when carrots are ready for harvest, let’s talk about storing the excess crop. If you don’t think you’ll consume all of your carrots in a timely manner, the veggie drawer won’t be your best friend. Here's how to store your carrots for longer periods of time.
Step 1: Leave mature carrots in the ground until either the temperature gets too warm or there are multiple frost warnings. Simply harvest as needed until the time comes when all of them need to be dug up.
Step 2: Store harvested carrots in a root cellar, basement, or garage where the temperatures average 32 to 38 degrees Fahrenheit.
Step 3: Let the carrots outside for a couple of days to cure and dry.
Step 4: Without washing first, place the carrots in a wooden box or bucket filled with peat moss, sawdust, or sand to mimic loose earth.
Step 5: Place the carrots vertically, taking care not to let them touch each other, and make sure they’re well insulted and the tops are covered.
Step 6: Avoid sealing the container too tightly. You’ll want some moisture to be able to get in so that the carrots don’t dry out, so make sure there isn’t an airtight seal.
Your excess harvest can be stored in this moist, cold environment for up to six months unless it gets exposed to extremely cold temperatures. If you don’t have the space to store a lot of your harvest, making baked goods to give away is great for using up some of the extra crop while making something delicious for family and friends.
Editors' Recommendations
- Growing your own vanilla plant doesn’t need to be difficult: Here’s what you need to know
- The best little flowers to grow when you’re low on space – plant these this spring
- Create a cardinal bird sanctuary in your garden: Grow these plants
- Wondering how to grow bean sprouts? Follow this guide for this tasty staple ingredient
- The truth about holly leaves – interesting facts you might not know


