
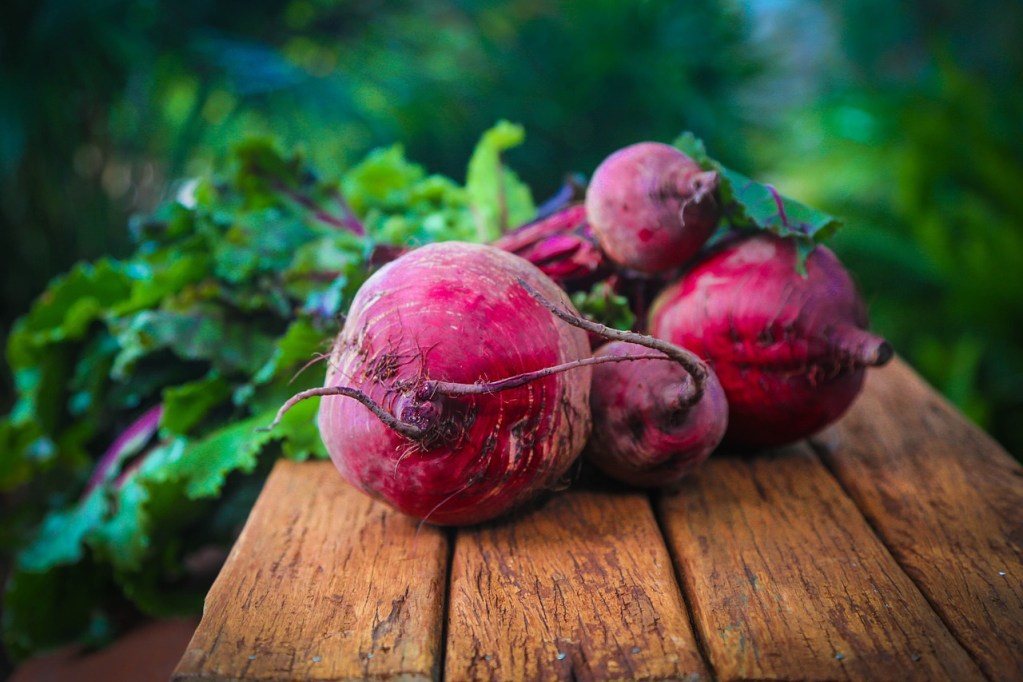
Beetroots, or beets for short, are earthy, delicious vegetables that are easy to grow in a garden or in a greenhouse. You can even grow them in pots indoors or on your porch. They pair well with other tasty vegetables like Swiss chard, both in the garden and in meals, and they dd a pop of vibrant color to any meal.
As with many root vegetables, beets are easy to store, making them an ideal vegetable to stock up on for long winters. If you want fresh beets for your salads or soups, then you're in luck! Here's everything you need to know to get started growing your own beetroots.
Pair your beet variety with the best planting time
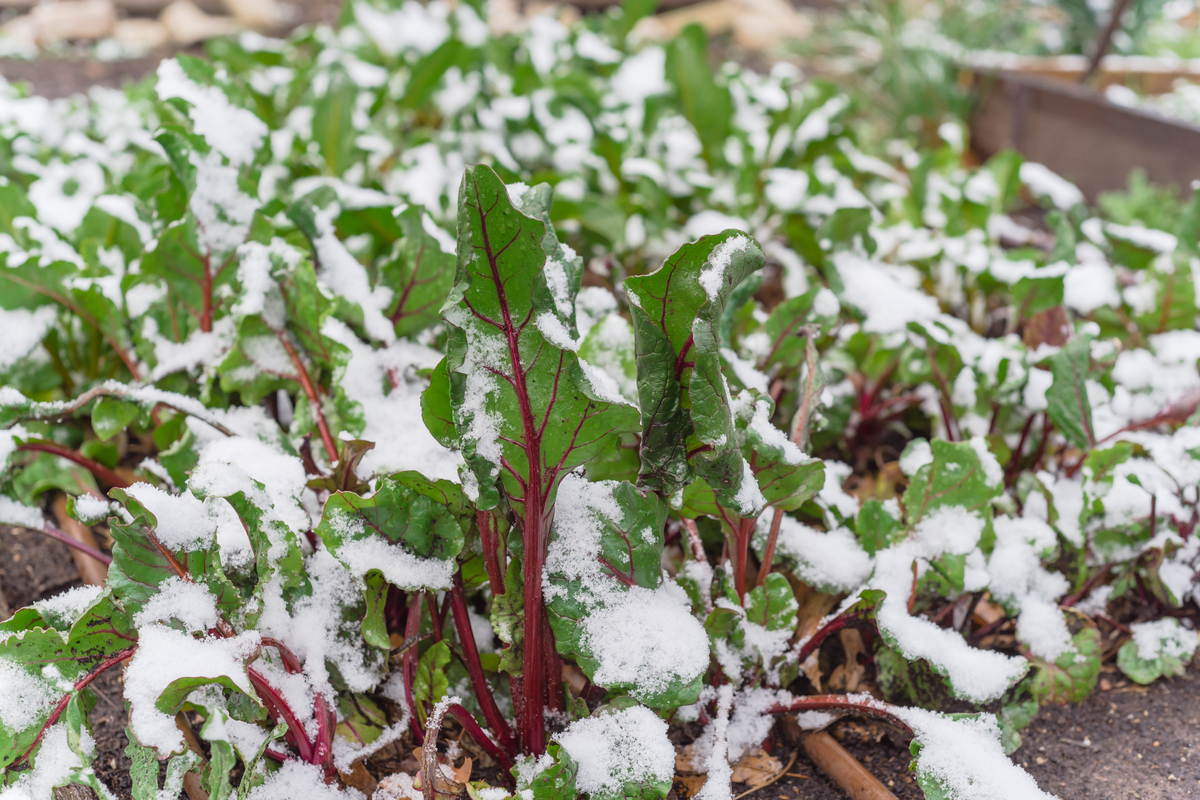
There are many varieties of beets to choose from, and not all of them are best suited for the same planting time. Beets are a cool-weather crop that you should plant in early to midspring and late summer to early fall. They have a short enough growth cycle that you can actually plant them at any time, as long as you can keep them fairly cool. Here's what you need to know:
Step 1: Plant beets directly where they will mature, rather than transplanting them later.
Many early spring garden plants can be started indoors and transplanted when the weather warms. However, beets have roots that are sensitive and easy to damage, meaning they don't enjoy being transplanted.
Step 2: Speed up germination by soaking the seeds in water first.
Step 3: Choose a bolt-resistant variety for late spring or summer plantings.
Bolting, or blooming, occurs when the weather becomes warm. However, it also changes the texture and flavor of the beets, making them unpleasant to eat.
How much sun and what kind of soil do they prefer?
Here's how to pick the best planting location.
Step 1: Plant your beets in full sun.
If you're growing them indoors, set them by your sunniest window. Beets can tolerate some shade, but this typically leads to smaller beets and larger leaves.
Step 2: Invest in a grow light to supplement natural light.
This isn't necessary for outdoor beets, but if you're growing them indoors a grow light is useful. It's especially helpful if you live in an area prone to dark, cloudy winters.
Step 3: Avoid planting beets in clay-heavy soil.
Beets can tolerate most soil types, but clay-heavy soils can constrict them. This can cause small or misshapen beets.
Step 4: Mix compost into the soil to improve it's nutrients and drainage.
You can use your own homemade compost or store-bought compost.
Watering and thinning beets
Here's how to care for your beets once they've been planted.
Step 1: Keep your beets consistently moist.
Beets can withstand a little drought, but consistent moisture creates tender beets.
Step 2: Thin beets once they sprout so that the remaining sprouts are 3 to 4 inches apart.
Step 3: Clip the sprouts that are thinned with scissors rather than pull them up.
Pulling the sprouts up can damage the surrounding seedlings. Don't worry about the roots left behind, they will break down quickly. Seedlings that are thinned can be eaten, discarded, or added to compost.
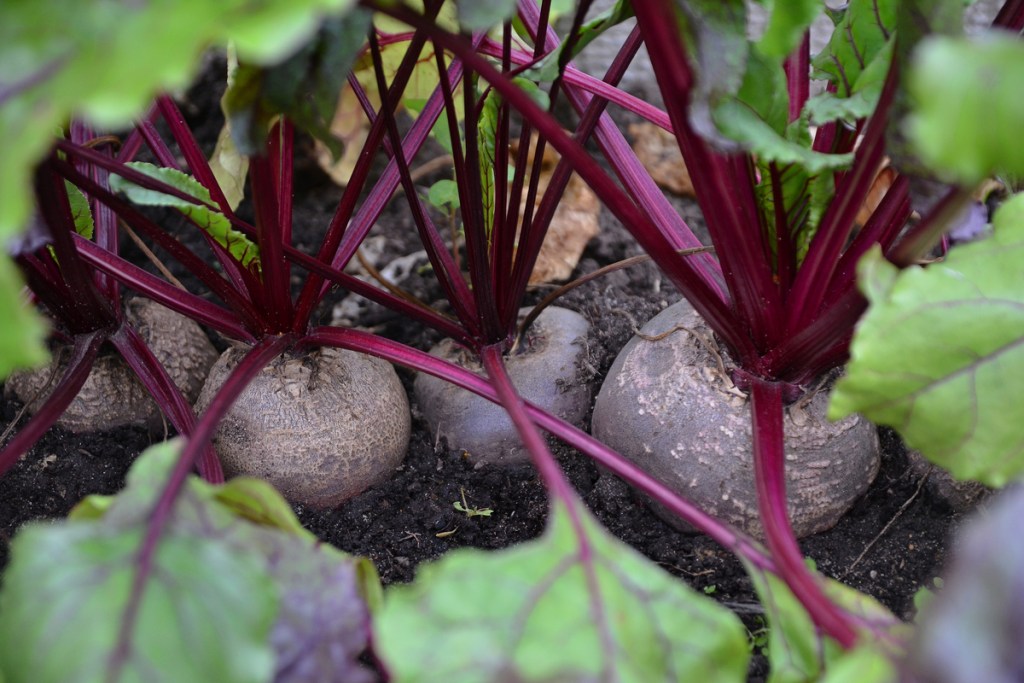
Ideal harvest times and techniques
Growth rates and harvest times vary between varieties, but the average beetroot plant is ready to harvest after two to two and a half months. Knowing the variety you have can also be helpful when determining harvest time based on size. For example, a Cylindra beet is long and slender and best harvested when it’s 1 1/2 to 2 inches wide. On the other hand, you can harvest a larger beet variety, such as an Avalanche, when it’s at 2 1/2 to 3 inches across.
Size is an important factor, as smaller beets are more tender. As beets grow they become firmer, and eventually they reach an unpleasant, woody texture if left too long. So while it’s tempting to let your beets keep growing, it’s best to harvest them when they’re between 1 1/2 and 3 inches wide.
Once they've reached their ideal size, here's how to harvest them:
Step 1: Loosen the soil around the beet by inserting a trowel, garden fork, or other tool into the soil and wiggling it gently back and forth.
Some beets will come loose without this step, but it certainly make harvesting them easier.
Step 2: Grip the base of the leaves, as close to the top of the beet as possible.
Step 3: Pull up gently but firmly.
Avoid going too fast, or you may rip the leaves. If you feel significant resistance, stop and repeat the loosening process in step one.
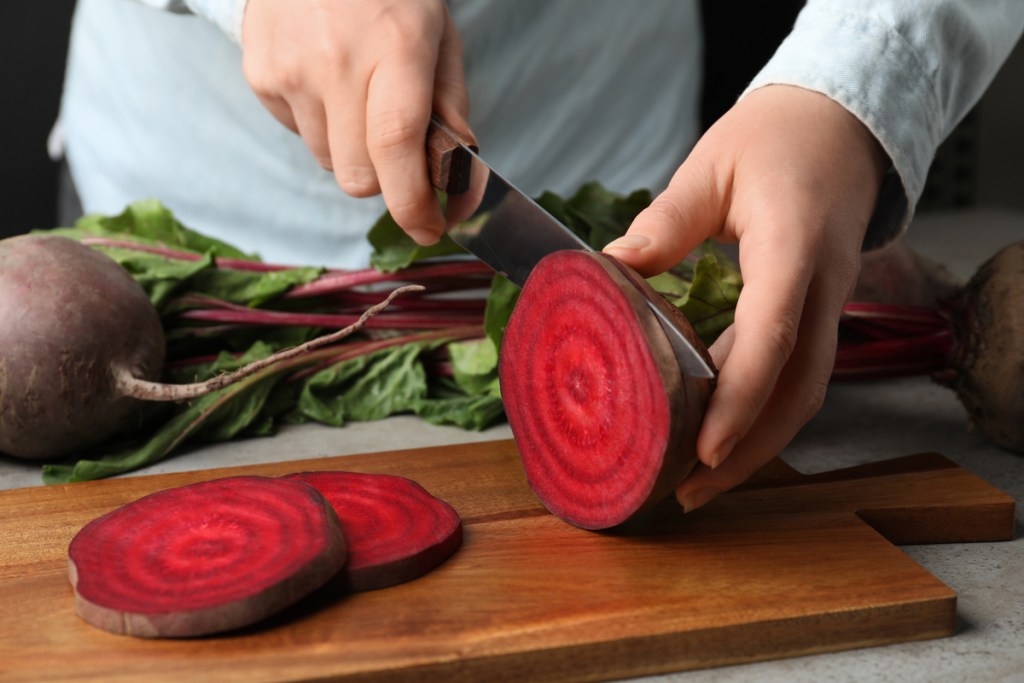
Beets are delicious vegetables with a unique flavor. Homegrown beets are an easy way to add color and extra nutrients to your meals. Whether you prefer them diced in your salad, cooked into soup, or to use them to turn baked goods red, you can have all the beets you want using these useful tips.
Editors' Recommendations
- Growing your own vanilla plant doesn’t need to be difficult: Here’s what you need to know
- Growing cocoa plants in the U.S. is difficult (but not impossible): What we know
- 3 incredible reasons why you should be using coffee grounds in your garden
- Have a gross mealybug infestation on your plants? Try one of these remedies
- Wondering how to grow bean sprouts? Follow this guide for this tasty staple ingredient


