
So you’ve read our guide to composting, and you’ve learned that leaves would make a great addition to your pile. Fallen leaves are a gift to gardeners that should never be disposed of in the landfill. They make excellent compost, leaf mold, and mulch that all enrich soil and boost plant health.
Keep in mind: The best leaves for composting, including ash, maple, poplar, willow, and fruit tree leaves, are those that have thin cell walls and contain higher levels of nitrogen and calcium. Leaves with tougher cell walls and low nitrogen content, including beech, holly, and oak, resist the composting process and may be best for other uses, such as mulch or leaf mold. Walnut and eucalyptus leaves contain compounds that are detrimental to other plants. These are best used to mulch the trees they came from.

Before you start: Shred your leaves
For all of their benefits, leaves present a few challenges. They blow around in the slightest breeze, making the yard look untidy. They easily become matted when wet, sometimes to the point of repelling rainwater. They take up tons of space, whether piled up or in bags, as they await usage.
Whatever you plan to do with your fallen leaves, it's easier if you shred them. Shredding fallen leaves reduces matting, increases surface area for faster composting, reduces blowing in the wind, minimizes needed storage space, and generally improves handling.
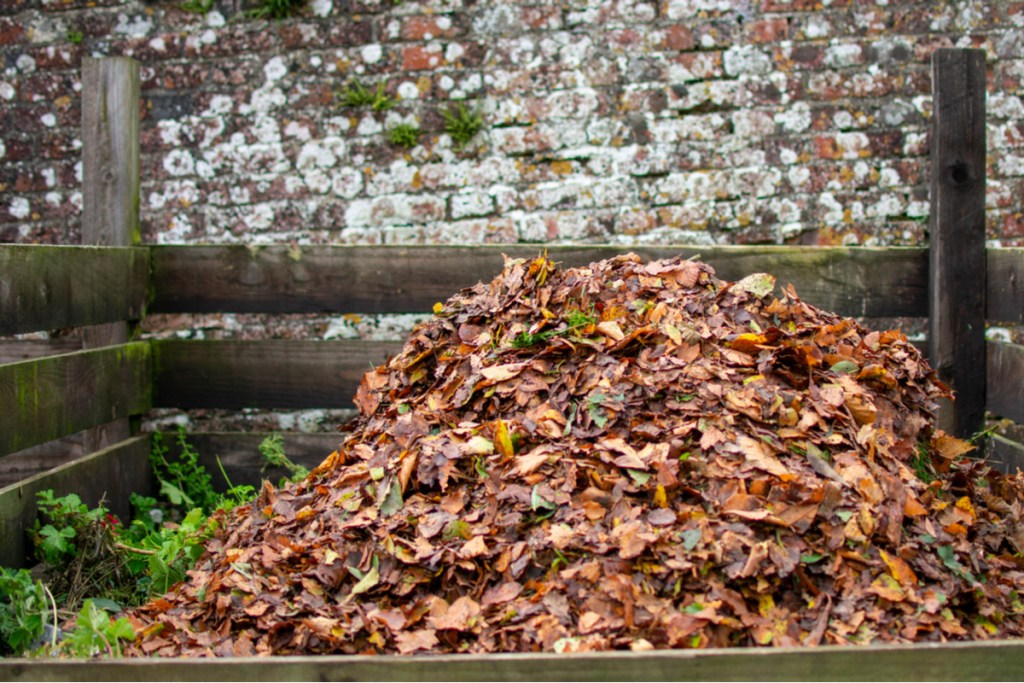
Making leaf compost
Efficient composting of fall leaves requires a carbon-to-nitrogen ratio of between 25 and 40 parts carbon to one part nitrogen. Too much nitrogen leads to a stinky, slimy mess. Too much carbon and the pile will be extremely resistant to decay. At the ideal ratio of 30:1, the compost heats up quickly as beneficial microbes break down the material. The heat kills off plant diseases and weed seeds. The resulting compost is dark, crumbly, nutrient rich, and teeming with beneficial bacteria that garden plants love.
Compost needs content that's high in both nitrogen and carbon. The nitrogen-rich ingredients are easy enough to come by, but finding carbon-rich ingredients can be more challenging. Many gardeners resort to buying straw or using shredded paper and cardboard; however, shredded autumn leaves make a perfect high-carbon ingredient because they are natural, plentiful, contain beneficial nutrients, and best of all, they’re free!
Step 1: Gather compost material with a high nitrogen content, such as kitchen vegetable scraps, coffee grounds, garden weeds, grass clippings, last season’s annual flowers, etc.
Step 2: Start a new compost pile by spreading a 6-inch layer of shredded leaves in an area measure 3 square feet and moisten thoroughly with water.
Step 3: Add a 2-inch layer of nitrogen-rich “green” material.
Step 4: Cover the green layer with a 4-inch layer of shredded leaves and moisten.
Step 5: Continue alternating 2-inch layers of green material with 4-inch layers of shredded leaves until the pile is about 3 feet tall. The pile can be built all at once or gradually over time.
Step 6: Be sure to cover each new green layer with a layer of shredded leaves.
Step 7: Turn the pile every one to two weeks to improve aeration.
Step 8: Add water as needed. The pile should always have the approximate moisture content of a wrung-out sponge.
Step 9: Cover the pile loosely with a tarp to retain heat and moisture.
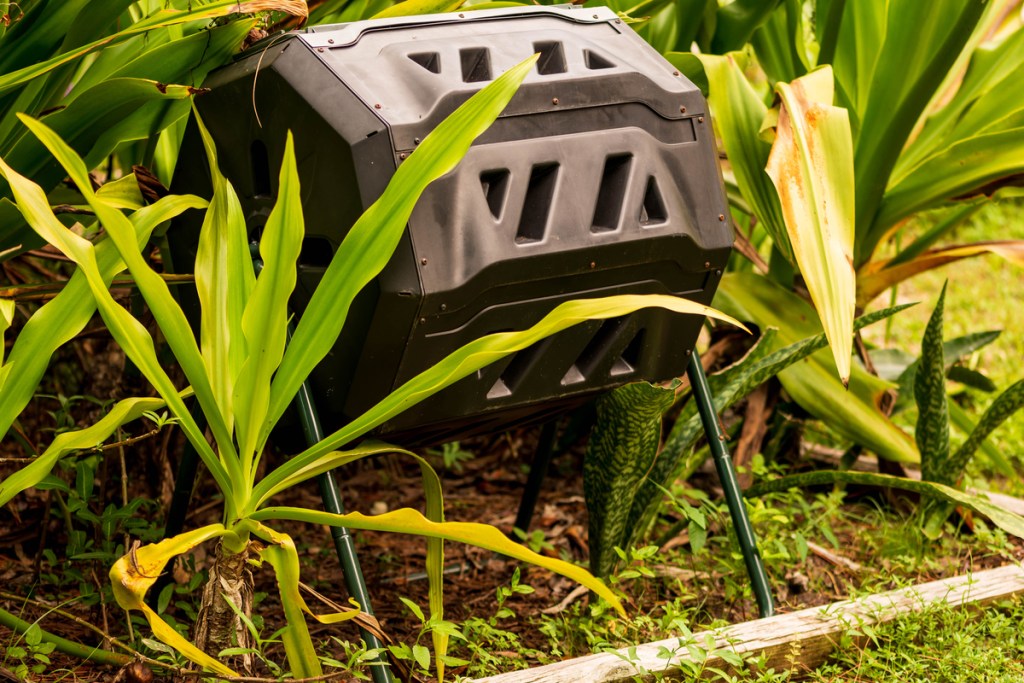
Making leaf compost with an enclosed composting system
If you use an enclosed composting system, such as a compost tumbler, layering may not be possible.
Step 1: Start the compost pile with three to four parts (by volume) shredded leaves to one part nitrogen-rich material. For each additional part of green material, add two parts shredded leaves.
Step 2: Add water as needed.
Step 3: Rotate the tumbler once or twice a week, and monitor the moisture content.

Make leaf mold
Leaf mold is the dark, rich, crumbly material that forms on the forest floor. It has an incredible ability to improve soil water-holding capacity, drainage, and nutrient retention. The difference between compost and leaf mold is in the organisms that make it.
While composting is performed primarily by bacteria in a warm or hot environment, leaf mold is made by fungi in a cool environment. Bacteria require higher levels of nitrogen, but the fungi that form leaf mold survive on carbon-rich leaves alone. All you have to do is mimic nature.
Step 1: Pile moist, shredded leaves in an out-of-the-way part of the garden or yard and leave them alone for six to 12 months. Several small piles that are 3 to 5 feet tall and wide are easier to maintain than a single large pile.
Step 2: Use wire or nylon fencing to form cages to keep the leaf piles intact. A flat-top cage will promote rainwater absorption.
Step 3: Add a tarp to expedite the process and maintain consistent moisture.

Turn leaves into mulch
If you have no space, time, or desire to maintain a compost pile or leaf mold bin, or if you simply have too many leaves to compost, you can take advantage of natural decomposition of leaves by using them for mulch.
Step 1: Spread a 6- to 12-inch layer of shredded leaves around landscape plants and over garden beds.
Step 2: Do not disturb the leaf mulch while it decomposes. Biological activity will remain steady at the soil surface beneath this mulch layer, and decomposers will gradually turn the leaves into humus. Subsoil organisms such as earthworms then transport the material to plant root zones.
Eliminate the time and expense of dumping those fall leaves. Instead, turn them into valuable compost for better soil and plant health in your garden.
Editors' Recommendations
- 3 incredible reasons why you should be using coffee grounds in your garden
- Tired of pesky weeds ruining your garden? Plant living mulch instead!
- Here’s when to plant a new tree to make sure it thrives in its new home
- Why mulching might be the best option for your old Christmas tree
- Do you live in climate zone 10? Here’s our guide to choosing the perfect climate zone 10 plants


