
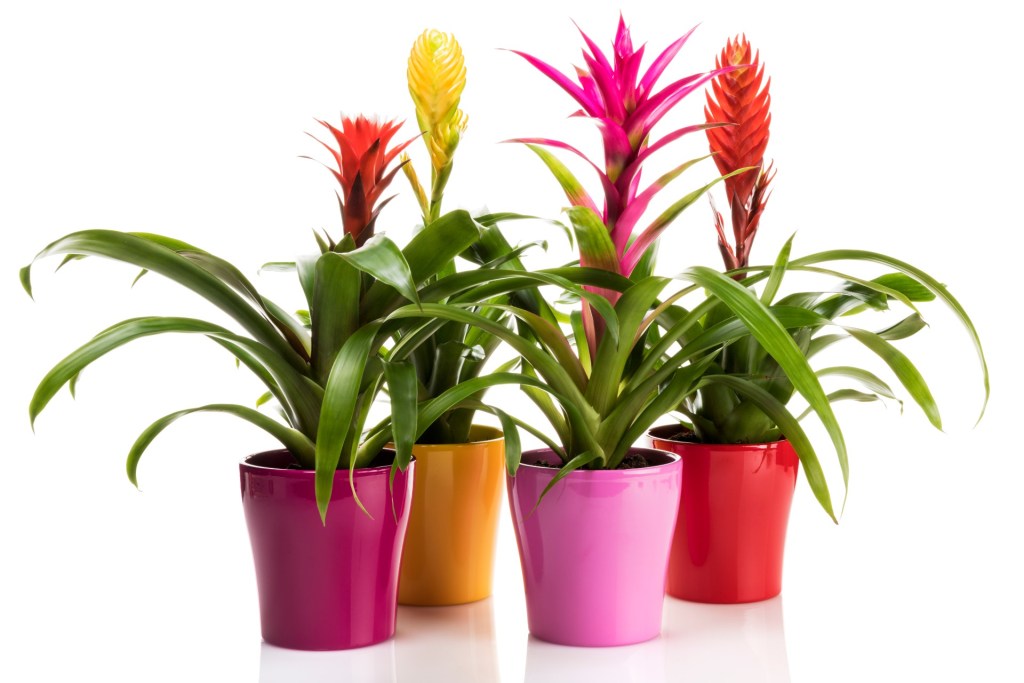
Physical beauty can be a short-lived experience — and that's certainly the case for bromeliads. Known for their lush foliage and lovely, colorful flowers, bromeliads only bloom once in their life span. So how do you make sure your bromeliad blooms and stays healthy enough to produce more plants? Let’s break down the basics of bromeliad care for the perfect blooms and pups.
How do you care for a bromeliad?
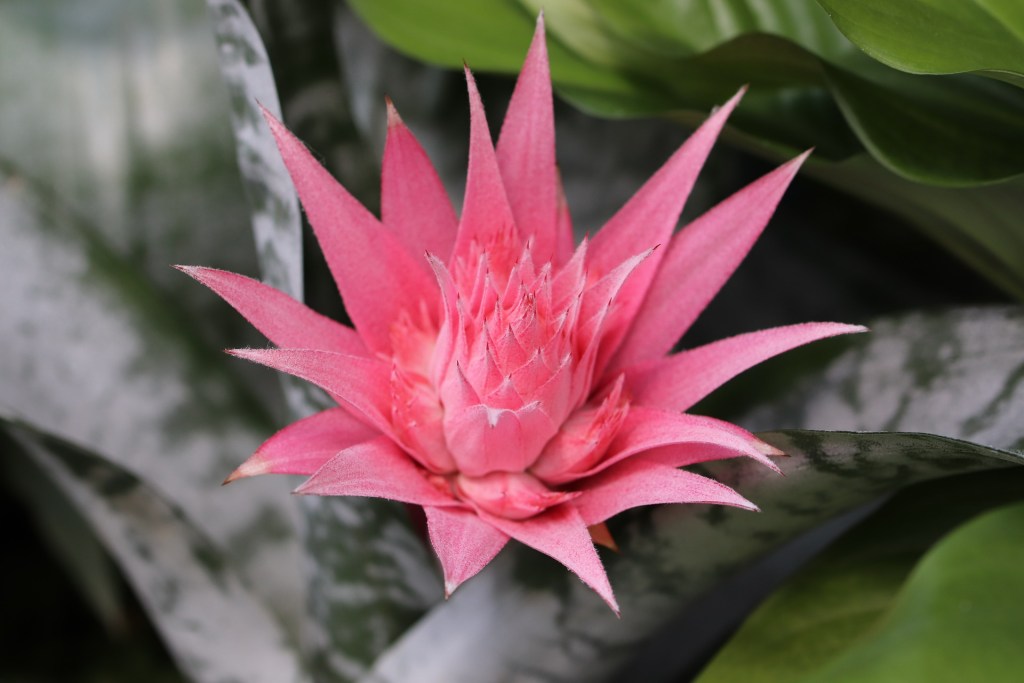
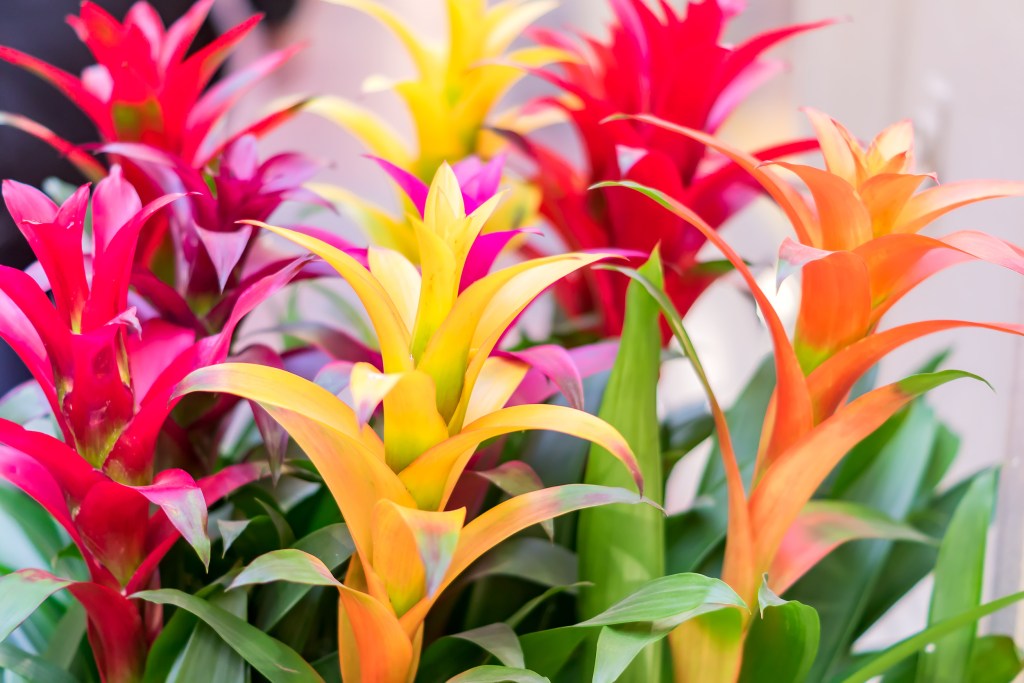
In nature, many bromeliads are epiphytes, which means that they attach their roots to tree bark and rock surfaces. A typical bromeliad features a rosette center with a cup where it collects nutrients and water. Surrounded by thick green or silver leaves, a once-in-a-lifetime bloom is called an inflorescence. The spiky flowers usually come in bright colors such as red, orange, and pink.
When it comes to houseplants, bromeliads are low maintenance. Here's how to properly care for them:
Step 1: Since these plants are native to tropical environments in North and South America, ensure they get plenty of moisture and humidity.
Step 2: That said, they’re drought-tolerant plants, so don't worry if they experience occasional neglect.
Step 3: As bromeliads prefer to dry out in home environments, you only need to water your plant every other week or so.
Step 4: Water both the soil and cup and make sure to keep the latter only halfway full to prevent rot.
Step 5: Place your bromeliad in partial shade or indirect sunlight for 4 to 6 hours a day — extra brightness can help your plant bloom!
Step 6: Put these hardy plants in well-draining soil, such as potting mix with orchid bark and perlite.
Step 7: Bromeliads don’t require heavy feeding, but you should give them slow-release fertilizer or diluted fertilizer during the growing season.
Step 8: Don't overfertilize, as this can cause your plant to become leggy and faded.
Step 9: Many gardeners also use Epsom salts to encourage growth in their plants. For increased nutrient absorption, mix a tablespoon of salt per gallon of water. The salt can allow your bromeliad to take in more nitrogen, phosphorus, and sulfur to grow strong and healthy.
How can you get a bromeliad to bloom?
A bromeliad needs to mature before it flowers, and this process can take up to three years. You can encourage your bromeliad to bloom with a little help from ethylene gas, which naturally comes from ripening fruit. Here's how:
Step 1: Put ripe apple wedges into a large clear plastic bag. Other fruits, such as bananas and kiwis, should work as well.
Step 2: Wrap the bag around your plant and leave the fruit in there for up to 10 days. The fruit should give off ethylene gas, which will help trigger flowering.
Step 3: Before attempting this, make sure that the plant’s center doesn’t have any water in it.
Step 4: Patience is key afterward — it can take anywhere from six weeks to three months before a bloom appears.
How often do bromeliads flower?
The straightforward answer is once; however, the blooms do stick around. Depending on the species, flowers can last from a couple of weeks to a few months before they turn brown and desiccated. Here's what to do after your bromeliad flowers:
Step 1: Allow the bloom to fall off naturally, or snip it off close to the center with pruning shears.
Step 2: Whenever you cut your plant, use sterilized tools to avoid transferring diseases.
When should you cut off bromeliad pups?
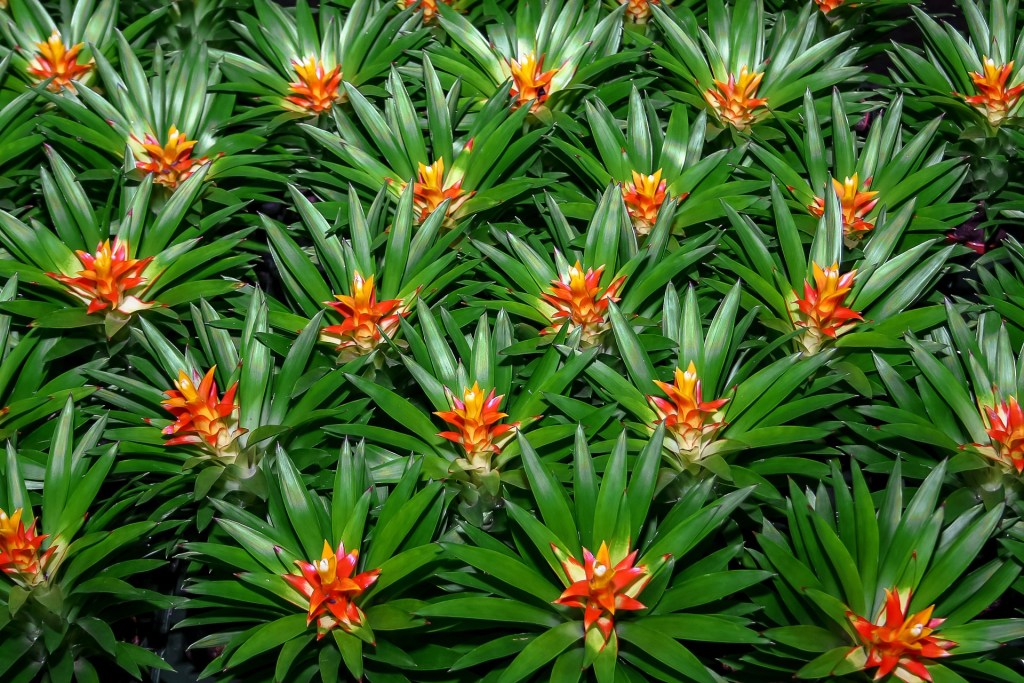
If you buy a bromeliad from a nursery, chances are that it’s already in bloom. This means that your plant is mature and at the end of its cycle. Once a bromeliad blooms, it begins to die. Its death doesn’t necessarily mean that your bromeliad journey has to end altogether. You’ll still want to take care of bromeliads after they flower. When the bloom dies, pups should start emerging soon enough. Here's how to separate and care for the bromeliad pups:
Step 1: Take note that bromeliad offshoots should be ready in about six months.
Step 2: Cut off pups after they’re about one-third or one-half the size of the mother plant. At this point, some offshoots even develop small roots.
Step 3: Use a sharp, clean knife to cut the pups from the base and allow them callus for a few days before you place them into a potting mix. After your bromeliad babies settle, root systems will establish after a few weeks.
Step 4: You also have the option of leaving the pup on until the mother plant withers away. Once the original plant completely dries out, you can remove it. This method allows the pup to absorb as much energy and nutrients as possible from its mother plant.
However you decide to clean up your mature bromeliad, it can take well over a year for a bromeliad baby to reach its full size and begin the blooming cycle all over again. In the meantime, enjoy your bromeliad’s beauty as it grows!
Editors' Recommendations
- Everything you need to know about trailing succulents care for lush, thick growth
- How to pick the perfect orchid pots for healthy blooms
- Beyond basil and cilantro, add these unique plants to your indoor herb garden
- Beautiful, low-maintenance pothos varieties to add to your plant collection
- 5 easy-care spider plant varieties perfect for any home garden


