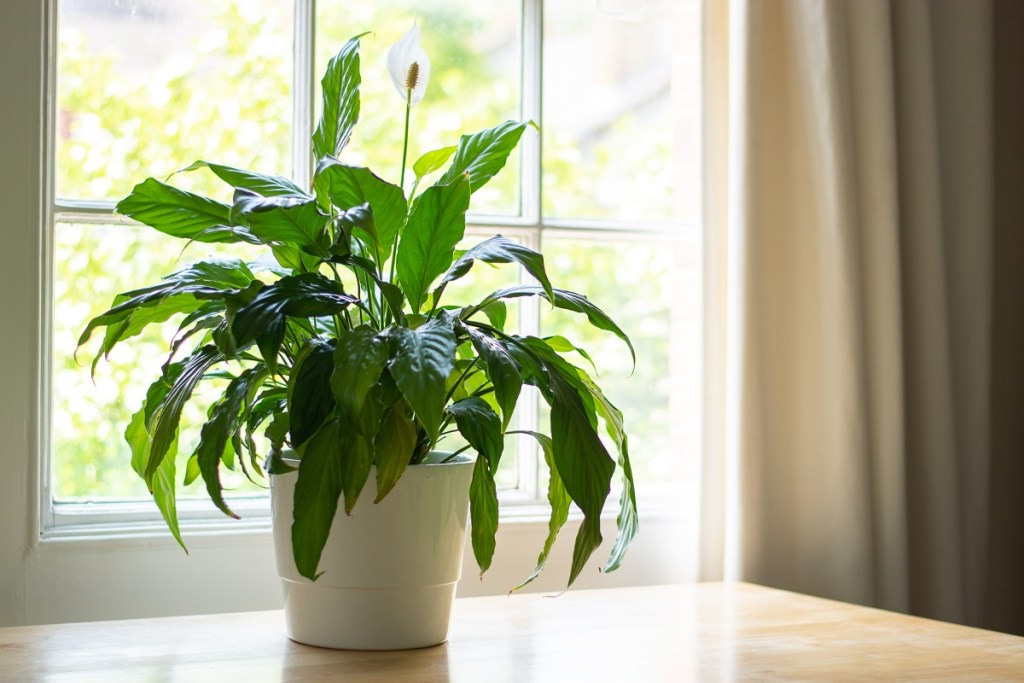
Peace lilies are native to tropical and subtropical climates where you’ll likely find them growing on a forest floor. They’re hardy in USDA zones 11 and 12 and are planted outdoors in the spring while it’s still cool and growing throughout the summer.
In other climates, peace lilies are most commonly grown as houseplants. Whether indoors or out, peace lilies have a reputation for being high maintenance. Although they're easier to grow than some rumors say, they're still prone to a few specific problems. Most notable, yellowing leaves. If you're having this issue, keep reading to find out how to take care of yellow leaves on a peace lily.

Why does your peace lily have yellow leaves?
Peace lilies usually have long, dark green, oval-shaped leaves that grow right up out of the soil. They’re rather durable plants since they have the capability to adapt to lower lighting, however, like other low light plants, that doesn’t mean less light is always better. Insufficient lighting is one of the main causes of yellowing leaves on a peace lily, along with:
- Aging
- Disease
- Drafts and low temperature
- Nutrient deficiency
- Overwatering/under-watering
- Transplant shock
- Water quality issues
Here's how to find the root of the issue and treat it:
Step 1: Remove yellow leaves with scissors.
Yellow leaves won't turn green again, and they leave your peace lily weakened and vulnerable to pests and diseases. Pulling the leaves off can damage the rest of the plant, so use scissors to cut them off.
Step 2: Look back through your care regiment and note any changes.
Did you transplant your peace lily recently? Move it to a new location where it may be getting more or less light than before? Change the frequency of its watering, or the kind of water you use? If you can spot the change or changes, then you've likely found your problem! Otherwise you'll need to use trial and error.
How to prevent yellow peace lily leaves
The best way to prevent yellow leaves from developing in the future (aside from the inevitable ones that fade due to aging) is to follow the proper care. Here's what to do:
Step 1: Inspect your peace lily regularly for signs of yellowing leaves.
This is the easiest way to catch problems — like pests or diseases — early before too much harm is caused to the plant.
Step 2: Dust the leaves to keep them clean and free of mites.
Step 3: Water your peace lilies whenever the top inch of soil is dry.
Always err on the side of underwatering rather than overwatering if you’re unsure. Underwatering is an easier problem to fix.
Step 4: Place your peace lily in filtered light, not full shade.
Step 5: Use rich, loose, well-draining potting soil with lots of organic matter.
Step 6: Keep the peace lily warm and away from drafts.
Peace lilies come from tropical/subtropical places, they hate drafts and temperatures below 55 degrees Fahrenheit.
The causes of yellowing leaves on peace lilies can be applied to other plants, too! Usually yellow leaves are signs of an issue for any houseplant. If it’s natural aging, the yellow leaves will be at the bottom of the plant. When you notice yellow leaves in other places, take action and investigate your peace lily to find out what you can do to help before it’s too late.
Editors' Recommendations
- Everything you need to know about trailing succulents care for lush, thick growth
- How to pick the perfect orchid pots for healthy blooms
- Beautiful, low-maintenance pothos varieties to add to your plant collection
- Easy hoya plants to add to your indoor plant collection
- Plant of the week: Aeschynanthus ‘Rasta’ – aka the curly lipstick plant


