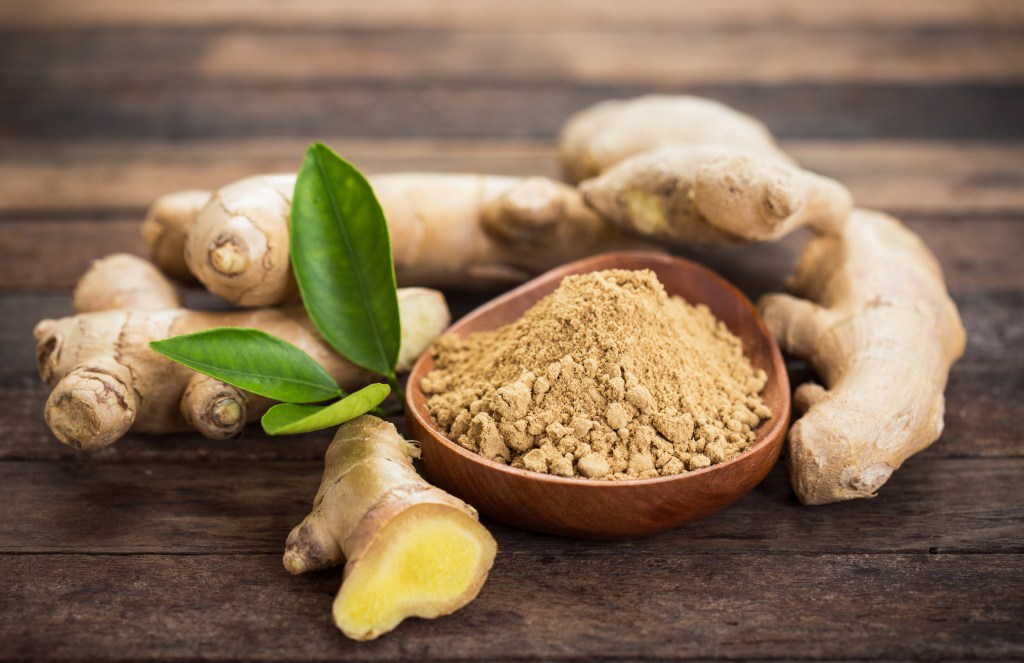
It’s not every day you grow a plant from something you’ve purchased in the produce section of your grocery store, but that's one of the things that makes ginger unique! Not only does ginger have many uses, but it’s also super easy to grow at home.
We'll tell you everything you need to know about how to grow ginger from your store-bought ginger root and turn it into a hearty, homegrown kitchen supply from your own garden.
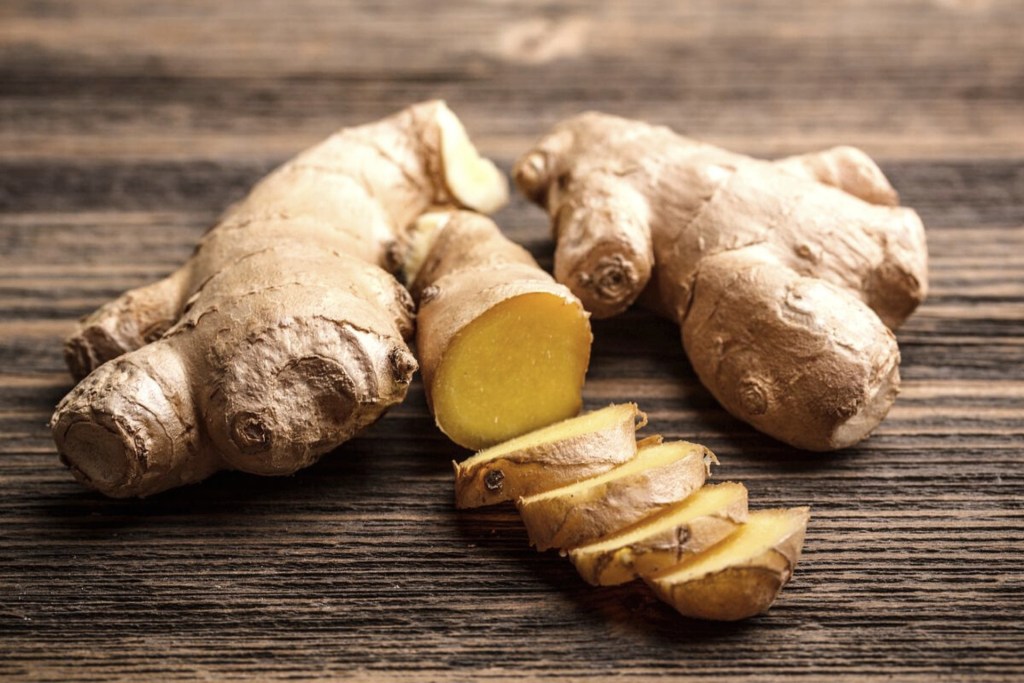
Selecting the right ginger
First, let’s talk about the elephant in the room — or to be more precise, the rhizome. Ginger root isn’t actually a root but what's called a rhizome. Rhizomes are the tubular parts of the plant that will crawl along and sprout new shoots and new roots to keep the plant expanding. Grass grows similarly. So when you’re at the store selecting the best ginger specimen, remember that you’re not looking at the root but at the rhizomes.
Finding the perfect ginger rhizome is vital to ensuring success when growing it for production.
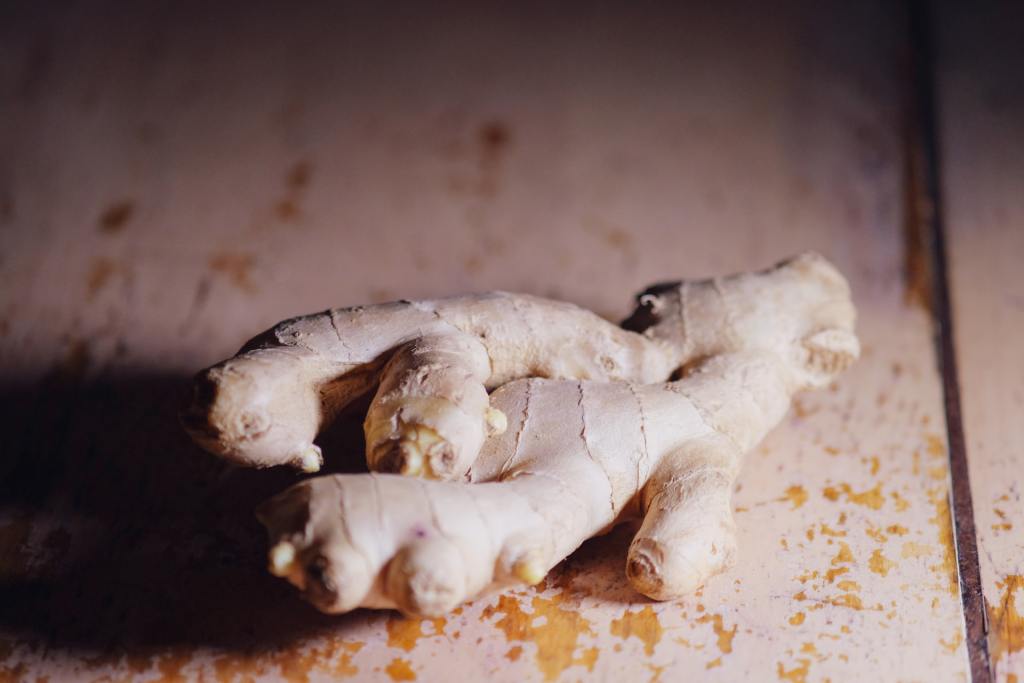
Step 1: Search for a specimen that isn’t dried out or soggy. These are likely dead and won’t result in a plant.
Step 2: Look for signs of growing points, which look like little horns or points on the ginger. These prove that the ginger is ready to grow.
Step 3: Select at least three or four healthy ginger rhizomes with good growth points. Gather as many of these ideal rhizomes as you like, but we suggest starting with three or four to ensure you have success with at least one.
Starting
Often, store-bought ginger is treated with a growth retardant to reduce the risk of it sprouting while in the store. This can obviously make it harder to grow for a home gardener, but soaking the rhizome in water overnight can help remove this treatment and allow the plant to grow. While there are many theories on how to best root up a ginger plant, the truth is that many of them work, and it’s up to you to choose the one you’d like to try.
Step 1: Fill a bowl or other container with water.
Step 2: Add the ginger rhizome to the water-filled bowl and let it soak overnight to remove any growth retardants on the ginger.

Propagating
All of these methods have been proven to work. Decide which you’d like to try, or get enough ginger to try all three and see which one is most successful for you!
Step 1: Leave the ginger in water until you see roots that are 1 to 2 inches long, to propagate in water.
Step 2: Wrap the rhizome in wet paper towels and place them in a resealable plastic bag until it develops roots.
Step 3: Plant the rhizome directly into the ground after soaking. Although this method isn't as quick as the others, it does require less prep.
Planting
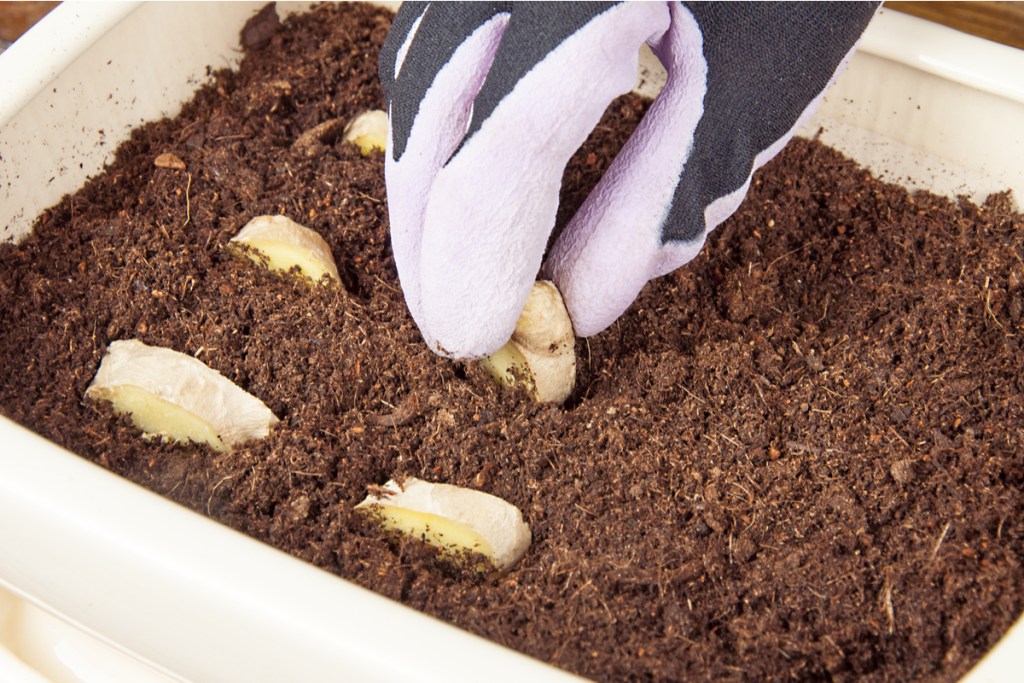
No matter which method you use to achieve healthy ginger roots, your ginger will eventually end up in soil. Whether you're planting the ginger in a pot or directly in the ground, it’s crucial to use nutrient-rich soil that will hold moisture but not become waterlogged.
Step 1: Choose a container just large enough for your ginger. Ginger plants don't grow too large, and they don't mind being a little crowded, so a small to medium pot typically works fine.
Step 2: Mix the potting soil with slow-release fertilizer to give the ginger plant plenty of food.
Step 3: Position the rhizomes so that the roots are pointing down and the baby shoots are pointing up. This can be difficult to determine at first, so take time to study the plant first.
Step 4: Add fertilizer or compost to your garden soil if you plant the ginger directly into your garden, rather than using a pot.
Caring for ginger
Once transplanted, you'll need to care for your new ginger plants.
Step 1: Keep the soil moist, but not waterlogged.
Although some plants enjoy wet soil, ginger is not one of them. However, it’s a tropical plant and wants access to moisture year round. If you live in a drier climate, this means you'll need to water the plant more often and check it more frequently.
Step 2: Grow ginger indoors in dry or cold climates. This gives you control over the temperature and humidity your plant is exposed too.
Step 3: Plant ginger in full to partial shade, and avoid leaving it in direct sunlight for too long.
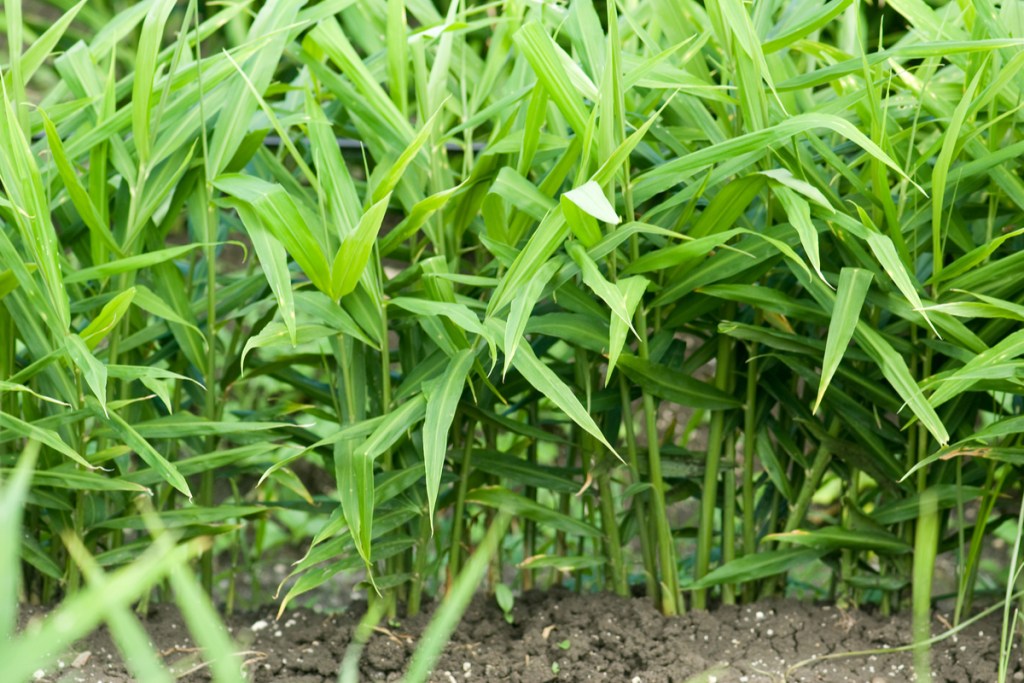
Harvesting and replanting
When will it finally be time to harvest that delicious ginger? Here's what you need to know.
Step 1: Allow your ginger plant to grow for two to three years. You can begin harvesting it after the first year, but older ginger typically has a better flavor.
Step 2: Select good specimens of your ginger plant to replant next season. Look for healthy, firm rhizomes with lots of growth points.
While it might not be as easy as one, two, three; growing ginger from store-bought rhizomes is much easier than it might seem at first. It can also be a great science project for kids — and a tasty one! If you save a few ginger rhizomes to replant each time you harvest, you might never have to buy ginger again!
Editors' Recommendations
- Everything you need to know about choosing the best rocks for landscaping
- Do you live in climate zone 2? Here’s what you need to know
- Climate zone 3 plants that will thrive in cool temperatures
- Do you live in climate zone 10? Here’s our guide to choosing the perfect climate zone 10 plants
- No space? No problem! Here’s how to create an indoor herb garden in a small space


