
The basics of composting are fairly simple. You have a container or pile of dirt, and you add food, garden, and lawn scraps to it. Once the scraps have decomposed, it’s compost. Is that really all there is to it, though, and how can you learn more? One great resource we’ve found is the YouTube channel, World Composting. If you’ve never heard of it, don’t worry. We’ll tell you all about it, and share our three favorite composting lessons.
What is World Composting?
World Composting is a YouTube channel dedicated to, you guessed it, composting. World Composting has been active since 2015. It began as a small channel, with Noel Davis documenting his homemade vermicomposting bin and offering composting tips and tricks. Now the channel has a dedicated following of over 7,000 and videos covering a variety of composting topics. World Composting has even begun doing occasional live streams, giving viewers the opportunity to ask more direct questions.
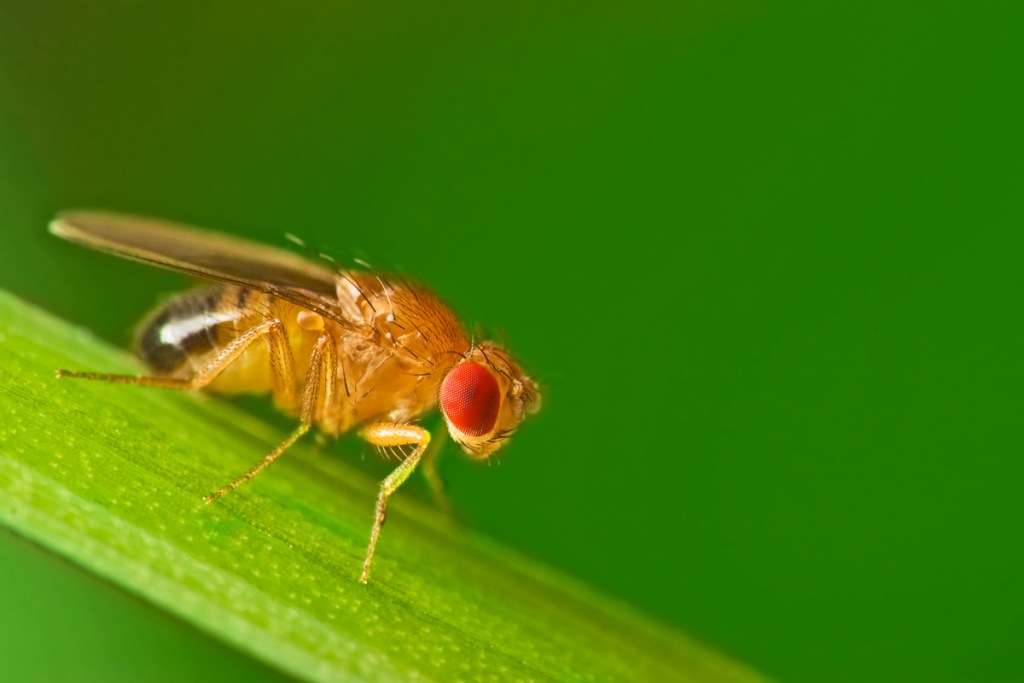
Lesson 1: Fruit flies aren’t only attracted to fruit
If you’ve ever composted, you may have noticed fruit flies buzzing around or even in your compost bin. It seems natural to assume that they’re attracted to any fruits or vegetables that have been added to your compost. However, although it’s in their name, fruit flies are attracted to more than just fruit.
World Composting’s video, Composting Hamster Bedding in a Worm Bin Fruit Fly Invasion, has this on full display. The video is part of a series in which Noel Davis composts hamster bedding. In this video, we can see that the worms seem to be enjoying the hamster bedding just fine, but so are the fruit flies. The bin doesn’t have any fruits or vegetables in it, only hamster bedding and worms.
Fruit flies enjoy all types of organic material, which is good to know, especially if gardeners had assumed they could be avoided by sticking to non-fruit materials.
Lesson 2: Using melon as a worm lure
Worms are a major part of vermicomposting, but it can be tricky to get them to go where you want them to. Whether you’re trying to encourage worms to explore another section of the bin or trying to move the worms to another bin entirely, you’ll have an easier time if you use something to lure the worms in the direction you want them to go.
In this video, 10 Gallon Worm Bin Successful Luring of Worms, we see that the bin in question is ready to be harvested. Before the compost can be used, though, the worms need to be moved. Noel Davis was able to successfully move quite a lot of worms by burying part of a cantaloupe in the bin. The worms are drawn to the fruit, making it much easier to collect a chunk of them all at once.
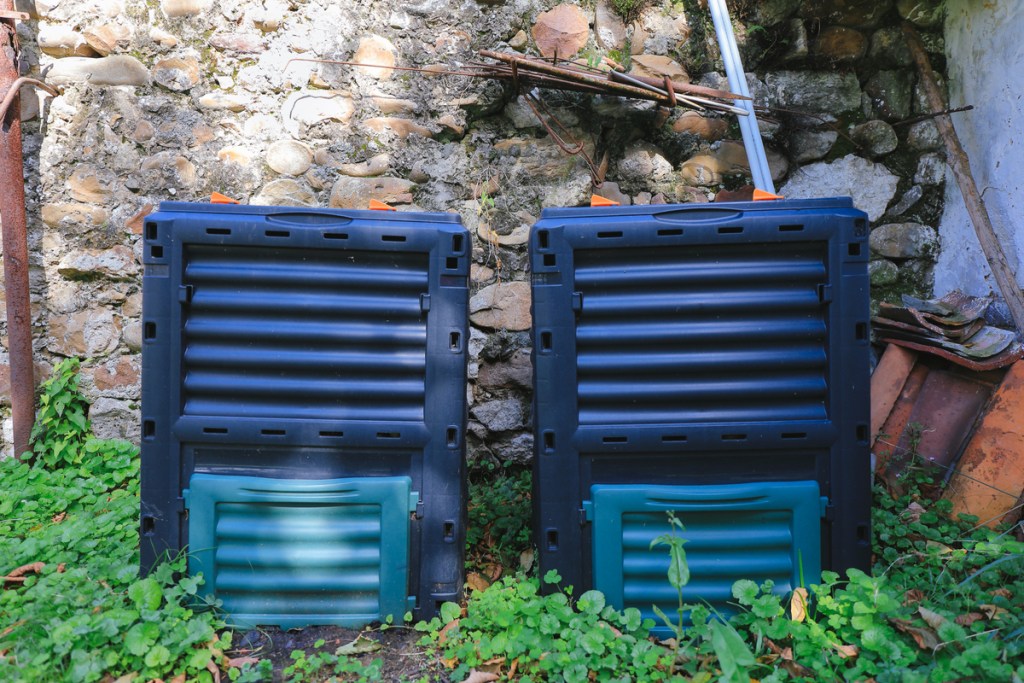
Lesson 3: Making a worm bin from a trash can
Vermicomposting can be complicated. There are a lot of things to consider if you want the perfect worm bin, and that can intimidate beginners. However, our final lesson from World Composting is that anyone can start vermicomposting by making their own bin from a trash can. This video, DIY Trash Can Worm Bin Simple but Effective, will help you get started.
As World Composting shows us, this system is great for beginners, since it can be made at home and is generally less expensive than other systems. However, it does have some issues. For example, the weight of the worms and materials can cause the plastic sides of the trash can to buckle if the supports for the material are too flexible.
The trash can system is what’s known as a feedthrough system. This means that the worms and compost material are in the top half of the trash can, and, as the worms feed and produce castings, the worm castings fall into the bottom half of the trash can. A hole low in one side of the trash can, can be used to harvest the castings. World Composting recommends testing your hole before adding the worms, to be sure that it’s big enough to comfortably harvest the castings.
World Composting is a great channel if you’re planning on starting a compost bin, or if you’re just curious about how composting systems work. There are plenty of videos for you to watch and the majority of them are short, so you can watch them easily during short breaks. We’ve learned a lot from World Composting, and now you can too!
Editors' Recommendations
- 3 incredible reasons why you should be using coffee grounds in your garden
- These plants should be among the first you plant this year
- Do you live in climate zone 10? Here’s our guide to choosing the perfect climate zone 10 plants
- These are the 10 best gardening shows to stream right now
- A guide to winter lawn fertilizer for keeping your turf healthy this season


