
How to keep up with pool maintenance during the fall

Tips to keep your pool clean and safe through fall

The pool is a great way to cool off during the summer. However, now that pool season has ended, it’s time to shift your routine and focus on maintaining your pool through fall and winter. Fall is a crucial time to make sure your pool is ready for winter and all the harsh weather that comes with it.

Difficulty

Easy

Duration

1 hour

What You Need

  • Pool cover

  • Pool skimmer

  • Replacement filter

  • Pool vacuum

Protecting your pool will help keep it looking new and in top condition for years to come. Even if you’re not using your pool as much as the days get colder, it’s still essential to keep up with regular weekly cleanings. A buildup of leaves and debris could cause expensive damage to your pool's filtration system, after all. Let’s take a look at some fall pool maintenance tips that will keep your pool clean and ready as winter approaches.

Leaves floating in pool

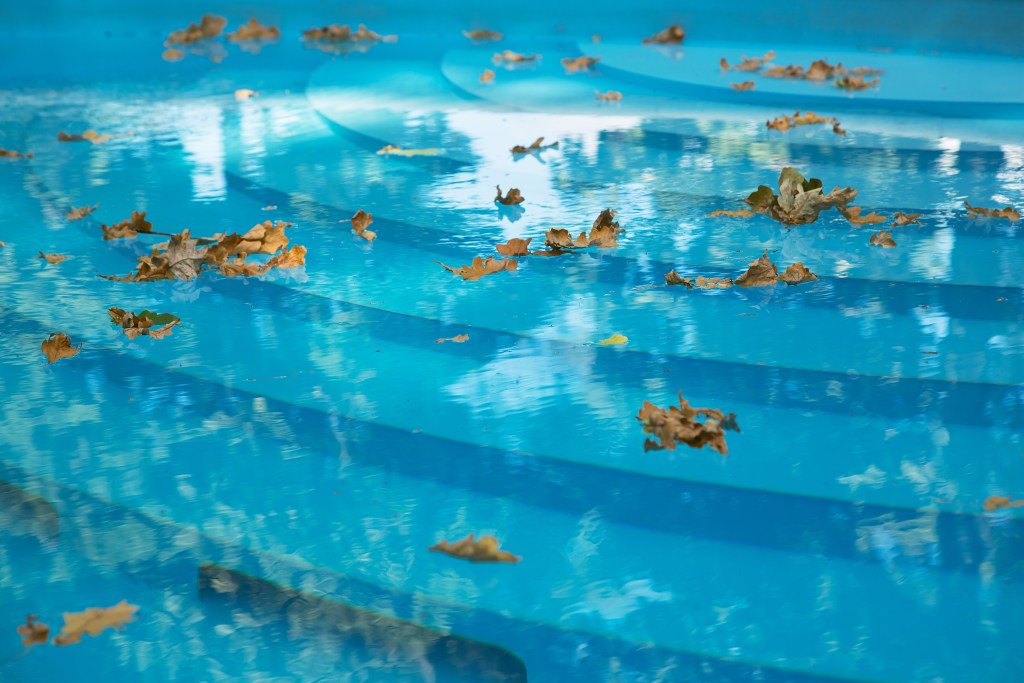
Clean out leaves and debris

Leaves are a pool’s worst enemy—they can cause algae growth and clog the pool pump. They can also cause stains on the sides and bottom of your pool. Moreover, they reduce swimmers’ enjoyment. Honestly, a pool with a ton of leaves cluttering up the water just looks gross.

Make sure you schedule the time to clean out your skimmer baskets and skim your pool regularly.
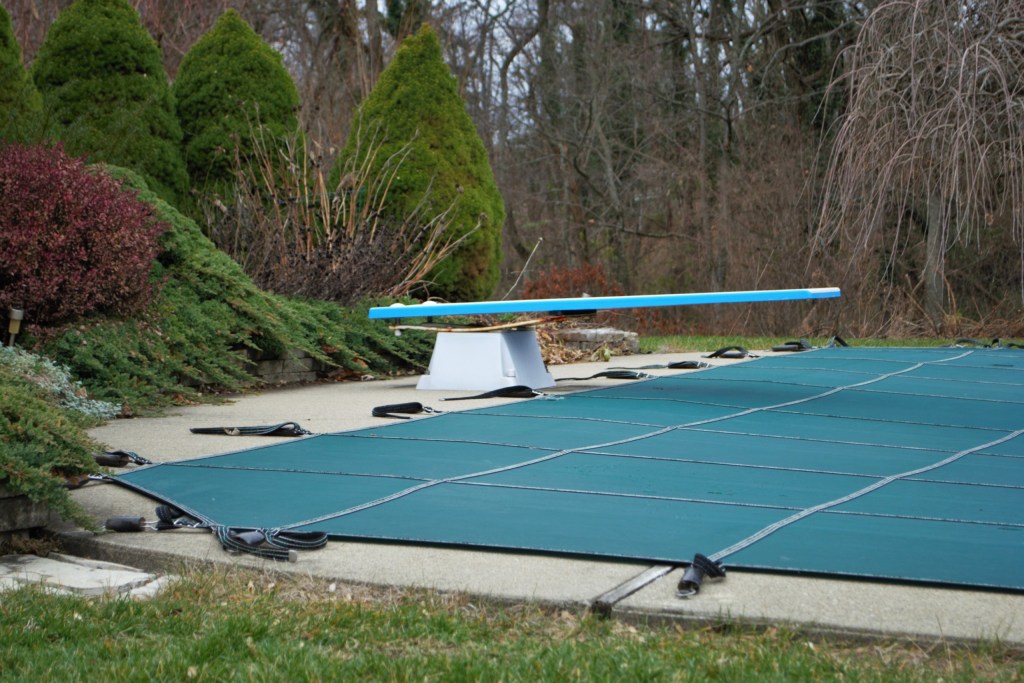
Backyard swimming pool with cover

Cover your pool

Placing a cover on your pool is a great way to reduce maintenance. A pool cover will not only keep the pool clean, but it’ll also help protect it from exposure to environmental elements. The best pool covers are made out of durable materials and specifically designed to be strong enough to withstand extreme temperatures and heavy snowfall.

Pool cleaning equipment and supplies

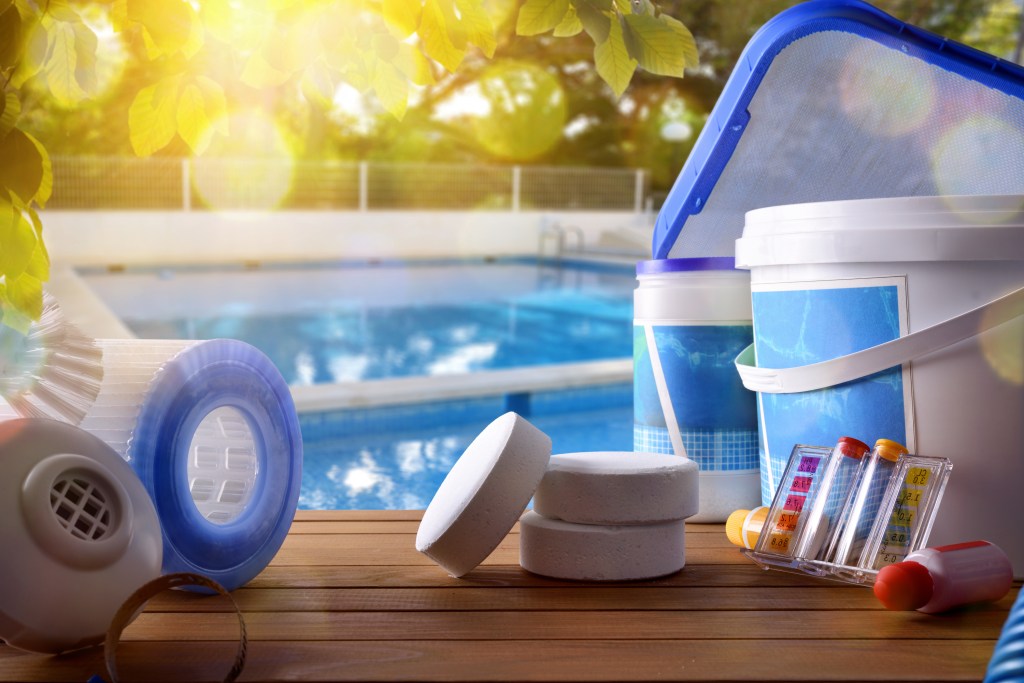
Always clean your pool filter

Regular pool filter cleaning is essential for two reasons, even in the fall:

  • To maintain your pool with clean, clear, and safe water
  • To prevent the growth of harmful bacteria, which can lead to illness

A pool filter sits on top of the pool’s pump inlet pipe and traps dirt, grit, and minerals from entering your pool, whether carried by the wind or from nearby plants. With the added debris that comes with fall weather in most locations, you’ll need to keep your pool filter clean and working in top condition.

Step 1: If you have a cartridge filter, you need to replace or clean it.

Step 2: If you have a sand and diatomaceous earth (DE) filter, you need to backwash it.

Lounge chairs set up next to a pool

Repair cracks in your pool

A swimming pool is an expensive investment. If you’re able to maintain it and keep it in good condition, then your pool can last for years. When small cracks appear on the sides, stairs, or bottom of your pool, they need to be addressed as soon as possible because they provide easy access points for water loss or bacterial growth. Plus, as it gets colder, the water that seeps into those cracks can turn into ice that further damages your pool by widening and deepening them.

If left unattended, these cracks can turn into big problems that will cost you more money in the long term. With a bit of preparation and effort, and depending on the severity of the cracks, many pool repairs can even be done by yourself.
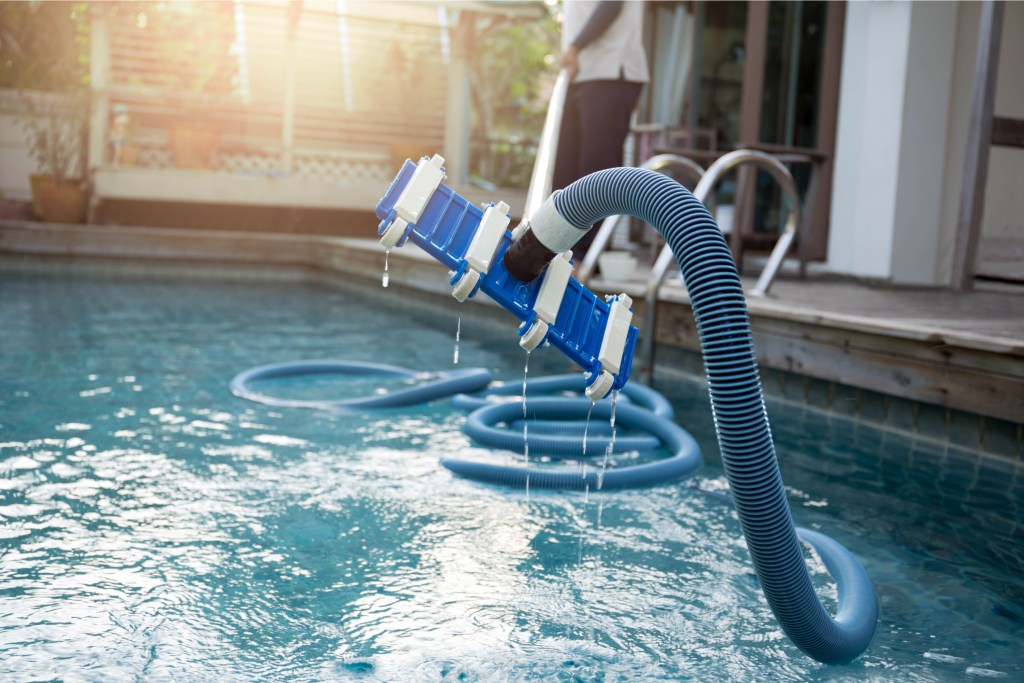
Man cleaning pool

Vacuum your pool

It may sound like everything you do when cleaning and maintaining your pool has to do with keeping the water clear of algae and bacteria. Still, the truth is that those are huge issues. Vacuuming your pool is part of the overall process of regular pool maintenance that keeps your pool free of potential pathogens. It also cleans up small bits of debris that you might miss with your skimmer.

When the pool season comes to a close and pool energy bills start rolling in, it’s easy to forget about pool maintenance and simple fall cleaning. But you need to take some basic and important steps before covering your pool and shutting it down for the winter months.

Remember that keeping your pool well-maintained pays off when spring finally arrives. You’ll have less to do to get everything ready so that friends and family can jump in and enjoy the clear (and clean) water when the weather heats up again.

Editors' Recommendations

When and how to transplant tomato plants for the best results
baby tomato plants

There's a time in every gardener's life when they try to grow their own veggie plants from seed. This is a gratifying process, and there are many benefits to growing your own seed starts. One of those benefits is bigger and healthier plants. By growing your own baby tomato plants, you can ensure that the plants are well cared for, never given anything you don't want them to have, and transplanted in just the right way at just the right time for optimal plant health. So how do you transplant tomato plants to ensure they're happy and healthy and live to produce lots of yummy tomatoes for your home?

How do you transplant a grown tomato plant?
If you've never transplanted tomatoes before, the idea can be intimidating. You have all these tiny plants that you've cared for over the last several weeks, and now it's time to pluck them out of their nursery pots and plop them into the outside soil where they're exposed to sun, weather, and critters. Luckily, you've cared for them so well that they're healthy and robust plants that will be able to handle anything nature throws at them.
Step one: Harden the plants
Hardening the plants is a term gardeners use when talking about the process of acclimating a greenhouse-grown plant to outside conditions. Typically it refers to sunlight, but it could also refer to wind and other weather that could harm the plant. About a week before you're ready to transplant, you'll want to harden your baby tomato plants by exposing them to sunlight at increasing increments each day. For example, day one should be about 30 minutes, then 45, then 50, and so on until the day of transplanting. If you don't do this, you'll risk your plant being burnt and killed when you transplant it outside.
Step two: Don't water the plants
Before you start pulling little plants out of their pots, you mustn't water the plants a few days before transplanting. Wet soil can make the transplanting process much harder on you and the plant. Dry soil falls away easier and is less likely to break off roots as you move the plants to their new home.
Step three: Prepare the new soil
The new location for your tomato plants will need to be prepped before you get all those babies out of their homes. Whether you are planting into the ground, a raised bed, or a pot, you'll want to amend the soil to guarantee that the plant has many nutrients to soak up. It also is easier if you dampen the soil right before transplanting. Damp soil is much more manageable and more easily manipulated around the plant.
Step four: Plant deeply
As you gently pull out the baby tomato plants, you'll want to shake off the old soil to expose the roots. This will ensure the plant has access to the new soil and nutrients you're about to provide it with. 

Read more
Start these vegetables in the greenhouse this winter for a delicious harvest
vegetables to start in the greenhouse winter harvesting carrots

Many people associate garden-fresh vegetables and fruits with the fall or warmer-weather months. But if you have a greenhouse or access to a greenhouse, you don’t have to halt production just because winter has arrived.

Are greenhouses suitable for growing vegetables when thermometers drop? You bet. A vegetable greenhouse can give back a significant yield in the winter, especially if you know which vegetables do well in this environment. It may take a little extra knowledge and focus, but most experienced gardeners should be able to transition to the winter vegetable greenhouse without any major headaches.

Read more
5 inexpensive indoor greenhouses your plants will love
Woman With Green Plants

Many plants can be fickle and grow only under certain conditions. To thrive during seasons that they don't typically grow, you need a controlled environment. Greenhouses are the perfect way to create year-round growing conditions for flowers, vegetables, fruits, and ornamental plants. Having one in your house isn't always easy, but it can be done.

There are indoor greenhouse kits that can fit practically everyone's homes and lifestyles in today's age of plenty. If you're ready to learn more about five of the best indoor greenhouses you can purchase for less than a hundred dollars, let's begin.

Read more