How to drain a swimming pool

Swimming pools are so much fun in the hot summer months, but the maintenance can be tricky if you aren’t a professional. Draining your pool in particular can seem like a difficult task. While some steps can vary depending on what type of pool you have, most of these steps will hold true for any type of pool. No matter why you’re draining your pool, here are the basics!

How to drain the water from your pool
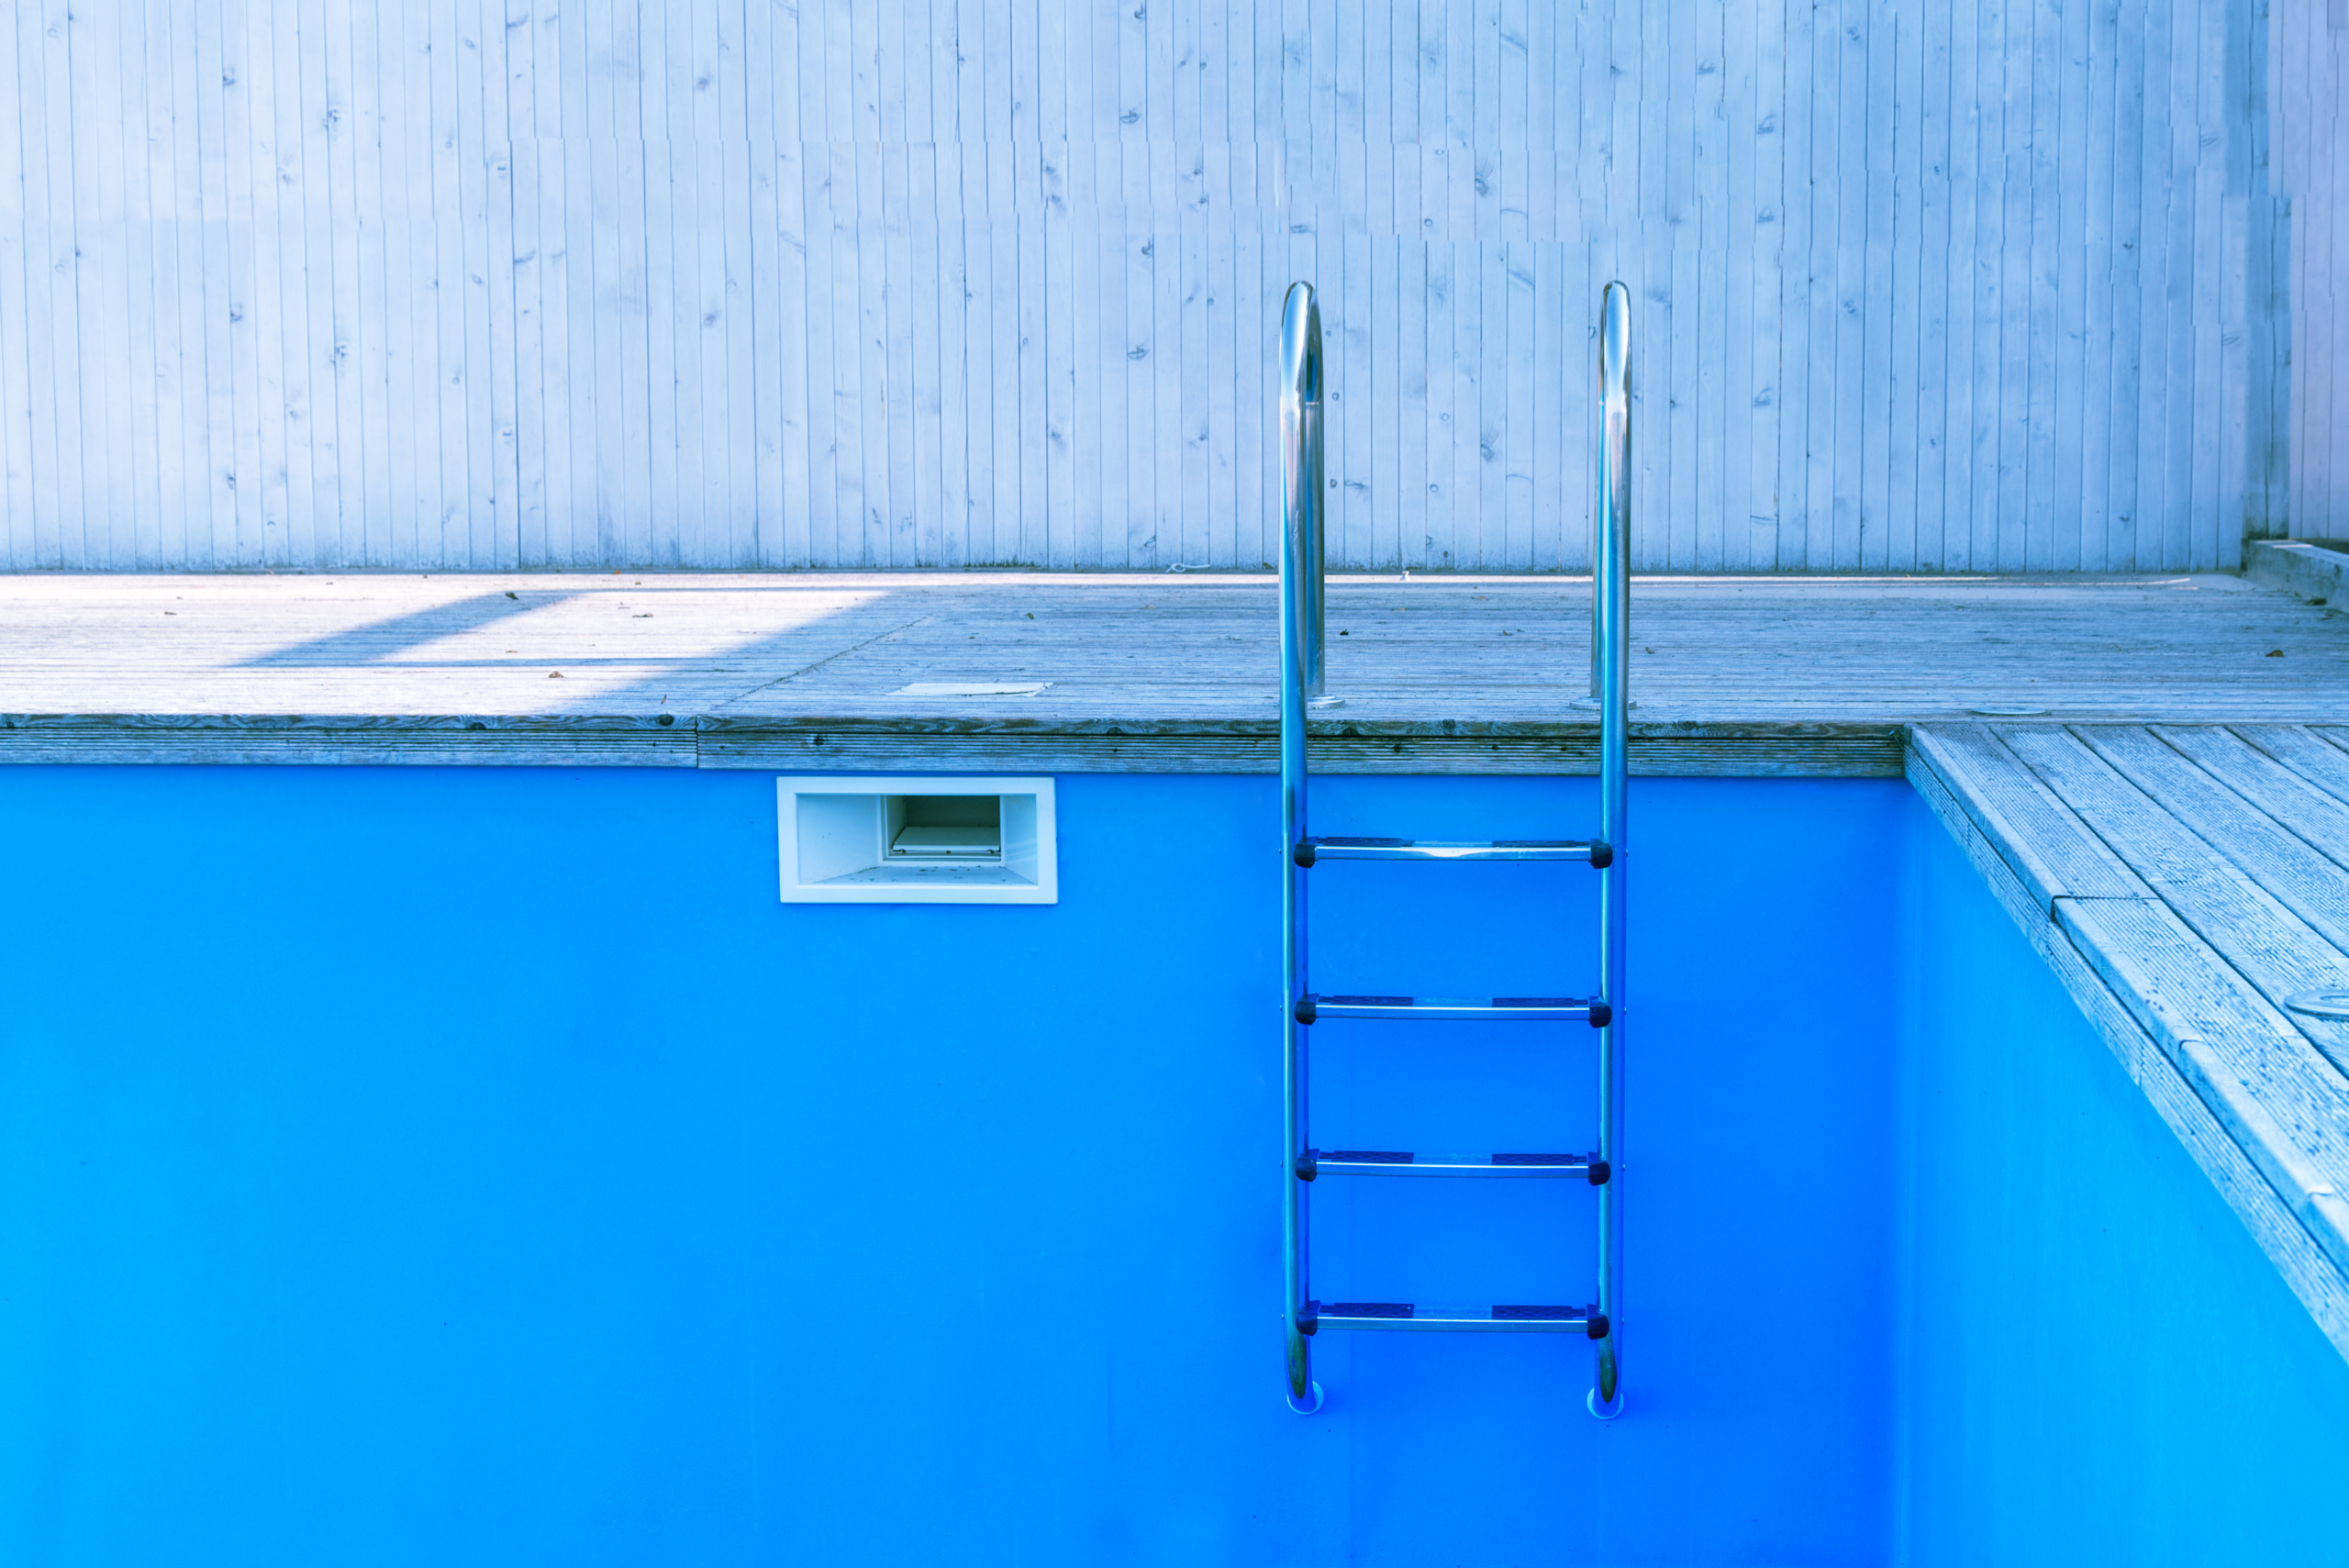
mdbildes/Shutterstock

The first thing you should consider is consulting an expert. This can be helpful in determining whether or not you actually need to drain your pool and can help you prepare for the undertaking. If you’re draining your pool to do repairs, you should almost certainly talk to a professional to see if the damage you’re repairing will impact the draining process. It’s also important to make sure you have all the supplies you’ll need before you get started.

Once your pool is drained, you’ll want to clean or repair it and then refill it quickly to prevent any problems. Before you start draining your pool, check that there are no chemicals left in the water. Your water should be as neutral as possible to avoid any chemical waste making its way into your yard. You also want to consider the weather. A sunny day with temperatures of under 80 degrees Fahrenheit is ideal. If you have an inground swimming pool, avoid draining your pool following heavy rains, as rain makes the ground softer, which can lead to your pool popping out of the ground.

The first step to draining your pool is to turn off any pool equipment you have in place. This includes things like underwater lights and your pump. Underwater pool equipment is kept cool through the water, so once the pool is drained, it can easily overheat if left on. Although your pool pump can be used to drain part of your pool, once the water level gets too low, the pump will begin taking on air instead of water, which damages the pump. Instead, use a submersible pump. Make sure the pump’s power cord is long enough to reach out of the pool, securely attach your drainage hose, and place the pump in the deep end of your pool.

If your pool is an inground pool, then once it’s almost entirely drained, you’ll need to open the hydrostatic pressure relief valve. That sounds technical and unpleasant, but it’s honestly not that bad. The valves are the small white circles embedded in the bottom of your pool. They’re there to relieve pressure created by groundwater. When your pool is full, the weight of the pool water counteracts the groundwater, but once the pool water is drained, the groundwater no longer has anything holding it down, and pressure starts to build. If your valves stay closed, the pressure can damage your pool or even cause it to pop out of the ground.

Depending on the lining of your pool, you may have a cover that needs to be removed first. Valve removal tools can be bought at most pool supply stores, but large pliers will also work. Twist the valve out of its socket and set it somewhere safely out of the way. Unless your valve is old or damaged, you can reuse this valve when you’re ready to refill your pool.

Where should the runoff go?

Your runoff should not go into your yard. The sudden influx of water and potential chemicals can cause a lot of damage to the ground. Instead, drain your pool into the nearest sewer clean-out. The ideal clean-out is downhill from your pool so that the pump doesn’t need to work as hard, but if the only available clean-outs are uphill, it isn’t impossible to drain into them — it may just take a bit longer. Some cities allow for water to be drained into the street or storm drains, but others do not. Check with your local authorities to see what the regulations are in your area.

Do you need to get approval to drain your pool?

This is another thing that you’ll need to check with your local authorities about first. Some areas don’t need any approval, as long as you’re disposing of your water properly. Others do require approval, and improper draining can lead to hefty fines.

Swimming pool maintenance can seem technical and overwhelming, but ultimately, it doesn’t have to be. By following the steps carefully, consulting with an expert as necessary, and using your best judgment, you can be self-sufficient. Now that you know how to drain your swimming pool, you can experience the satisfaction that comes with doing it yourself.

Looking for more? Read on further and learn everything you need to know about pool maintenance during winter.

Editors' Recommendations

When and how to transplant tomato plants for the best results
baby tomato plants

There's a time in every gardener's life when they try to grow their own veggie plants from seed. This is a gratifying process, and there are many benefits to growing your own seed starts. One of those benefits is bigger and healthier plants. By growing your own baby tomato plants, you can ensure that the plants are well cared for, never given anything you don't want them to have, and transplanted in just the right way at just the right time for optimal plant health. So how do you transplant tomato plants to ensure they're happy and healthy and live to produce lots of yummy tomatoes for your home?

How do you transplant a grown tomato plant?
If you've never transplanted tomatoes before, the idea can be intimidating. You have all these tiny plants that you've cared for over the last several weeks, and now it's time to pluck them out of their nursery pots and plop them into the outside soil where they're exposed to sun, weather, and critters. Luckily, you've cared for them so well that they're healthy and robust plants that will be able to handle anything nature throws at them.
Step one: Harden the plants
Hardening the plants is a term gardeners use when talking about the process of acclimating a greenhouse-grown plant to outside conditions. Typically it refers to sunlight, but it could also refer to wind and other weather that could harm the plant. About a week before you're ready to transplant, you'll want to harden your baby tomato plants by exposing them to sunlight at increasing increments each day. For example, day one should be about 30 minutes, then 45, then 50, and so on until the day of transplanting. If you don't do this, you'll risk your plant being burnt and killed when you transplant it outside.
Step two: Don't water the plants
Before you start pulling little plants out of their pots, you mustn't water the plants a few days before transplanting. Wet soil can make the transplanting process much harder on you and the plant. Dry soil falls away easier and is less likely to break off roots as you move the plants to their new home.
Step three: Prepare the new soil
The new location for your tomato plants will need to be prepped before you get all those babies out of their homes. Whether you are planting into the ground, a raised bed, or a pot, you'll want to amend the soil to guarantee that the plant has many nutrients to soak up. It also is easier if you dampen the soil right before transplanting. Damp soil is much more manageable and more easily manipulated around the plant.
Step four: Plant deeply
As you gently pull out the baby tomato plants, you'll want to shake off the old soil to expose the roots. This will ensure the plant has access to the new soil and nutrients you're about to provide it with. 

Read more
5 outdoor lighting tips we learned from experience so you didn’t have to
Hanging outdoor lights

One of the most exciting parts about setting up an outdoor space is designing the lighting in a way that makes it not only beautiful to look at but enjoyable to spend time in. The types of lights and where you place them will depend on what your space looks like. Even in an urban apartment or home, you can accentuate balconies and patios with lights that make summer evenings feel a bit more magical — but how do you know what to choose? It’s natural to make mistakes the first time around, like buying bulbs that are too large or a lamp with a cord when you don’t have an outlet. Luckily, we’ve got a few outdoor lighting tips up our sleeve to help you forgo some of those initial hiccups.

Different types of lights you can use
First thing’s first: it’s important to assess your space and consider the different types of lighting you can use for it. If you’ve got a deck with stairs, you can utilize things like lights placed under the steps to illuminate them or rail lights to keep the night extra safe. These lights are usually subtle, so you don’t have to worry about them overpowering the area.

Read more
Good, better, best: The best warm, stylish outdoor fire pits for your patio
best outdoor fire pits bowl

When the seasons change, the air becomes crisp, and the mercury starts to fall, certain cravings start to well up. For some it’s football, or cozy clothes, or pumpkin spice. But let’s talk a minute about fire. Nothing else has the ability to bring people together and capture attention quite the way that a cheerful flame does. If you’re not so sure, try this experiment. Set up a fire pit on your driveway and, right around sunset, fire it up. Chances are, you’ll have visitors before long. As long as it’s not the fire department or your HOA authorities, it should make for some good conversation.

Whether you’re a long time believer in the power of a fire pit and need to replace one after years of faithful service, or you’re just looking for a good reason to be outdoors in the pleasant fall evenings, we’ve got a few suggestions. You could go with an easy to use gas burner, and forgo the smoke and ash, but then you would also miss out on the smell. We believe that a little bit of seasoned hickory, oak, or maple aroma is an essential part of the deeper fire pit experience. So, we’ve assembled this list of outstanding wood-burning fire pits based on durability, ease of use, styling, and price point.

Read more