
The most successful greenhouse gardeners have a great watering system

The type of greenhouse-irrigation system you get will depend on the size of your greenhouse. Some greenhouse-watering systems will work better with specific sizes, and some are made for smaller or larger spaces. If you’re working with a small greenhouse, you don’t need a complex overhead watering system to get to all your plants. However, on the other side, when you have a larger greenhouse filled to the brim with crops, you don’t want to have to have to go around and water each plant individually; you’d be there the whole day. When choosing an irrigation system for your greenhouse that will most likely yield success, you have to keep in mind your needs, the confines of your space, and the needs of your plants.

Inside of a greenhouse
Zanda Photography/Unsplash

Mat irrigation system

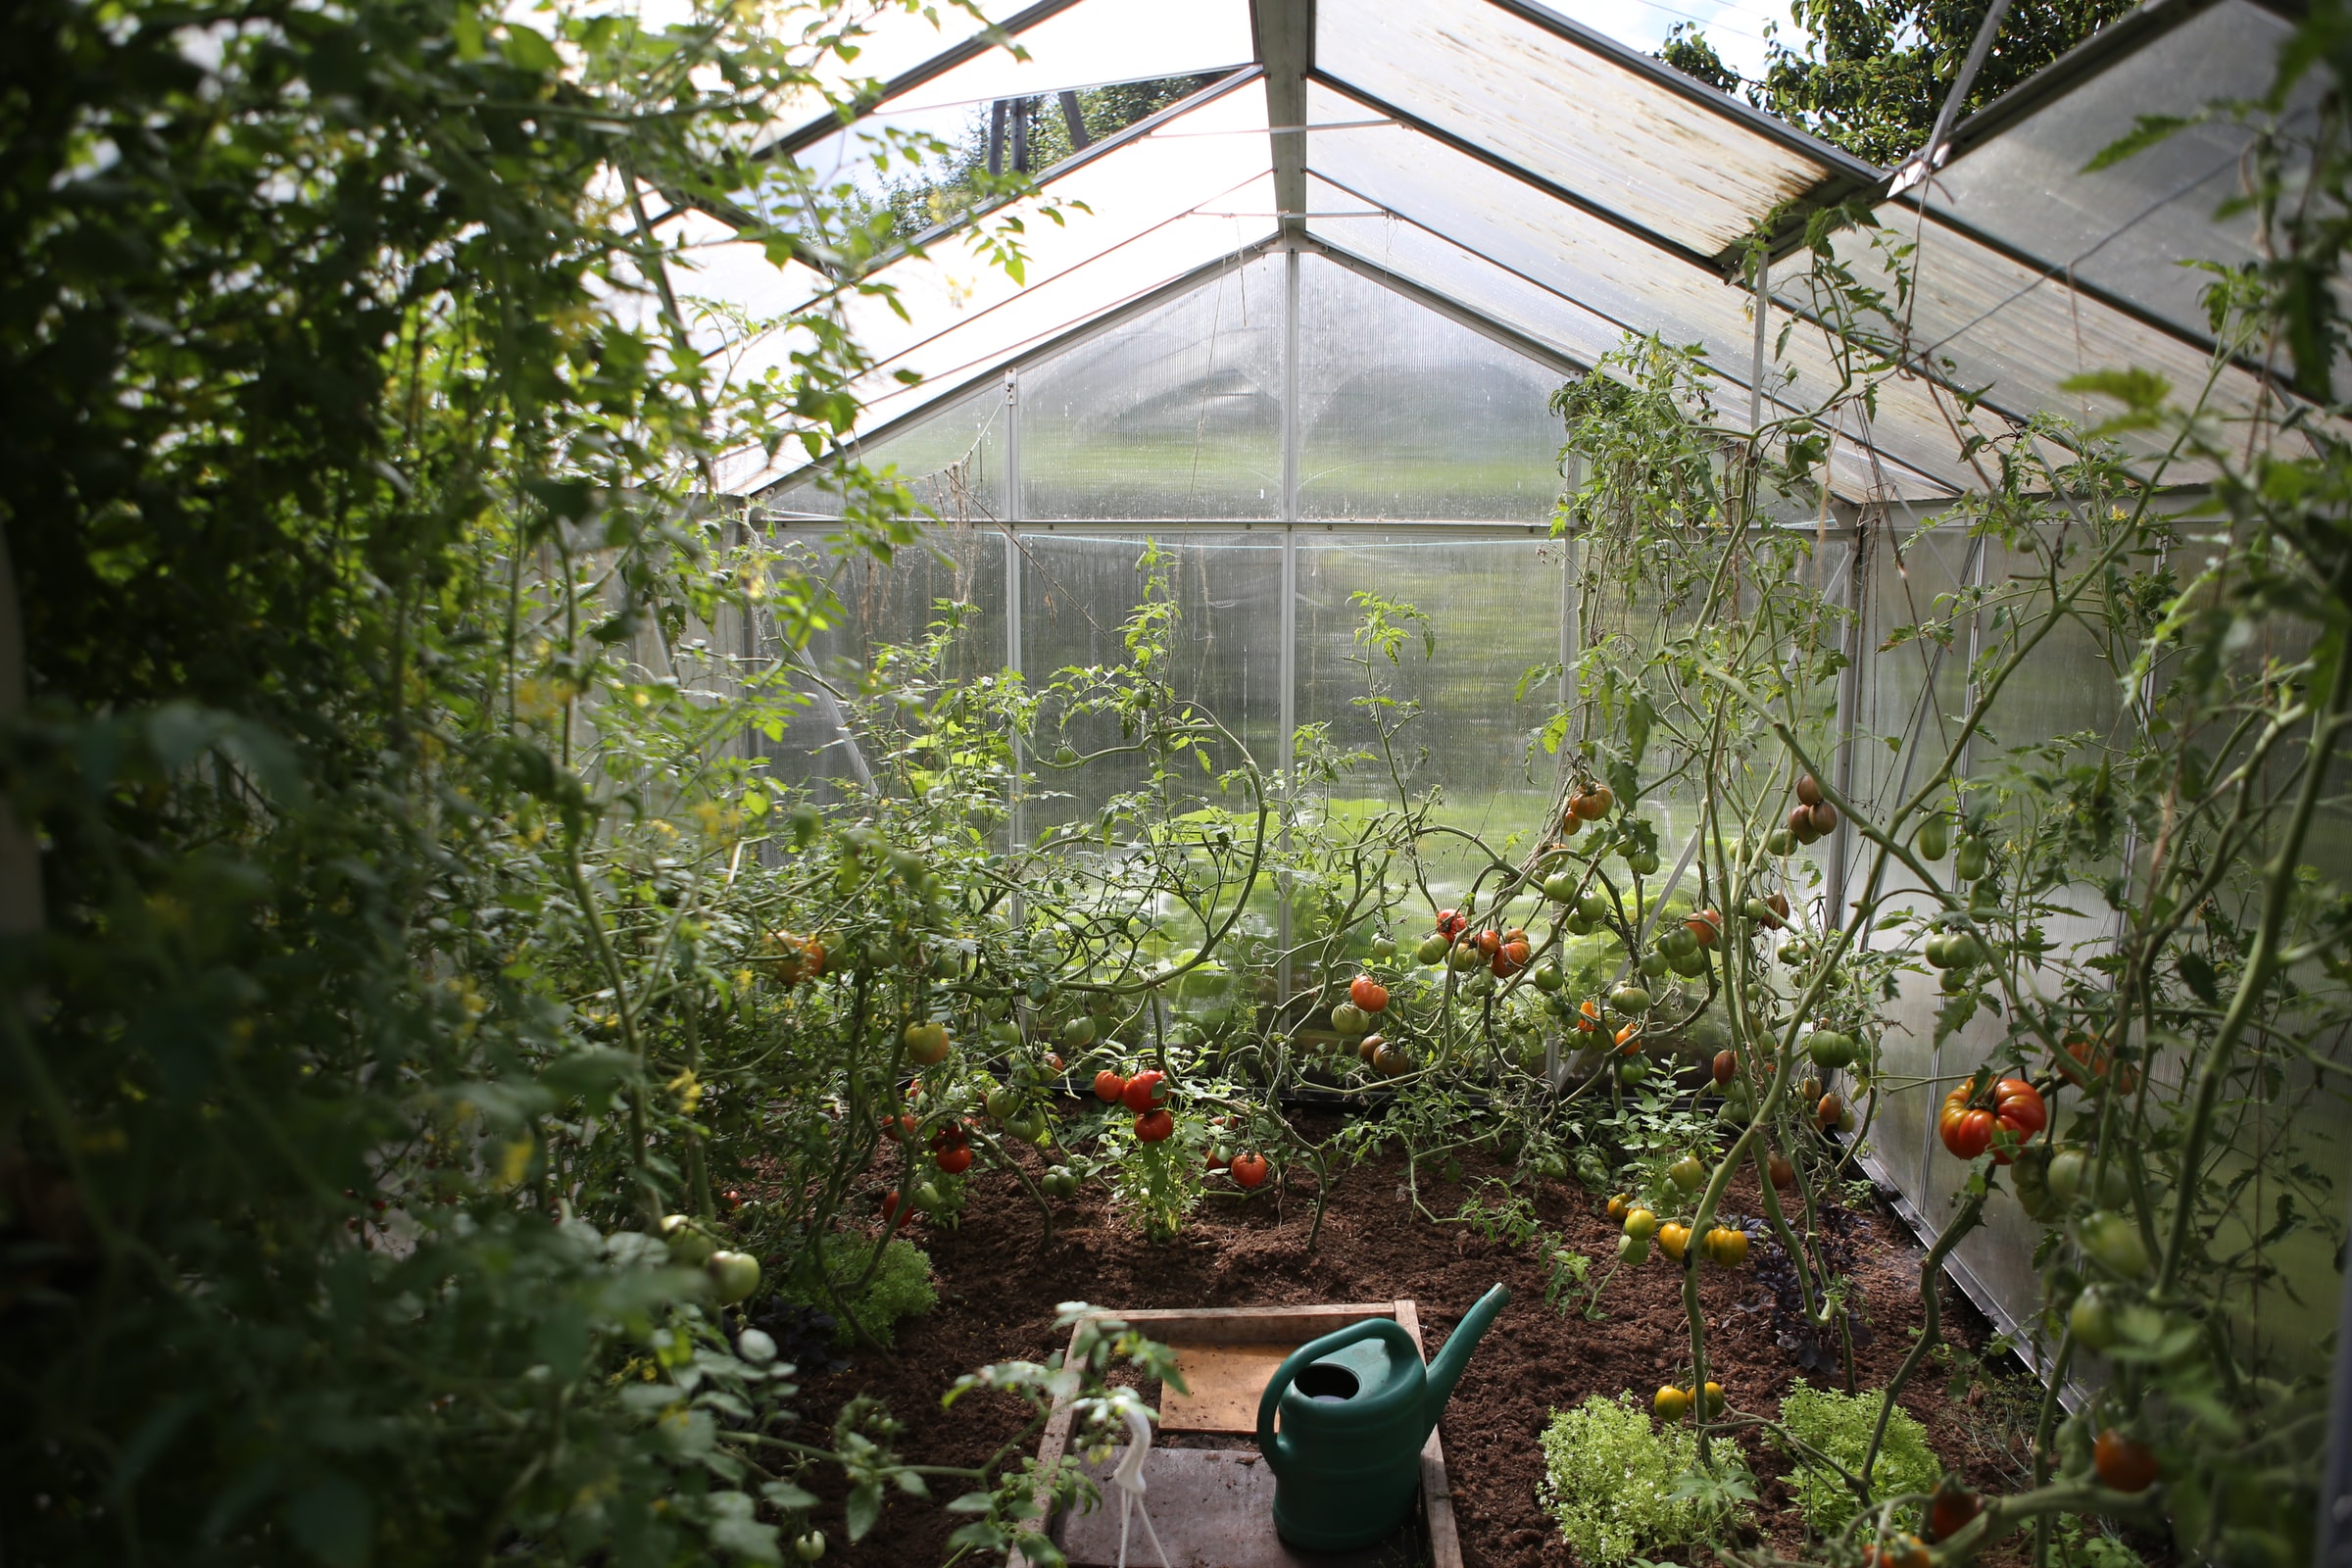
The mat irrigation system is often most successful for greenhouses on the smaller side, like windowed or lean-to options. These greenhouses often only have enough space for several plants and are ones used by those who aren’t as serious about greenhouse growing but still want a space to grow plants during off-seasons.

The mat irrigation system works well with small plant populations. This style relies on small, plastic mats that are designed to hold moisture. Your potted plants will rest on the mats, which are built specifically to wick the moisture from the mat into the soil via the drainage holes. For that reason, any greenhouse gardener using this method will need to be sure their pots have good drainage and their soil is able to absorb moisture well. When the soil of your plants have an even moisture level, the mats will hold off on supplying them with more moisture until they need it again.

There are different types of mats available, both in size and material. You can select the size that works best for your space and the amount of pots you have that need watering. No matter the composition of the mats, the way the work remains the same.

Drip tubing irrigation

Drip tubing irrigation is ideal for medium greenhouses, as they can be operated manually or set on an automatic timer. This process works by providing each pot with its own drip tube that’s connected to the main water supply. This provides your plants with a steady supply of moisture (when they require it). The drip tubes fill with water and spray it onto the top of your plant’s soil.

The drip tubes are essentially the arteries of your irrigation system. They give your plants life when needed, and the plants will depend on them for survival. This type of system will allow you to both monitor your plants or schedule watering when you know you’ll be travelling or busy, and it will help maintain a consistent watering schedule.

Greenhouse irrigation system
ThorstenF/Pixabay

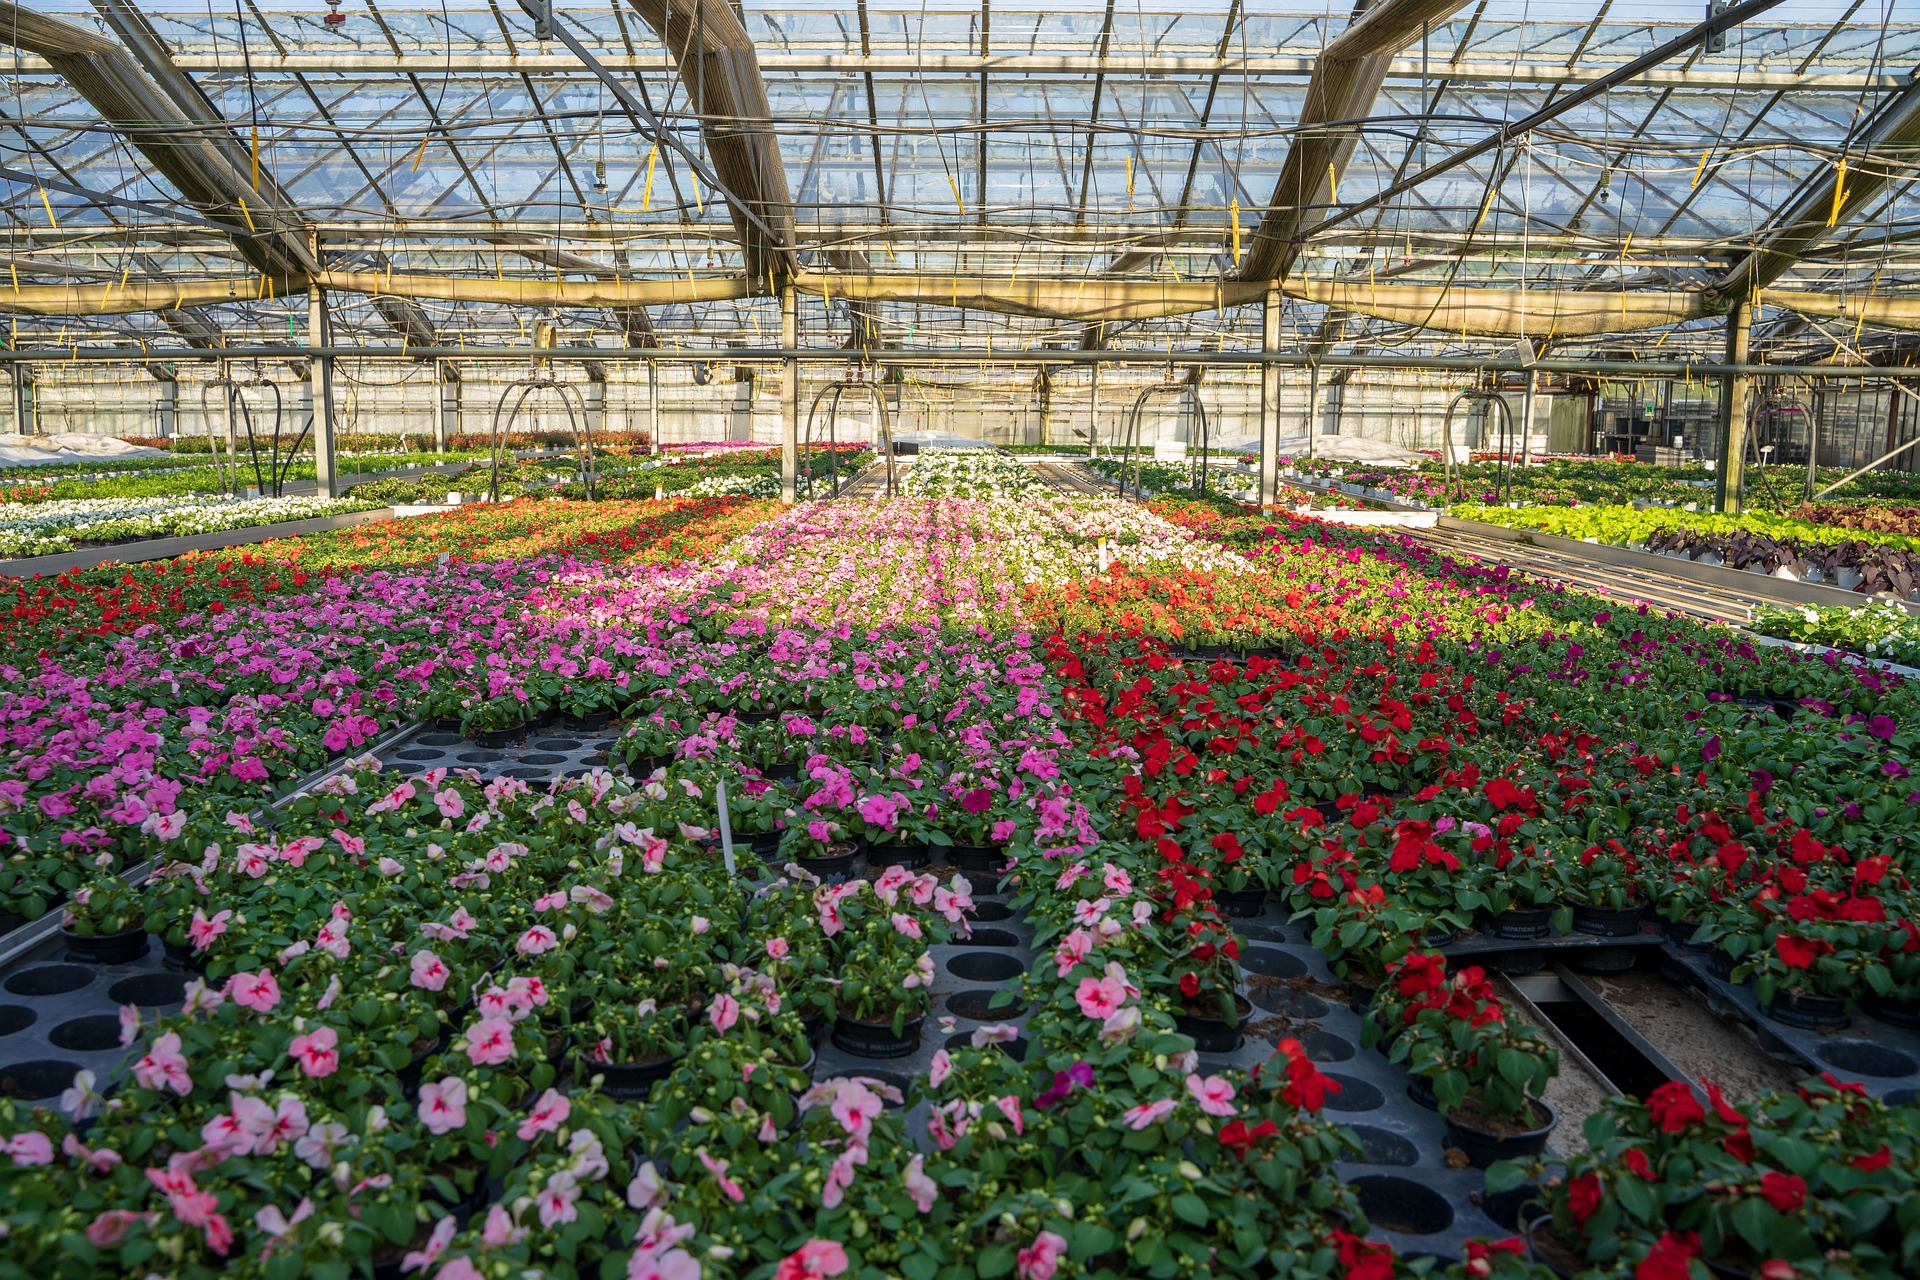
Overhead watering systems

An overhead greenhouse watering system is the most ideal for larger greenhouses that are more closely associated with professional greenhouse growers. This system is extensive and elaborate, making use of water pipes on ceiling and nozzles at certain intervals. When it’s time for watering, the nozzle will release a fine spray that provides an even coverage across your entire greenhouse. You can even angle the individual nozzles so that the spray is focused more on your plants than your walkways. This system also comes in manual and automatic options.

Perimeter irrigation

For special plants like cacti and others that have certain watering needs, a perimeter irrigation system is an ideal alternative. You wouldn’t want to spray these plants evenly like you would vegetables, so this system makes use of the outer edge of your greenhouse. You can isolate specific areas with connected water pipes that you can angle directly at the necessary plants. These plants, in essence, will become a greenhouse within a greenhouse, and this system gives you a way to keep your drought-loving or moisture-loving plants alive.

Each of these systems has its own benefits, and each one does a fabulous job at keeping your plants alive. If you have a small greenhouse and need a little help watering, a mat irrigation is the way to go. If your greenhouse is on the professional side and you’re tired of enlisting friends and family to help water your plants, an overhead irrigation system will be a beneficial investment.

Editors' Recommendations

When and how to transplant tomato plants for the best results
baby tomato plants

There's a time in every gardener's life when they try to grow their own veggie plants from seed. This is a gratifying process, and there are many benefits to growing your own seed starts. One of those benefits is bigger and healthier plants. By growing your own baby tomato plants, you can ensure that the plants are well cared for, never given anything you don't want them to have, and transplanted in just the right way at just the right time for optimal plant health. So how do you transplant tomato plants to ensure they're happy and healthy and live to produce lots of yummy tomatoes for your home?

How do you transplant a grown tomato plant?
If you've never transplanted tomatoes before, the idea can be intimidating. You have all these tiny plants that you've cared for over the last several weeks, and now it's time to pluck them out of their nursery pots and plop them into the outside soil where they're exposed to sun, weather, and critters. Luckily, you've cared for them so well that they're healthy and robust plants that will be able to handle anything nature throws at them.
Step one: Harden the plants
Hardening the plants is a term gardeners use when talking about the process of acclimating a greenhouse-grown plant to outside conditions. Typically it refers to sunlight, but it could also refer to wind and other weather that could harm the plant. About a week before you're ready to transplant, you'll want to harden your baby tomato plants by exposing them to sunlight at increasing increments each day. For example, day one should be about 30 minutes, then 45, then 50, and so on until the day of transplanting. If you don't do this, you'll risk your plant being burnt and killed when you transplant it outside.
Step two: Don't water the plants
Before you start pulling little plants out of their pots, you mustn't water the plants a few days before transplanting. Wet soil can make the transplanting process much harder on you and the plant. Dry soil falls away easier and is less likely to break off roots as you move the plants to their new home.
Step three: Prepare the new soil
The new location for your tomato plants will need to be prepped before you get all those babies out of their homes. Whether you are planting into the ground, a raised bed, or a pot, you'll want to amend the soil to guarantee that the plant has many nutrients to soak up. It also is easier if you dampen the soil right before transplanting. Damp soil is much more manageable and more easily manipulated around the plant.
Step four: Plant deeply
As you gently pull out the baby tomato plants, you'll want to shake off the old soil to expose the roots. This will ensure the plant has access to the new soil and nutrients you're about to provide it with. 

Read more
5 outdoor living trends that will totally improve your 2022
women outside sitting

After being stuck in our homes the last two years, we've started to realize that making our homes into a lovely place to be is very important. However, we can only stay inside for so long before we ache for sunshine and nature. Turning your outdoor space into a haven where you can escape the indoors and enjoy some fresh air will improve your 2022 no matter what it throws at us. So here are some ways to spruce up your outdoor living space so you can enjoy the spring when it finally comes back around.

Bring indoor luxuries to an outdoor space
The best way to encourage yourself to go outside more often is to make it as comfortable as possible. So often, we choose indoor seating instead of going outside simply because that huge sectional is way more comfortable to lounge on. So instead, invest in comfortable seating, plenty of surfaces for drinks and electronics, and maybe even purchase some umbrellas or awnings so you can sit outside even if it's lightly raining. Making an easy transition from indoors to outdoors will encourage everyone in the home to come out more often and enjoy the space.
Vertical gardening
Not everyone has the luxury of having an expansive backyard. If you're struggling to know what to do with your smaller space, but you know you want more plants and gardening opportunities, try vertical gardening! This is where you take a wall of your deck or fence and grow plants one on top of the other. You might have seen these as living walls or those DIY projects with pallets and herbs. Either way, growing flowers or veggies vertically allows you to garden without taking up precious space in your smaller yard.
Outdoor office
Many of us spend a lot of time inside at our desks. If you were lucky enough to work from home the last few years, you might have a pretty decent setup for your home office. However, spending all day inside when the weather is excellent can be depressing, and if you're home, why not take advantage of the opportunity and create an outdoor office space? This allows you to keep working while enjoying the sunshine and fresh air. Endless studies are proving that getting outside more often improves mental and physical health!

Read more
What you need to know about successfully growing summer squash in containers
container summer squash man cutting

You can roast it, you can sauté it, you can slice it, and you better believe you can dice it. Summer squash is chock full of important vitamins and minerals, so it’s delicious and nutritious. But if your garden is running out of real estate, have no fear. There’s no reason you can’t grow squash in a container. Although summer squash requires a not-insignificant amount of TLC, it’s more than worth it for lovers of this agreeable fruit (and yes, it is technically a fruit). Here’s a complete guide to everything you need to know.

Picking the right squash for the job
As many gardeners know, summer squash does not describe a specific species but rather the timing of the harvest. Yellow squash are harvested earlier in their life cycle, when the outer rind is still edible. No need to peel!

Read more