Suppose you’ve got a funky-looking backyard and that you’d like to spruce it up a bit, make it a place where you can hang with family and friends, where you can relax, and where you can eat, drink, and be merry.
Having an oddly shaped backyard can be a bit of a bummer because it requires a bit more planning when it comes to design to make a rocking, usable space. That’s especially true when designing an outdoor eating space, say if you’ve got an L-shaped backyard, or an area that’s round, long, and narrow, or all odd angles.
If you’ve got a property, and you’re in need of expert advice, keep reading. Below, we’re going to cover three of the most common (and weird) backyard shapes. Additionally, we’ll cover some simple outdoor kitchen ideas that can turn your backyard from funky to fashionable with just a little effort!
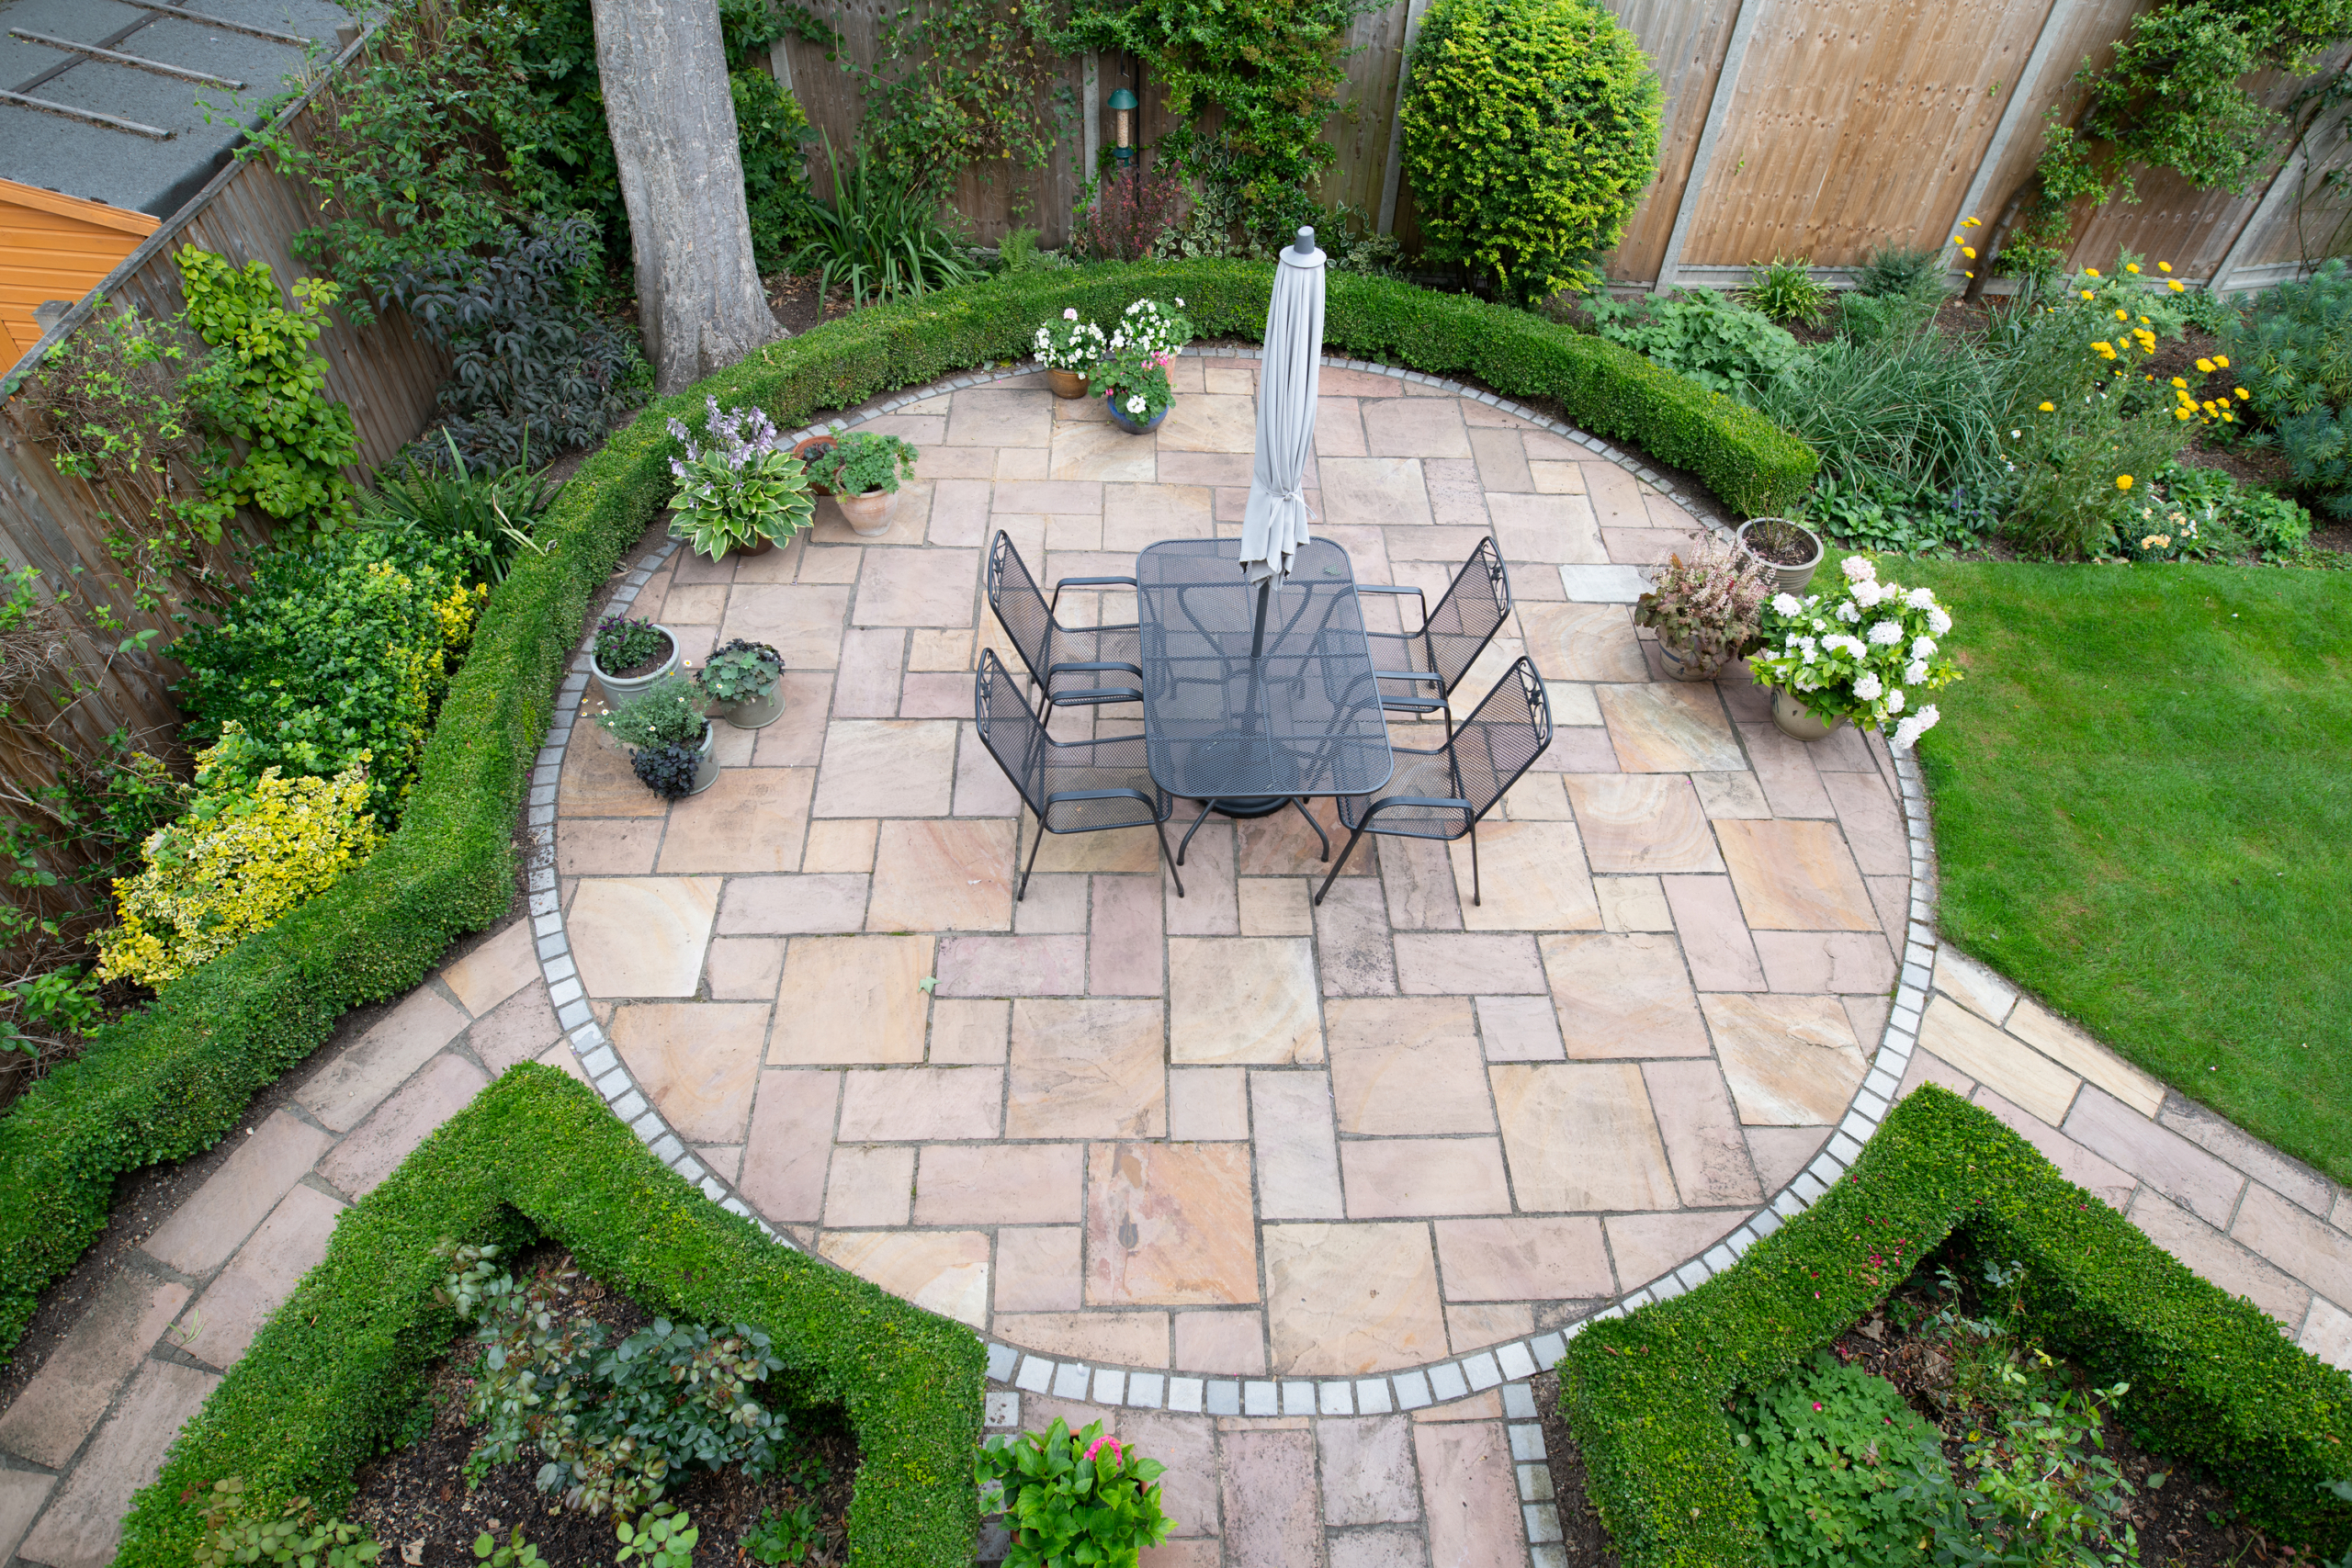
Round backyards
If you’ve got a round-shaped backyard, pat yourself on the back. There’s not a lot of backyards that are spherical. Most people don’t intentionally set out to create an outdoor space that can be hard to work with.
With that said, there are properties where the backyard is surrounded by established gardens or were originally designed as a circular, inner courtyard. (Others may have been designed by Star Wars nerds intent on having a backyard shaped like the Death Star because evil comes in round shapes. But, all that’s beside the point.)
No matter how you got a backyard shaped like a donut, there are ways to rock its roundness.
Cut the circle in half
Suppose you loathe the idea of using the entire space as one big area for entertaining friends and family. In that case, you can divide the space into two (maybe three) unique areas. While keeping everything as open as you can, you could create a sitting area, a place where the kids can play, and an outdoor eating space.
One way to separate these spaces and create the illusion of divided sections might be to place a fountain or a large, circular table smack-dab in the center of your backyard. Those who have chosen a large, circular table have found such a setup ideal for brunches or dinner parties. Alternatively, the centerpiece could be a large tree or perhaps a bench seat.
No matter what kind of centerpiece you choose (if you in fact, choose one), you can have one central feature around which the rest of your space is designed.
For those contrarians out there, you could flip everything mentioned above on its head by placing furniture and cooking areas around the perimeter of your backyard. At the same time, you simply leave the center as the central gathering place. You could set up a fire pit with curved benches surrounding it in that center space, or you could just leave it empty and open as a place for the kids to play.
A round outdoor eating space
Now, while you can obviously allow your backyard to do triple duty as an outdoor eating space, a place for kids to play, and a place to sit and gab, what if you were to design it as an outdoor eating space only? What would that look like?
In that case, one idea might be to create a large, circular patio in the center of your backyard with a roof to keep the sun and rain off. In the center of that patio, set up an outdoor kitchen with a wraparound counter (or bar) and seating area. Guests can sit around chit-chatting while someone mixes up cocktails, and you grill steaks!
Backyards and odd angles
To kids, especially, it might sound fun to have a backyard that’s a bit like a labyrinth if you stretch your imagination just a bit. All those nooks and crannies might provide many hours of fun when playing hide-and-seek! However, if you’re an adult and intend to create a backyard space for family gatherings and more, one that’s interesting without being confusing, consider the following tips.
Find ways to distract the eye and cover odd angles with seating, plants, or even art. Think statues or other statement pieces.
Using your furniture
If you’ve got a small, oddly shaped backyard, it can be a bit hard to change it much. Large or small, however, one way to create some drama and visual excitement would be to invest in custom-made outdoor furniture, which you can use to emphasize a particular angle intentionally or to hide it.
If you’ve got a fence or wall surrounding your backyard, you can allow one of them to be the center of attention. For example, you can use unique colors, couches, cushions, etc. You can also ensure that the ground under that section of your yard is laid with tile or stone. By doing that, you can further separate it from the rest of the grounds.
L-shaped outdoor kitchen plans
In a backyard that’s all odd angles, in addition to creating a unique gathering space along one wall, you could also try placing an L-shaped outdoor kitchen at a nearby corner. These small outdoor kitchen areas offer a lot of counter space even though they don’t take up much room overall.
As with many other outdoor kitchens, they can be customized to fit into your backyard’s overall scheme.
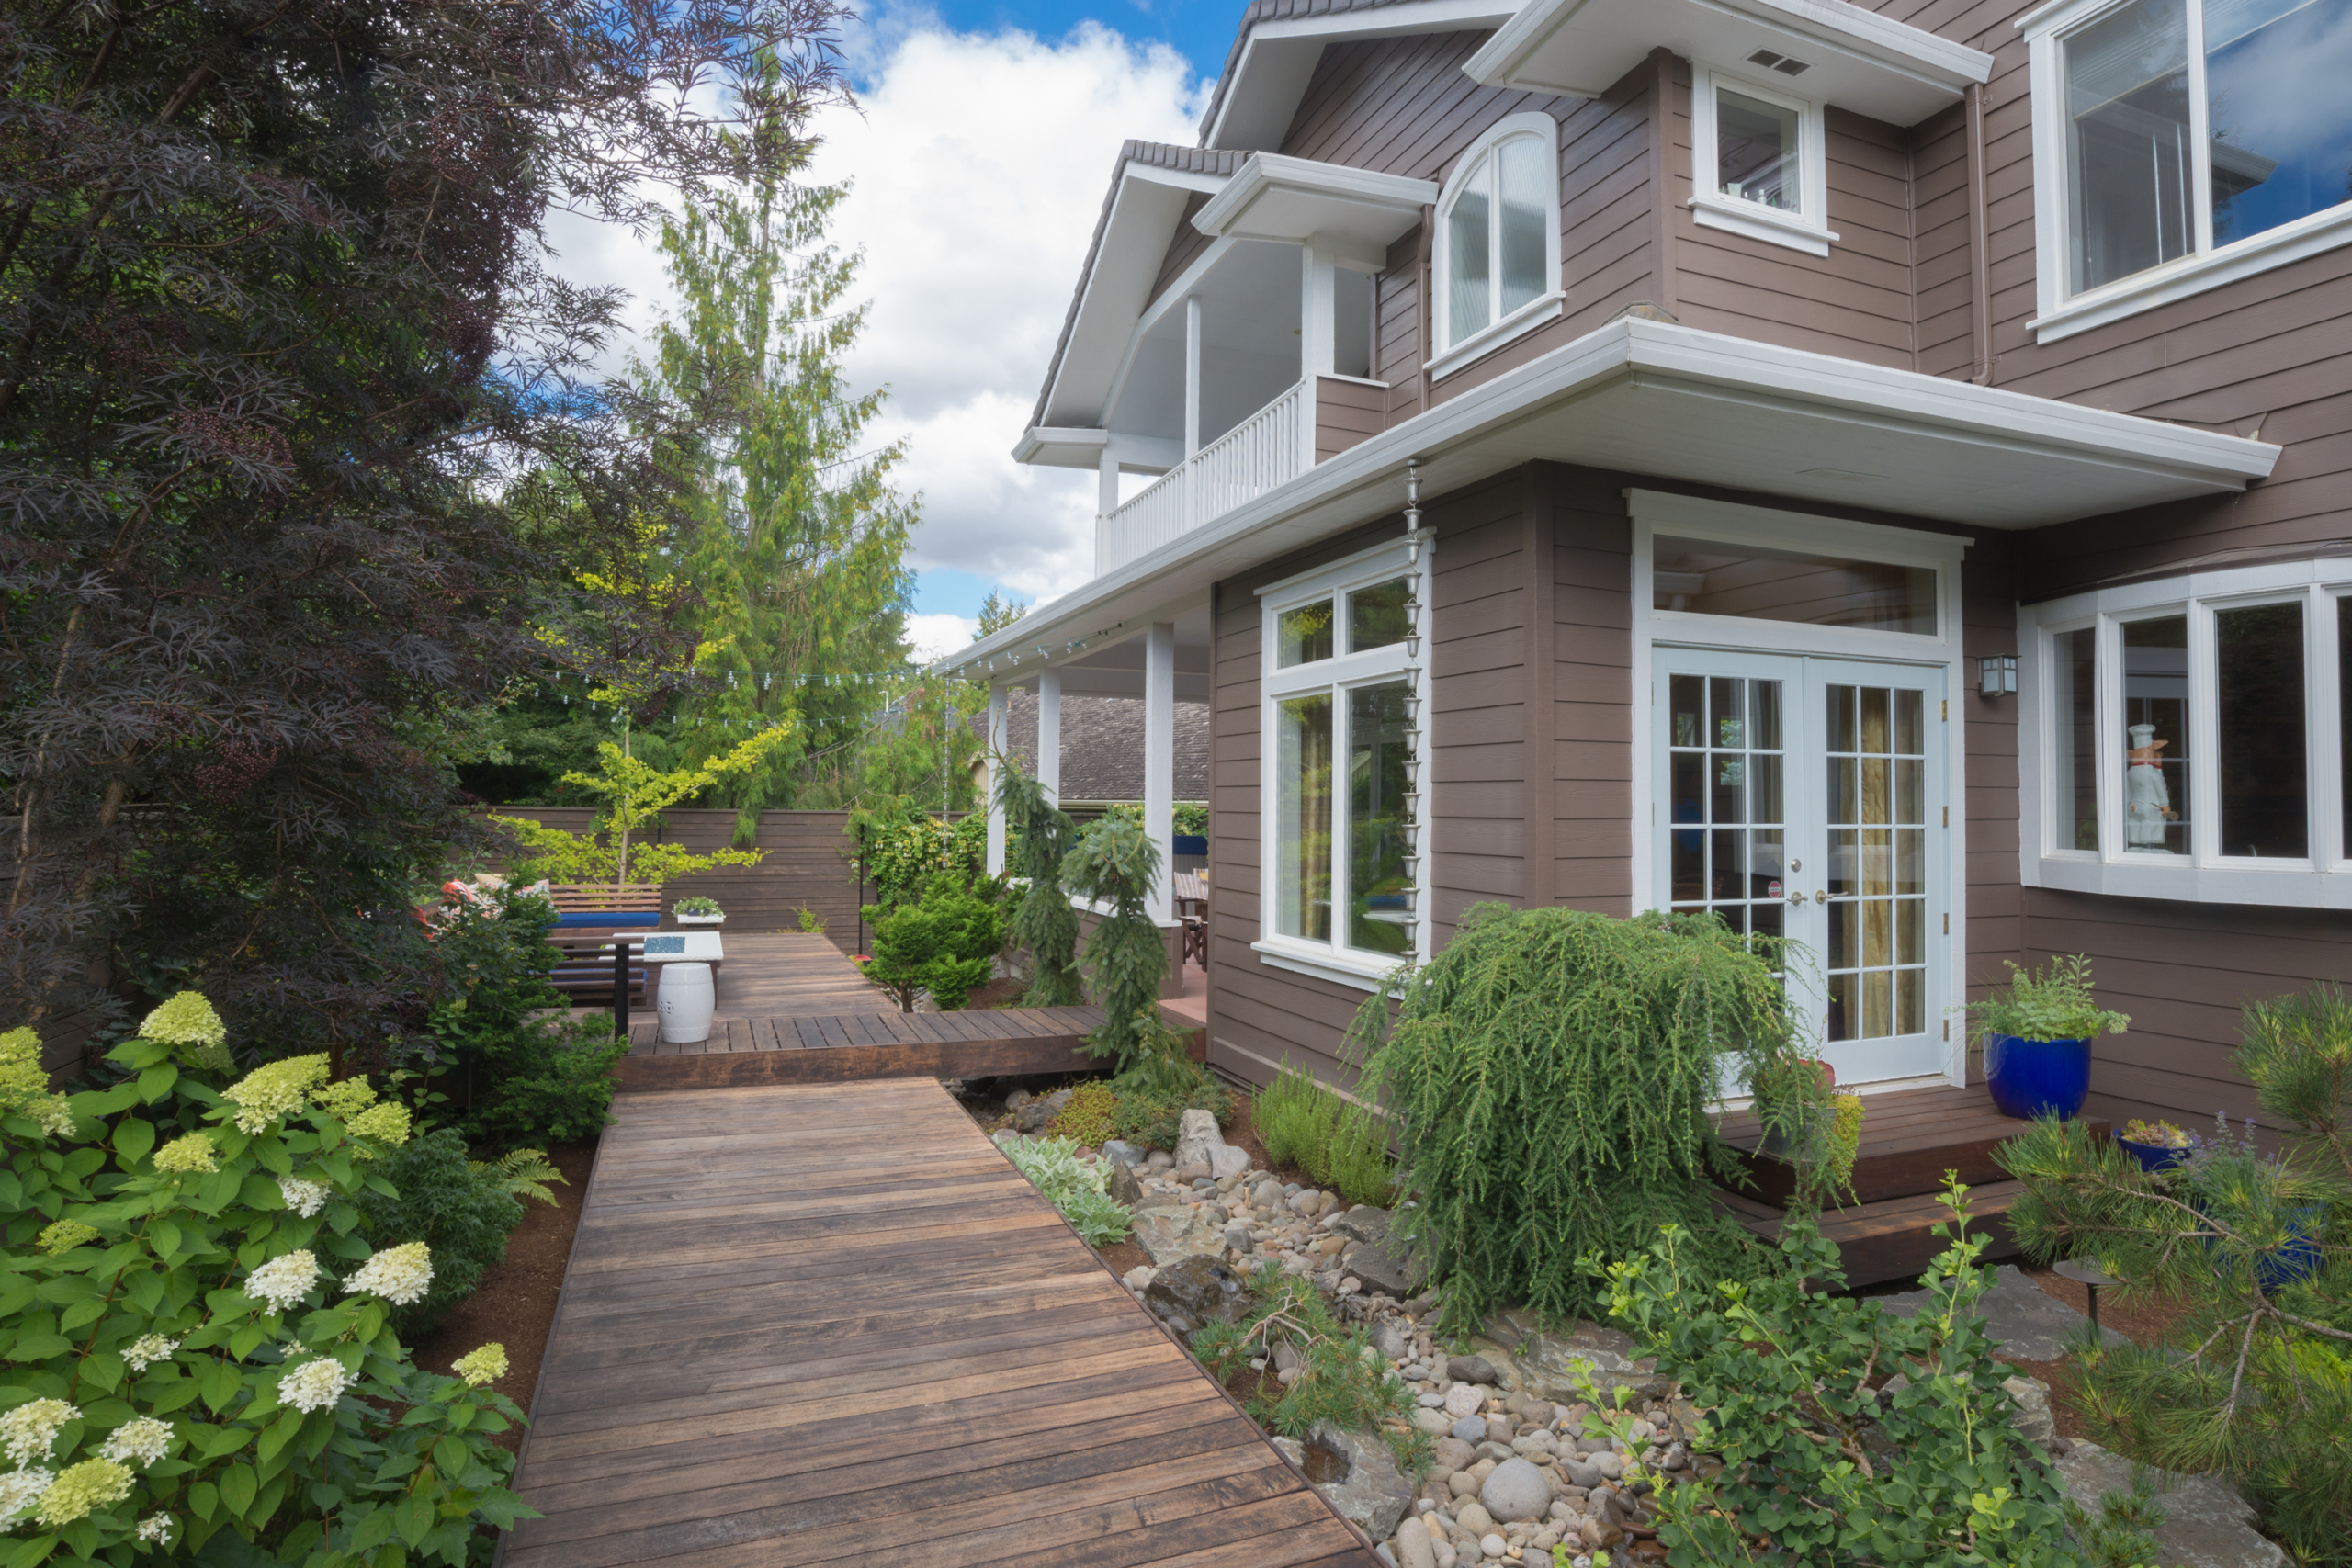
Narrow backyards
In case you didn’t know it, narrow home designs can be a challenge for architects. Narrow backyards are equally challenging when it comes to setting up an entertaining, welcoming space. However, there are ways to make your narrow backyard feel much bigger than it is!
Divide things up
This only works if you have space, but it can be a great solution if you do it. The idea is to break things up so that you play down the length and narrowness of the area. For instance, you could ensure that you have some open space in the center. At one end, you might place a little flower or vegetable garden (or maybe a fish pond), and outdoor eating space at the other.
By dividing the length of your backyard into three sections, you can make everything seem a bit larger than it actually is.
The narrow kitchen setup
Depending on just how narrow your backyard is, you might want to consider having a custom-made, narrow kitchenette built into or alongside one of the walls or fences of your backyard. You can make it an enclosed space, protecting a small refrigerator, sink, and grill from the elements!
Editors' Recommendations
- A beginners guide on what to grow in your greenhouse for a thriving garden
- What to know about BBQ tool storage: How to store your outdoor grill this winter
- 5 fantastic backyard design apps to help you craft your own personal oasis
- How to build an outdoor kitchen on a budget and create the ideal cooking space
- Check out these small outdoor kitchen ideas to turn your limited space into a chef’s paradise


