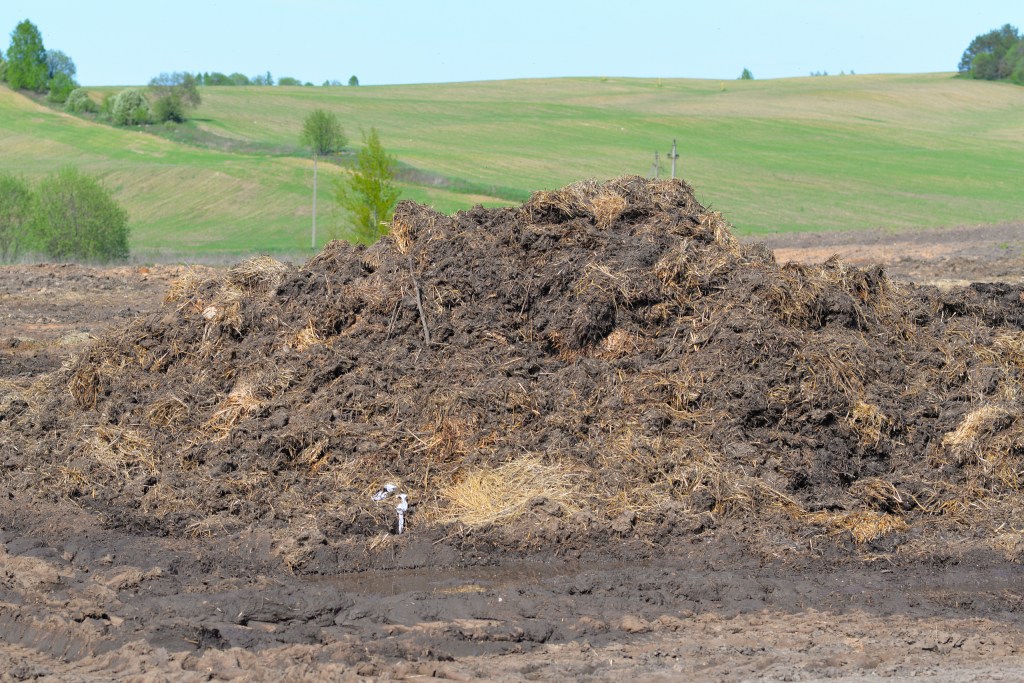
If you’ve ever visited a farm, then you may know that heaps of manure made by livestock can generate quite a bit of natural heat. However, the idea of using organic materials like compost as a source of heat for your greenhouse, or even your home, might sound a bit strange. Don’t we have electric companies for that?
The truth is, as more people become aware of the benefits of getting just a tad “off-grid,” the more popular this method becomes. We’ll go over how to build your own compost heating system by using natural, sustainable, and renewable energy sources.
Does compost really generate enough usable heat?
Believe it or not, Eastern civilizations were using compost heaps more than 2,000 years ago to generate heat. Before the turn of the 20th century, farmers near Paris, France, got rid of horse manure by using composting “hotbeds.” The heat generated by these hotbeds was successfully used in glasshouses (structures similar to greenhouses) for vegetable production in the city.
Following the Industrial Revolution, farmers began to explore just how much heat could be generated and captured through sustainable agricultural methods. One of the pioneers of compost heating post-20th century was Jean Pain, who wrote a book about his experiments with composting and energy production. Dubbed “Pain mounds,” Jean Pain’s composting heaps produced enough energy to heat all the water his farm needed to successfully operate.
Here’s how it works at home
Today many DIYers have come up with ingenious methods for accomplishing many of the same things Pain described in his book. You can generate enough energy through modern composting methods to cook, bathe, and more.
One word of caution, though: Although it is extremely rare, it is possible for a compost pile to combust. Make sure your compost has adequate ventilation, the pile stays moist, and you turn and mix materials often.
Compost-heated floors
One of the ingenious uses for heat generated through a compost system is heating your floors! You can install coils through the floors through which you can run heated water. Once the water begins to cool, it can be rerouted back to the compost heap, where it will be reheated and then shot back into the coils that run throughout your floors. Those same coils can run to your washing machine, shower, and all the sinks in your house.
Methane power
You can install a manure tank right in the middle of a compost heap to produce methane, which can then be used to generate more energy for cooking and heating. Although some argue that there are disadvantages to this compost heap add-on (such as the smell), there are specific advantages, too. Manure tanks are extremely energy-efficient, and modern storage techniques considerably lessen the risk of the gas escaping exploding. It’s no different than homes that use natural gas as an energy source!
How to build your own compost heating system
If you’d like to give this kind of sustainable energy production a try, here are some specific steps you can take to build your own compost heating system.
Stake out your location
Decide where you’re going to place your compost heap. Once you know the location, stake out a circle with a diameter of about 12 feet. Then, rent yourself a chipper, collect fallen tree branches, and start running the branches through the chipper. You could also buy a few hay bales from a local farmer and a sawdust load from a sawmill. Both will usually deliver for an additional fee. You’ll need both of these elements to insulate and prepare your composting space.
Make a backstop from the hay and add aeration
At the bottom of the compost mound, lay about 15 feet of four-inch perforated tubing. Each end of the tubing should stick out beyond the perimeter. Use the hay bales you bought to act as a wall to catch the woodchips you’re making from the tree branches. You’ll need to chip enough branches to create a layer about one foot deep that rests on top of the perforated tubing you put down.
Lay down the hydronic loop
Continue to lay down coils of piping as you build up your compost heap. The pipe here ought to be one-half inch plastic pipe. Run the ends of the pipe outside your hay bale walls so you can connect it to your water source.
Sawdust and chips
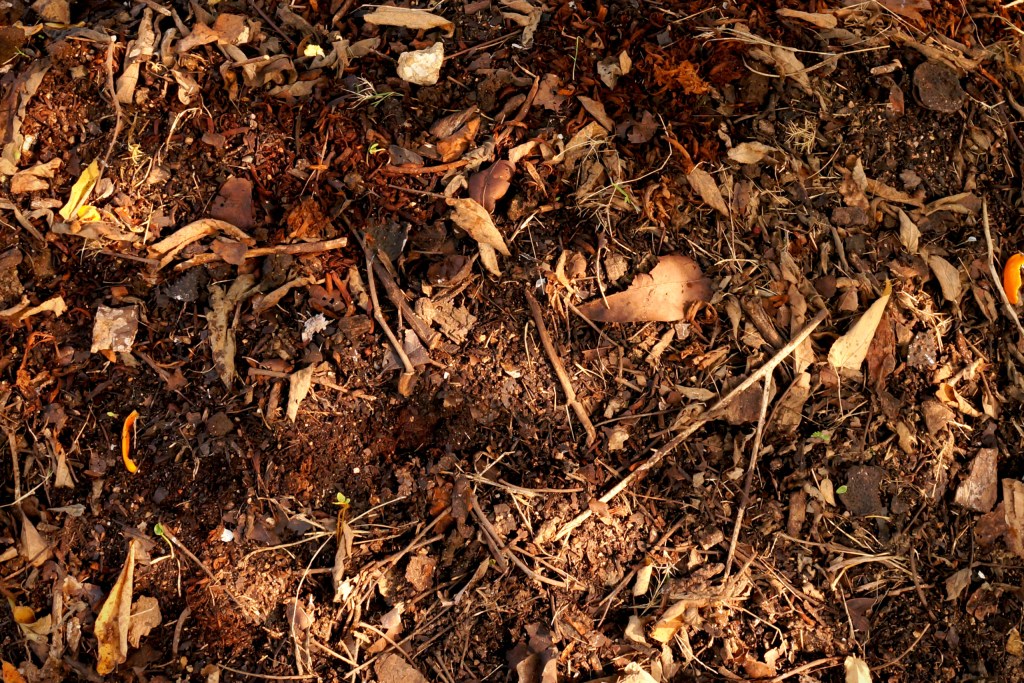
Continue to layer your mound by chipping wood into the pile. Every so often, stop and throw in some of the sawdust you purchased. As the wood chips and sawdust break down, they’ll generate a lot of heat due to their high carbon content. Additionally, throw in manure from any animals you might have – including what you pick up in your pooper scooper during afternoon dog walks.
Final steps
Depending on your climate, you may want to bury your water lines to insulate them and keep the water from cooling as it’s piped into your house. Also, invest in temperature sensors to track the heat your compost heating system is putting out to ensure your investment is paying off…literally!
Compost heating is a sustainable way to make the most of every earthly resource at your disposal, and save yourself some time and money in the process. With a bit of hard work and some practice, you can turn your table scraps and organic materials into a renewable source of energy.
Editors' Recommendations
- A beginners guide on what to grow in your greenhouse for a thriving garden
- What to know about BBQ tool storage: How to store your outdoor grill this winter
- 5 fantastic backyard design apps to help you craft your own personal oasis
- Check out these small outdoor kitchen ideas to turn your limited space into a chef’s paradise
- Do grow lights really work? How to make sure you’re not wasting your money


