What you need to know about making sure your greenhouse is ready for the fall

If you want to set up your greenhouse for success, you must prepare it for the changing seasons. Just as your house needs to be cleaned and maintained on a regular basis, so must your greenhouse. In fact, as summer begins to wane and fall starts to approach, scheduling an in-depth cleaning is imperative to create a healthy space for the new plants you’ll bring in.

Preparation for the fall goes hand in hand with a thorough cleaning. In fact, this is the perfect time for it because your greenhouse will probably have fewer plants in it than when the days grow colder. With that said, there are other things to keep in mind as you get your greenhouse ready for the fall. We’ve come up with a list of common-sense preparations we believe you’ll find helpful.
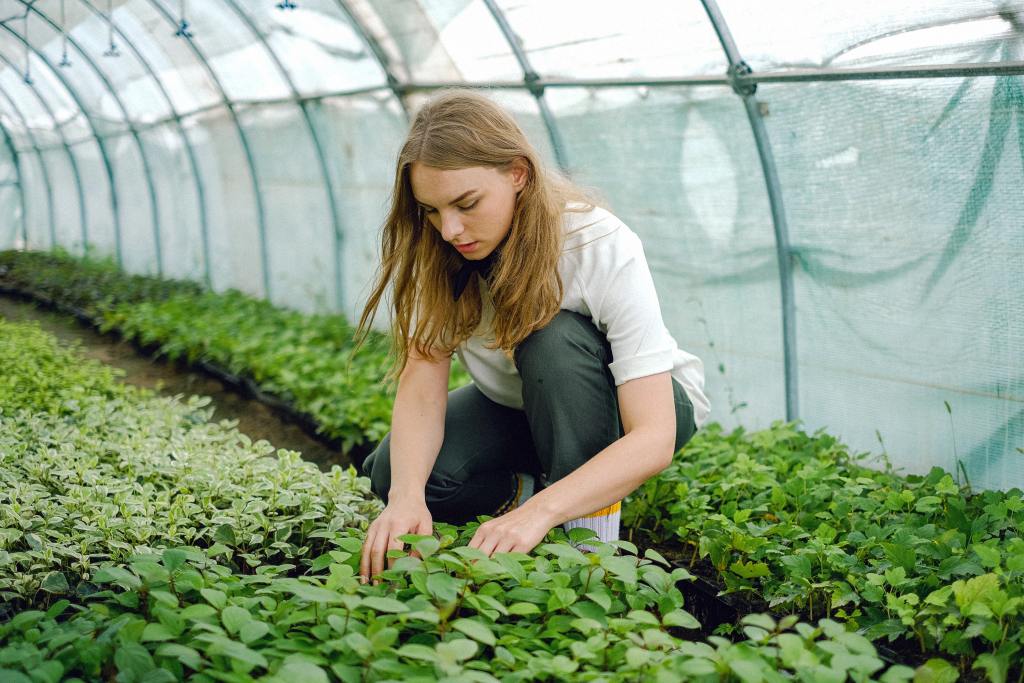
Woman working with green plants
Anna Shvets/Pexels

Make some tough choices

Remember that you’ll likely bring in a lot of plants as temperatures drop. Meanwhile, you may have plants already in your greenhouse, with some being more healthy than others. You need to examine the plants that are inside and decide whether you want to try and nurse the ailing ones back to health or if it’s a wiser choice to toss them out.

If you choose the former and the plant still hasn’t flourished like its peers, it could have a weak root system. If that’s the case, you might be putting time, effort, and resources into a plant that won’t provide much of a harvest when the time comes.

Therefore, you may be better off getting rid of ailing plants altogether and make room for new ones.

Do you need to move any to new containers?

If things went well over the summer, you may have plenty of healthy plants that have grown substantially. If so, you might need to provide them with a larger living space, which would mean transferring some to bigger containers.

If you need to do that, it’s recommended that you transfer them during the last weeks of warm weather. You won’t find it nearly as easy once the weather changes and colder temperatures make the soil hard and difficult to work with.

Keep an eye out for weeds

Of course, you need to monitor for weeds all the time. However, certain species like vetch, annual bluegrass, henbit, and chickweed are notorious for sprouting just as the weather starts to cool off. By using a pre-emergence herbicide, it’s possible to stop these pesky plants from growing at all.

Now, you might think that you must purchase poisonous chemicals to take care of a weed problem before it begins. However, there are everyday household products that are entirely natural, which can do the same job. For instance, you can spray undiluted white vinegar onto the leaves of the weeds, which kill them in no time.

Time to prune the perennials

Grab your pruning shears and start snipping away. You’ll want to take the time to cut back wilting foliage from struggling greenery so that nutrients have a better chance of reaching the healthier parts of the plant. By doing so, you can help ensure that disease has less of an opportunity to set in, and these plants will produce more fresh and healthy crops than they would otherwise.

Pay attention to moisture levels

Moisture levels change along with the weather. If you’re not careful, too much moisture can allow various diseases and rot to set in. If that happens, you’ll find it pretty challenging to keep it from spreading. Removing it entirely from the greenhouse environment at that point is more of a challenge than you’ve bargained for. You can prevent a problem like that from developing by ensuring that moisture is kept at optimal levels, which you can do through greenhouse environmental controls.

Beware rabbit invaders!

And not just rabbits –– you need to prepare to keep out voles and other rodents too. Remember that as cold temperatures set in, animals want to find a warmer place to call home. Your greenhouse provides shelter, higher temperatures, and potentially food. You can either buy regular traps or no-kill traps. However, if you use the latter, then you’ll have to remember to take the trapped rodent pretty far away from your greenhouse. Otherwise, they’ll find their way back and all your effort will have been for nothing.
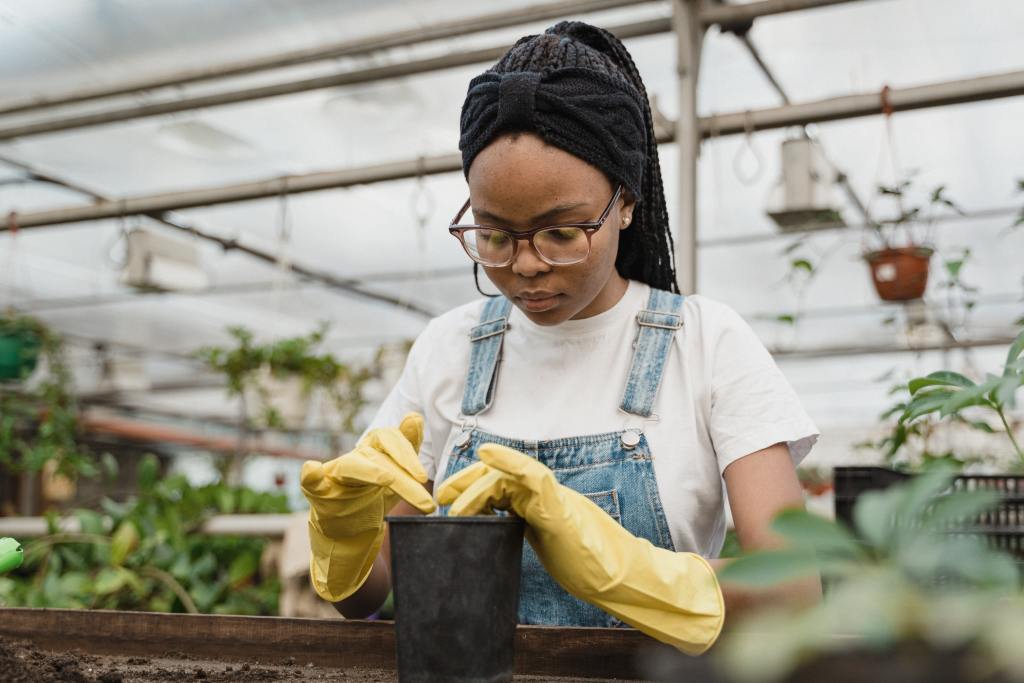
Woman putting soil in a pot
Tima Miroshnichenko/Pexels

Get rid of the shade and store your equipment

As the hours of sunshine get shorter, the sun’s light becomes more important. If you created shady spaces for plants during the summer through the use of shade cloths, you’ll want to remove them now. Then, think about growing herbs like chives and parsley. You can also bring in trees like peaches and nectarines.

Additionally, now is an excellent time to make sure your gardening tools are repaired and sharpened. Replace anything that’s broken and make sure you have a dedicated space for your tools. Use peg racks to keep everything organized and maximize space.

Finally, recall that the key to successfully transitioning your greenhouse from summer to fall is preparation. Enjoy the process because once the middle of winter hits, you’ll have to start preparing for spring!

Editors' Recommendations

Do grow lights really work? How to make sure you’re not wasting your money
Yellow glowing greenhouse at sunset

It's never been easier to garden indoors. Today, you can use grow lights to help cultivate many kinds of plants all year long, no matter where you happen to live. But, do grow lights work? Yes! Grow lights are designed to be a sunlight substitute that stimulates the photosynthesis process within plants by providing them with the right color spectrum.

You can grow all your favorite herbs, fruits, and vegetables year-round by using the correct bulb or fixture. Several kinds of grow lights are available on the market, with each having its own strengths and weaknesses. If you've been wondering whether grow lights would be an excellent investment for your greenhouse, we've got the answers.

Read more
A complete guide to cleaning your greenhouse for beginners
greenhouse

When you first installed your greenhouse, it probably looked like a glittery glass castle for your lovely plants to grow and live in. However, weather, soil spills, and birds have made their mark on your greenhouse over time and now it's probably looking cloudy and nasty. So how do you clean a greenhouse?
Why worry about a clean greenhouse?
You may be wondering if you even need to worry about cleaning your greenhouse. If you don't mind the dirty look, maybe you could leave it as it is? Unfortunately, it's much better for your greenhouse and your plants if you give the greenhouse a deep clean at least once a year. It'll make it easier to use when it is clean and organized, and the walls of the greenhouse need to be clear so they can let in as much light as possible. Additionally, a clean greenhouse is less likely to spread pests and diseases to your precious plants. And lastly, things last longer when you care for them and greenhouses aren't cheap.

When should you clean a greenhouse?
There's no right time to clean a greenhouse; whenever you can is better than not at all. However, we suggest cleaning it when there isn't so much to do in the garden and it isn't so hot out. Usually, the fall is when the garden chores slow down and it starts to cool out, making cleaning the greenhouse much easier on you.
What is the best way to clean a greenhouse?
You can use whatever cleaning method works for you, but here is our step-by-step process that we recommend.
Step one: Empty the space
Of course, we know you can only empty a greenhouse so much if you have tender plants that need to stay warm. But as much as you can, take out the tools, buckets, and bags of soil. It will be much easier on you if you don't have to fuss with items in your way as you clean the walls and floors. This also allows you to go through what you have and declutter if necessary.
Step two: Rough dusting
Over the season, spiders and bugs and maybe even some mice have tried to make homes in your greenhouse. This has probably led to a few cobwebs and dust piles around the corners. You'll want to remove these large areas of debris before you start the deep cleaning. Use a broom to knock down the cobwebs and sweep up the floor; you've probably spilled some soil during the summer!
Step three: Clean the walls
The panels of your greenhouse will now need to be deep cleaned. You can use a bucket of warm water and a sponge to wipe them down, but we also recommend bringing a long-handled brush to make life easier. This way, you can dip the brush into the bucket of soapy water and scrub down the walls with the long-handled brush. You'll be able to reach every inch of the walls without killing your back.

Read more
When and how to transplant tomato plants for the best results
baby tomato plants

There's a time in every gardener's life when they try to grow their own veggie plants from seed. This is a gratifying process, and there are many benefits to growing your own seed starts. One of those benefits is bigger and healthier plants. By growing your own baby tomato plants, you can ensure that the plants are well cared for, never given anything you don't want them to have, and transplanted in just the right way at just the right time for optimal plant health. So how do you transplant tomato plants to ensure they're happy and healthy and live to produce lots of yummy tomatoes for your home?

How do you transplant a grown tomato plant?
If you've never transplanted tomatoes before, the idea can be intimidating. You have all these tiny plants that you've cared for over the last several weeks, and now it's time to pluck them out of their nursery pots and plop them into the outside soil where they're exposed to sun, weather, and critters. Luckily, you've cared for them so well that they're healthy and robust plants that will be able to handle anything nature throws at them.
Step one: Harden the plants
Hardening the plants is a term gardeners use when talking about the process of acclimating a greenhouse-grown plant to outside conditions. Typically it refers to sunlight, but it could also refer to wind and other weather that could harm the plant. About a week before you're ready to transplant, you'll want to harden your baby tomato plants by exposing them to sunlight at increasing increments each day. For example, day one should be about 30 minutes, then 45, then 50, and so on until the day of transplanting. If you don't do this, you'll risk your plant being burnt and killed when you transplant it outside.
Step two: Don't water the plants
Before you start pulling little plants out of their pots, you mustn't water the plants a few days before transplanting. Wet soil can make the transplanting process much harder on you and the plant. Dry soil falls away easier and is less likely to break off roots as you move the plants to their new home.
Step three: Prepare the new soil
The new location for your tomato plants will need to be prepped before you get all those babies out of their homes. Whether you are planting into the ground, a raised bed, or a pot, you'll want to amend the soil to guarantee that the plant has many nutrients to soak up. It also is easier if you dampen the soil right before transplanting. Damp soil is much more manageable and more easily manipulated around the plant.
Step four: Plant deeply
As you gently pull out the baby tomato plants, you'll want to shake off the old soil to expose the roots. This will ensure the plant has access to the new soil and nutrients you're about to provide it with. 

Read more