
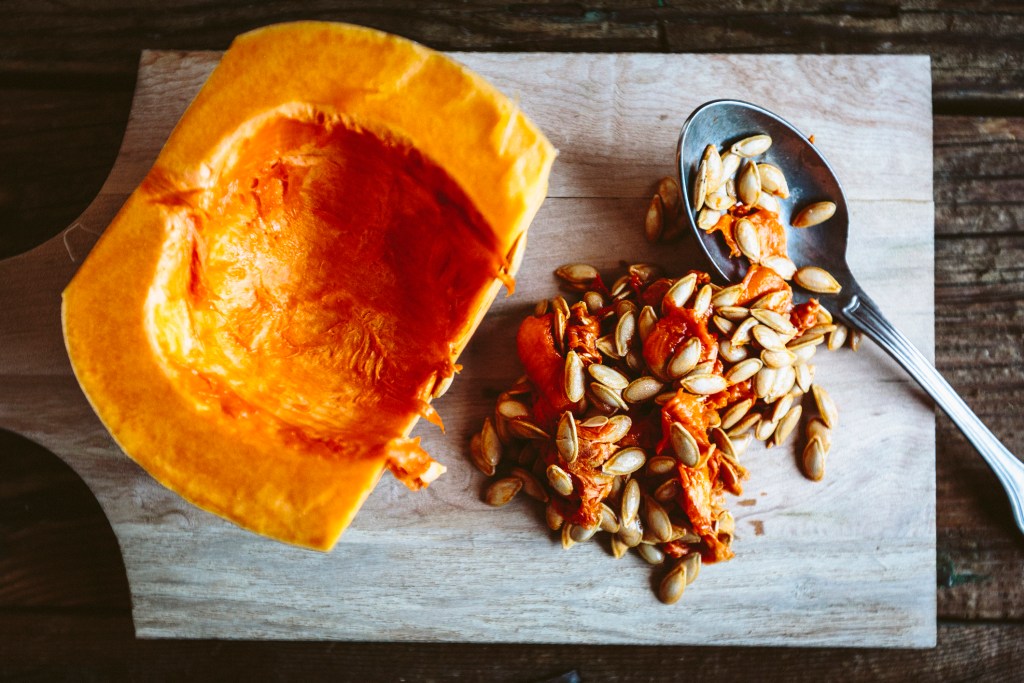
Pumpkin carving is definitely one of the most fun and signature autumn activities that you can partake in. But if you feel guilty about throwing away that gooey, seed-laden pulp, you’re not alone. Wondering what to do with the inside of a pumpkin plant? While you can always toss pumpkin guts into the compost bin or clean the seeds to plant gourds for next year, there are fun non-gardening ways that you can use your leftover pumpkin bits. Ahead, we’ve rounded up creative pumpkin gut ideas to minimize waste!

Use the guts in your beauty routine
Pumpkin insides are rich in vitamins and antioxidants, so they can help nourish your skin. Specifically, they include Vitamins A, C, and E, which, respectively, help with protection from skin damage, collagen production, and reducing inflammation. There are a couple ways you can incorporate pumpkin into your beauty routine, though you’ll want to do small patch tests or consult your health care provider first if you have particularly sensitive skin.
- Make a pumpkin face mask. No, we’re not talking about making a mask that looks like a jack-o-lantern for your face, but rather, a washable facial mask! Whipping up a pumpkin face mask can be as easy as creating a puree from your pumpkin guts, mixing that with honey, and leaving the mask on your face for 10 to 15 minutes before you wash it off.
- Create a pumpkin body scrub. Get radiant skin with a DIY body scrub that will gently exfoliate dead skin and pollutants. You can start with the honey and pumpkin puree base from before and add baking soda or sugar for exfoliating action.
- Make a pumpkin hair mask. Add some pizzazz to your haircare routine—pumpkin is great for hair because it’s full of potassium, which can help regrow hair, and vitamin A, which nourishes the scalp. Instead of pumpkin puree, use cooked pumpkin (this can come from the parts you carve out) and blend it with honey, coconut oil, and yogurt. Apply the mixture to your hair and leave it on for 15 minutes before washing it out. Here’s a recipe from Teen Vogue.
Create arts and crafts with kids
Pumpkins are good for more than just jack-o-lanterns! Sturdy pumpkin seeds and bright orange guts can be great supplies for arts and crafts projects.
- Make pumpkin slime. Slime is a lot of fun for kids, and you can definitely give it a Halloween twist with leftover pumpkin guts! Grab your pumpkin’s insides and mix them with clear school glue and liquid starch to create the perfect gooey plaything. For more information, check out this guide from the Parenting Chaos blog.
- Make a necklace or bracelet from pumpkin seeds. Embrace the autumn harvest with a wholesome pumpkin seed necklace or bracelet. After washing and drying your pumpkin seeds, color them with markers, create center holes with a needle, and string everything together.
- Save pumpkin seeds to add texture on various craft projects. Pumpkin seeds can be versatile for paper craft projects—color them with markers and glue them onto paper crafts as leaves on a tree, eyes on an owl, bumps on a pumpkin, and more. Don’t be afraid to get creative!

Cook the guts up
The most obvious use for your leftover pumpkin guts is for cooking—the possibilities are endless. You can use the flesh, pulp, and seeds for giving your go-to recipes an autumn twist. Here are a few of our favorite simple ways to recycle the rest of the pumpkin after you carve your jack-o-lantern.
- Roast the pumpkin seeds for snacking. Remove as much of the pulp as possible, then wash the seeds. After they dry, season them with your favorite spices, drizzle on some oil, and spread the seeds out onto a cookie sheet to pop into the oven for 12 to 15 minutes at 350 degrees Fahrenheit.
- Make a pumpkin spice latte. After removing the seeds, make a puree from your pumpkin guts, adding nutmeg, cinnamon, and more for all those autumn flavors. Brew espresso, add a spoonful of your puree, mix everything, and top it off with steamed milk—and voila, you have your very own homemade PSL that will stave off those Starbucks cravings with, dare we say it, a tastier alternative.
- Create a vegetable stock. All you have to do is toss your seeds, pulp, and bits into a pot of boiling water and strain everything out at the end. It’s that easy! You can even freeze the pumpkin guts until you’re ready to make your stock.
- Add pumpkin to your meals and desserts. Incorporate pumpkin into your favorite recipes, whether you’re making ravioli, bread, pie, or soup.
After you’ve finished carving your jack-o-lantern, there’s no need to toss out the leftover pumpkin bits. With some imagination, you’ll find many ways to incorporate the gooey bits into your personal care routine, art projects, and food recipes! So go ahead—relax beneath that DIY pumpkin mask while sipping on your homemade PSL.
Editors' Recommendations
- What’s in season at the farmers market this November
- What to do with all the pears you’ll be harvesting this fall
- When do pears come in season? What you need to know
- Gardening 101: The difference between blood meal vs. bonemeal
- The best peony fertilizers that will keep your flowers pink and healthy


